Vanilla Bean French Crullers
Ok- I love making donuts. I always put it off because it seems like too much work, but then I do it and I wonder why I don’t make them all the time because homemade donuts are the BEST.
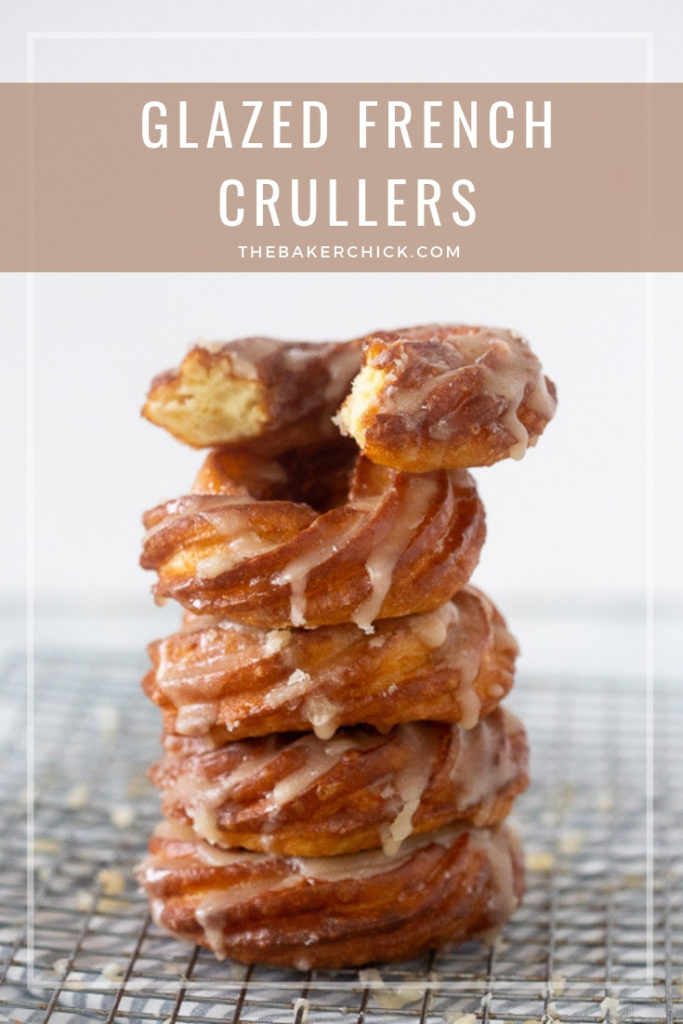
Have you ever had a French Cruller though? I don’t mean the cake donut kind that is more like a maple bar, but the light, eggy, fluffy kind made with a choux dough? Because if not- you must. They are life changing.
I know that I have already shared my love for the Food 52 Baking Club and that I’ve mentioned how it’s really giving me life in the kitchen after feeling SO uninspired for months, but it’s really just my favorite thing, especially since the book from a couple months ago, Zingerman’s Bakehouse is full of so much wonderful content.
I still can’t bear to return it to the library and have been making 1-2 recipes a week, and then making my favorites again to put my own twist on them and test them a bit before sharing.
These Vanilla Bean French Crullers are one of my favorite things I’ve ever made. I have tried a few different donut recipes over the years, (Apple Cider Donuts, Key Lime Donuts, and Pumpkin Sour Cream Donuts to name a few,) and while they were wonderful, the dough used for these crullers is SO simple with no waiting time for proofing or chilling needed.
Have you ever made my Baked Churros? Cream Puffs? All of these recipes use a choux pastry, which comes together super quickly on the stovetop and then gets spooned into a piping bag and piped into circles on some parchment paper.
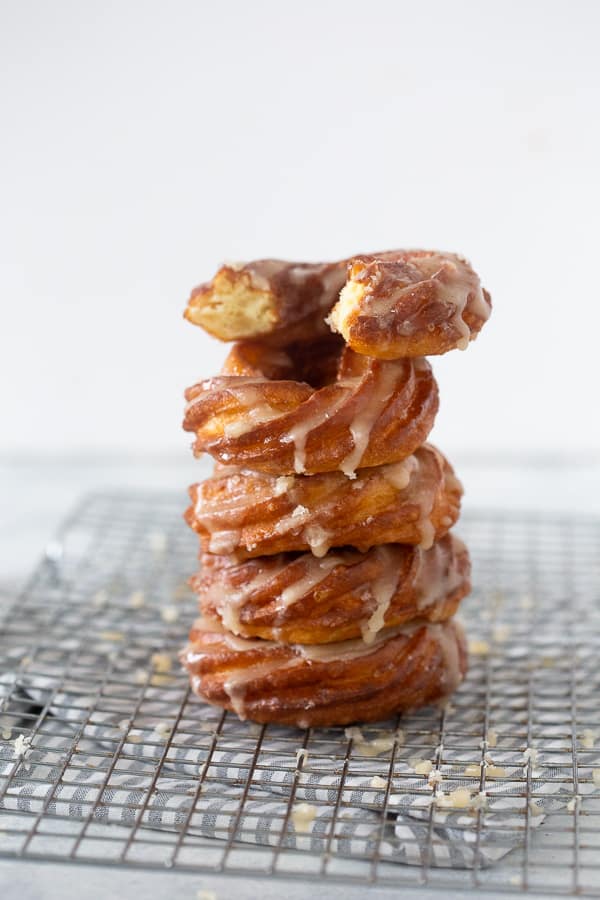
When the oil heats up, you gently lower them in, (parchment and all, it’s too sticky to try to remove,) and after just a couple minutes you have a puffy, golden donut with crisp edges and a light and spongy middle.
Drenched with glaze these are truly too good to be true.
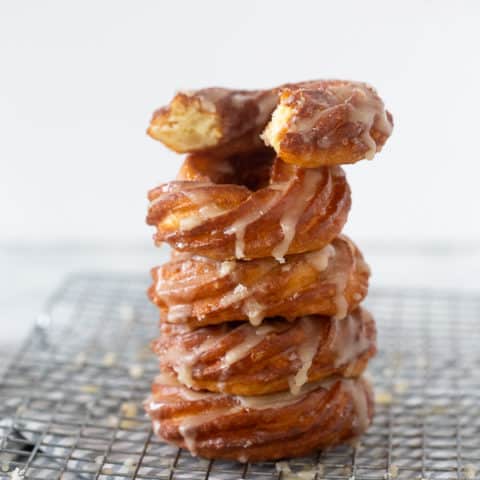
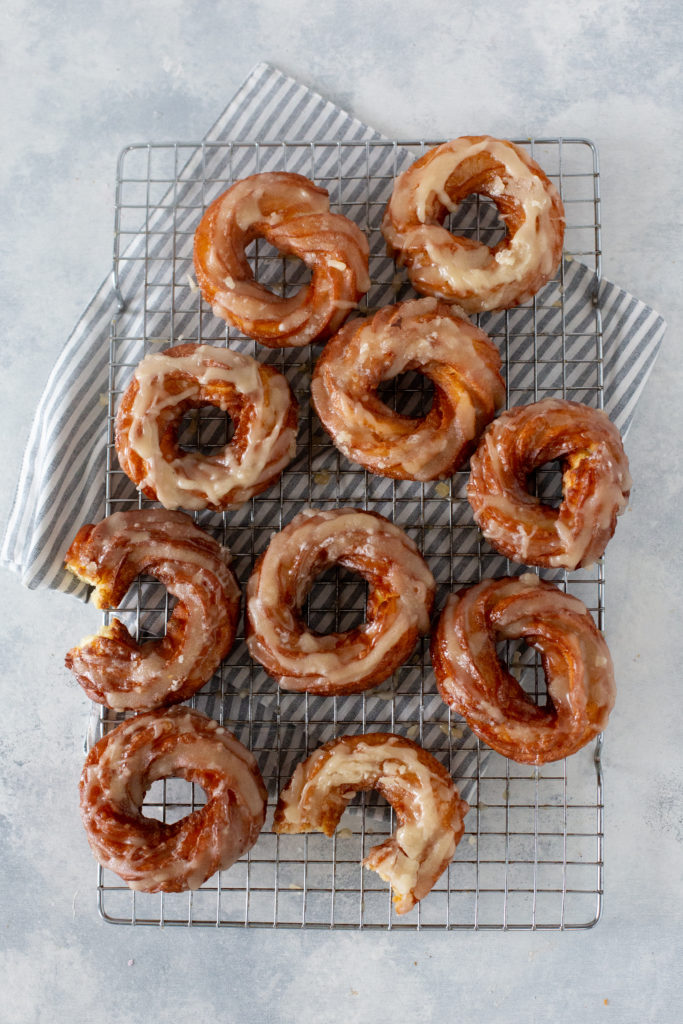
Vanilla Bean French Crullers
Fluffly donuts with crisp golden edges and a vanilla bean glaze.
Ingredients
For the glaze:
- 3 tablespoons warm water (45g)
- 1 1/2 tablespoons unsalted butter (23g)
- 1 teaspoon vanilla bean paste*
- 1 tablespoon maple syrup (23 g)
- 1 3/4 cups plus 2 tablespoons powdered sugar (230g)
For the crullers:
- 1/2 cup water (115g)
- 1/2 cup whole milk (115g)
- 1/2 cup unsalted butter (115g)
- 1/2 teaspoon sea salt
- 1 teaspoon sugar
- 1 3/4 cups all-purpose flour (180g)
- 4 large eggs
- Vegetable oil for deep-frying (I like canola oil)
Instructions
For the glaze:
- In a small saucepan, combine the water, butter, vanilla bean paste and maple syrup. Warm over medium heat until the butter is melted stirring here and there. Once the butter is melted, bring the mixture to a boil and then remove from the heat.
- Using a hand mixer (or a whisk with some elbow grease,) gradually add the powdered sugar and mix to break up any lumps. Mix on high speed until smooth. (about 5 mins)
- Keep the glaze warm on low heat, stirring every so often until ready to use.
Make the dough:
- Put the water, milk, butter, salt and sugar into a medium saucepan. Set over high heat and bring to a full rolling boil. Melt the butter completely. Remove from the heat and add the flour while stirring. Stir until completely combined.
- Return the saucepan to medium heat and continue stirring. Cook and stir the paste until a film forms on the bottom of the pan. This process dries it out a bit.
- Once there is a visible film on the bottom of the pan, remove the pot from the heat and spread the paste along the bottom and up the sides of the pan. Let cool for 3 to 4 minutes before incorporating the eggs. (You don't want the eggs to cook and they will if the mixture doesn't cool slightly.)
- Add the eggs, one at a time, stirring until each is completely incorporated before adding another. The can be done by hand or with a mixer. Once all of the eggs have been mixed in, the paste should be thick and smooth. Each time an egg is added the paste may look a bit curdled. Stir with some force and the egg will become incorporated. Then you can add another egg. After the eggs are incorporated, the paste is ready to use.
Fry and glaze the crullers:
- Heat 3 inches of vegetable oil to 375° in a deep pan.*
- Prepare a pastry bag with a 1/2-inch star tip. Fill the bag with about half of the paste. Do not overfill the bag; it will make it more difficult to pipe your crullers. You can put less paste in the bag if you are concerned about having adequate strength to pipe.
- On 4-inch square pieces of parchment paper, pipe out rings of dough 3 inches in diameter. For best results, hold the tip 2 to 3 inches above the parchment paper. This will help you get a good thickness to your cruller and an even circle.
- Gently lower one cruller at a time, parchment and all, into the hot oil. Use your spoon to submerge the cruller in the oil. (The parchment paper will release and you can remove it from the oil with tongs.) Depending on the space you have available in your fryer, repeat with more cruller rings, but don't crowd the pot of the oil will cool too much. (I did 3 at a time.) The crullers will puff up as they fry.
- Fry them for only 20 seconds and then flip them. If they fry too long on their first side they lose the distinctive cruller ridges. The next flip comes when you see cracks forming on the surface of the crullers. Turn again and then fry until they are a nice tan color, slightly darker than golden. (For me this was about 90 seconds per side. If they brown too fast your oil may be too hot.) Lift the crullers out of the oil with a slotted metal spoon, and drain on a wire cooling rack placed over a sheet tray. Repeat with the remaining crullers.
- Use a ladle to generously pour the warm vanilla glaze over the crullers. Let the first pour dry a bit, then continue to pour glaze over the crullers. I scraped up the excess glaze that gathered on the pan, warmed it a bit as needed and kept adding it until they had a nice thick glaze. Enjoy warm or room temp!
Notes
*If you don't have vanilla bean paste, extract is fine
*A deep fry thermometer is needed to clip onto your pan and monitor the oil temp. Keep an eye on it as you fry because sometimes adding the dough cools it and you need to wait for it to heat up to add more.
Recipe barely adapted from the Zingerman Bakehouse Cookbook
Totally accurate description about the Food52 Cookbook/Baking Club. Like, HOW DID I EVER COOK DINNER BEFORE THIS. It’s a lot of fun. I feel absolutely the same way about donuts – I always feel like they’re so much work, but then when I actually go to make them I have no idea why I put it off for so long. These look absolutely perfect!
These sound amazing! I have a quick question for you though…on the first step of making the dough when you are mixing in the flour is it done by hand or with a hand mixer?
I just did that part by hand!
Just made these and they are absolutely delicious! Enjoying one with my coffee now
These were tastier and easier to make than I imagined. We absolutely loved them!!
THanks so much for letting me know!
The effort is totally worth the payoff. These crullers are just as delicious as the donut shop down the road.