Making Homemade Pasta: Part 1.
This post has been in the works for awhile, (and if you follow me on Instagram you’ve been following along on my pasta-making adventures,) but I’ve been waiting to gather as much information as possible before sharing what I know in this post. Now I’m no pasta-making expert, but after no less than 20 batches this year already, I feel like I have lots of tips and info! This is part 1 of a 2 part pasta making series, exploring the 2 different types of pasta making devices I’ve been able to try. This post will cover extruded pasta, and I’ll do a post next week about rolled pasta!
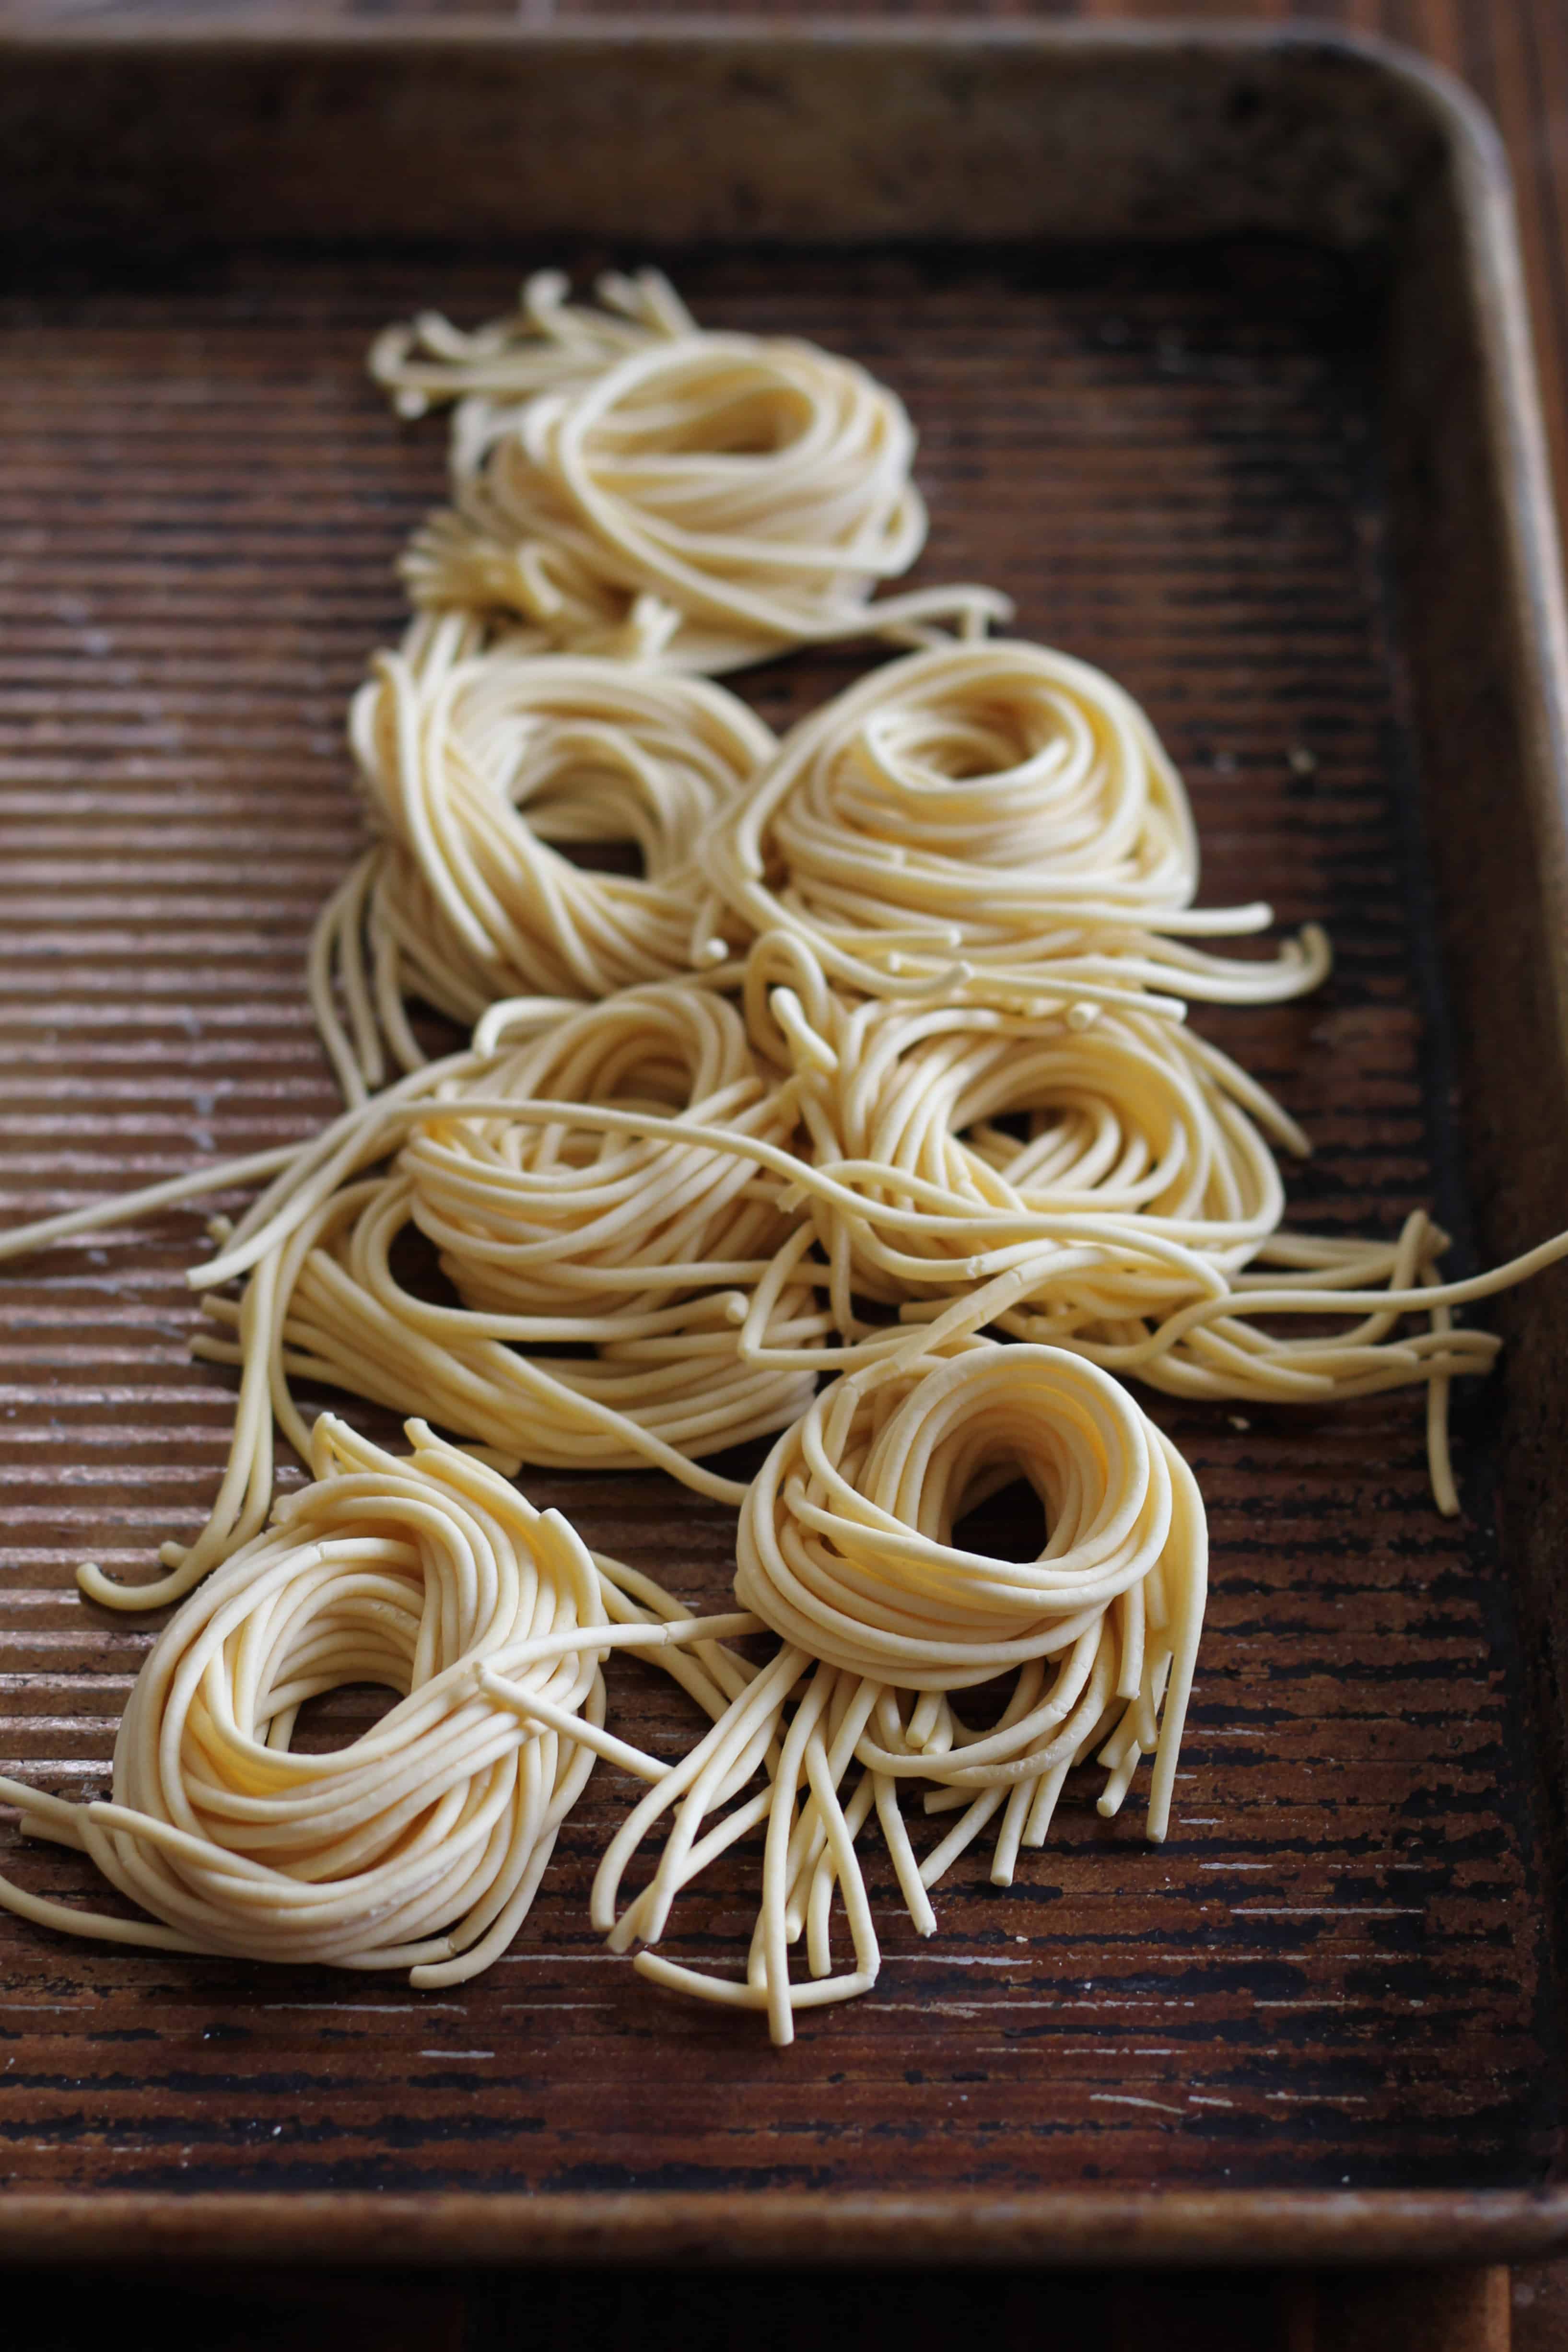
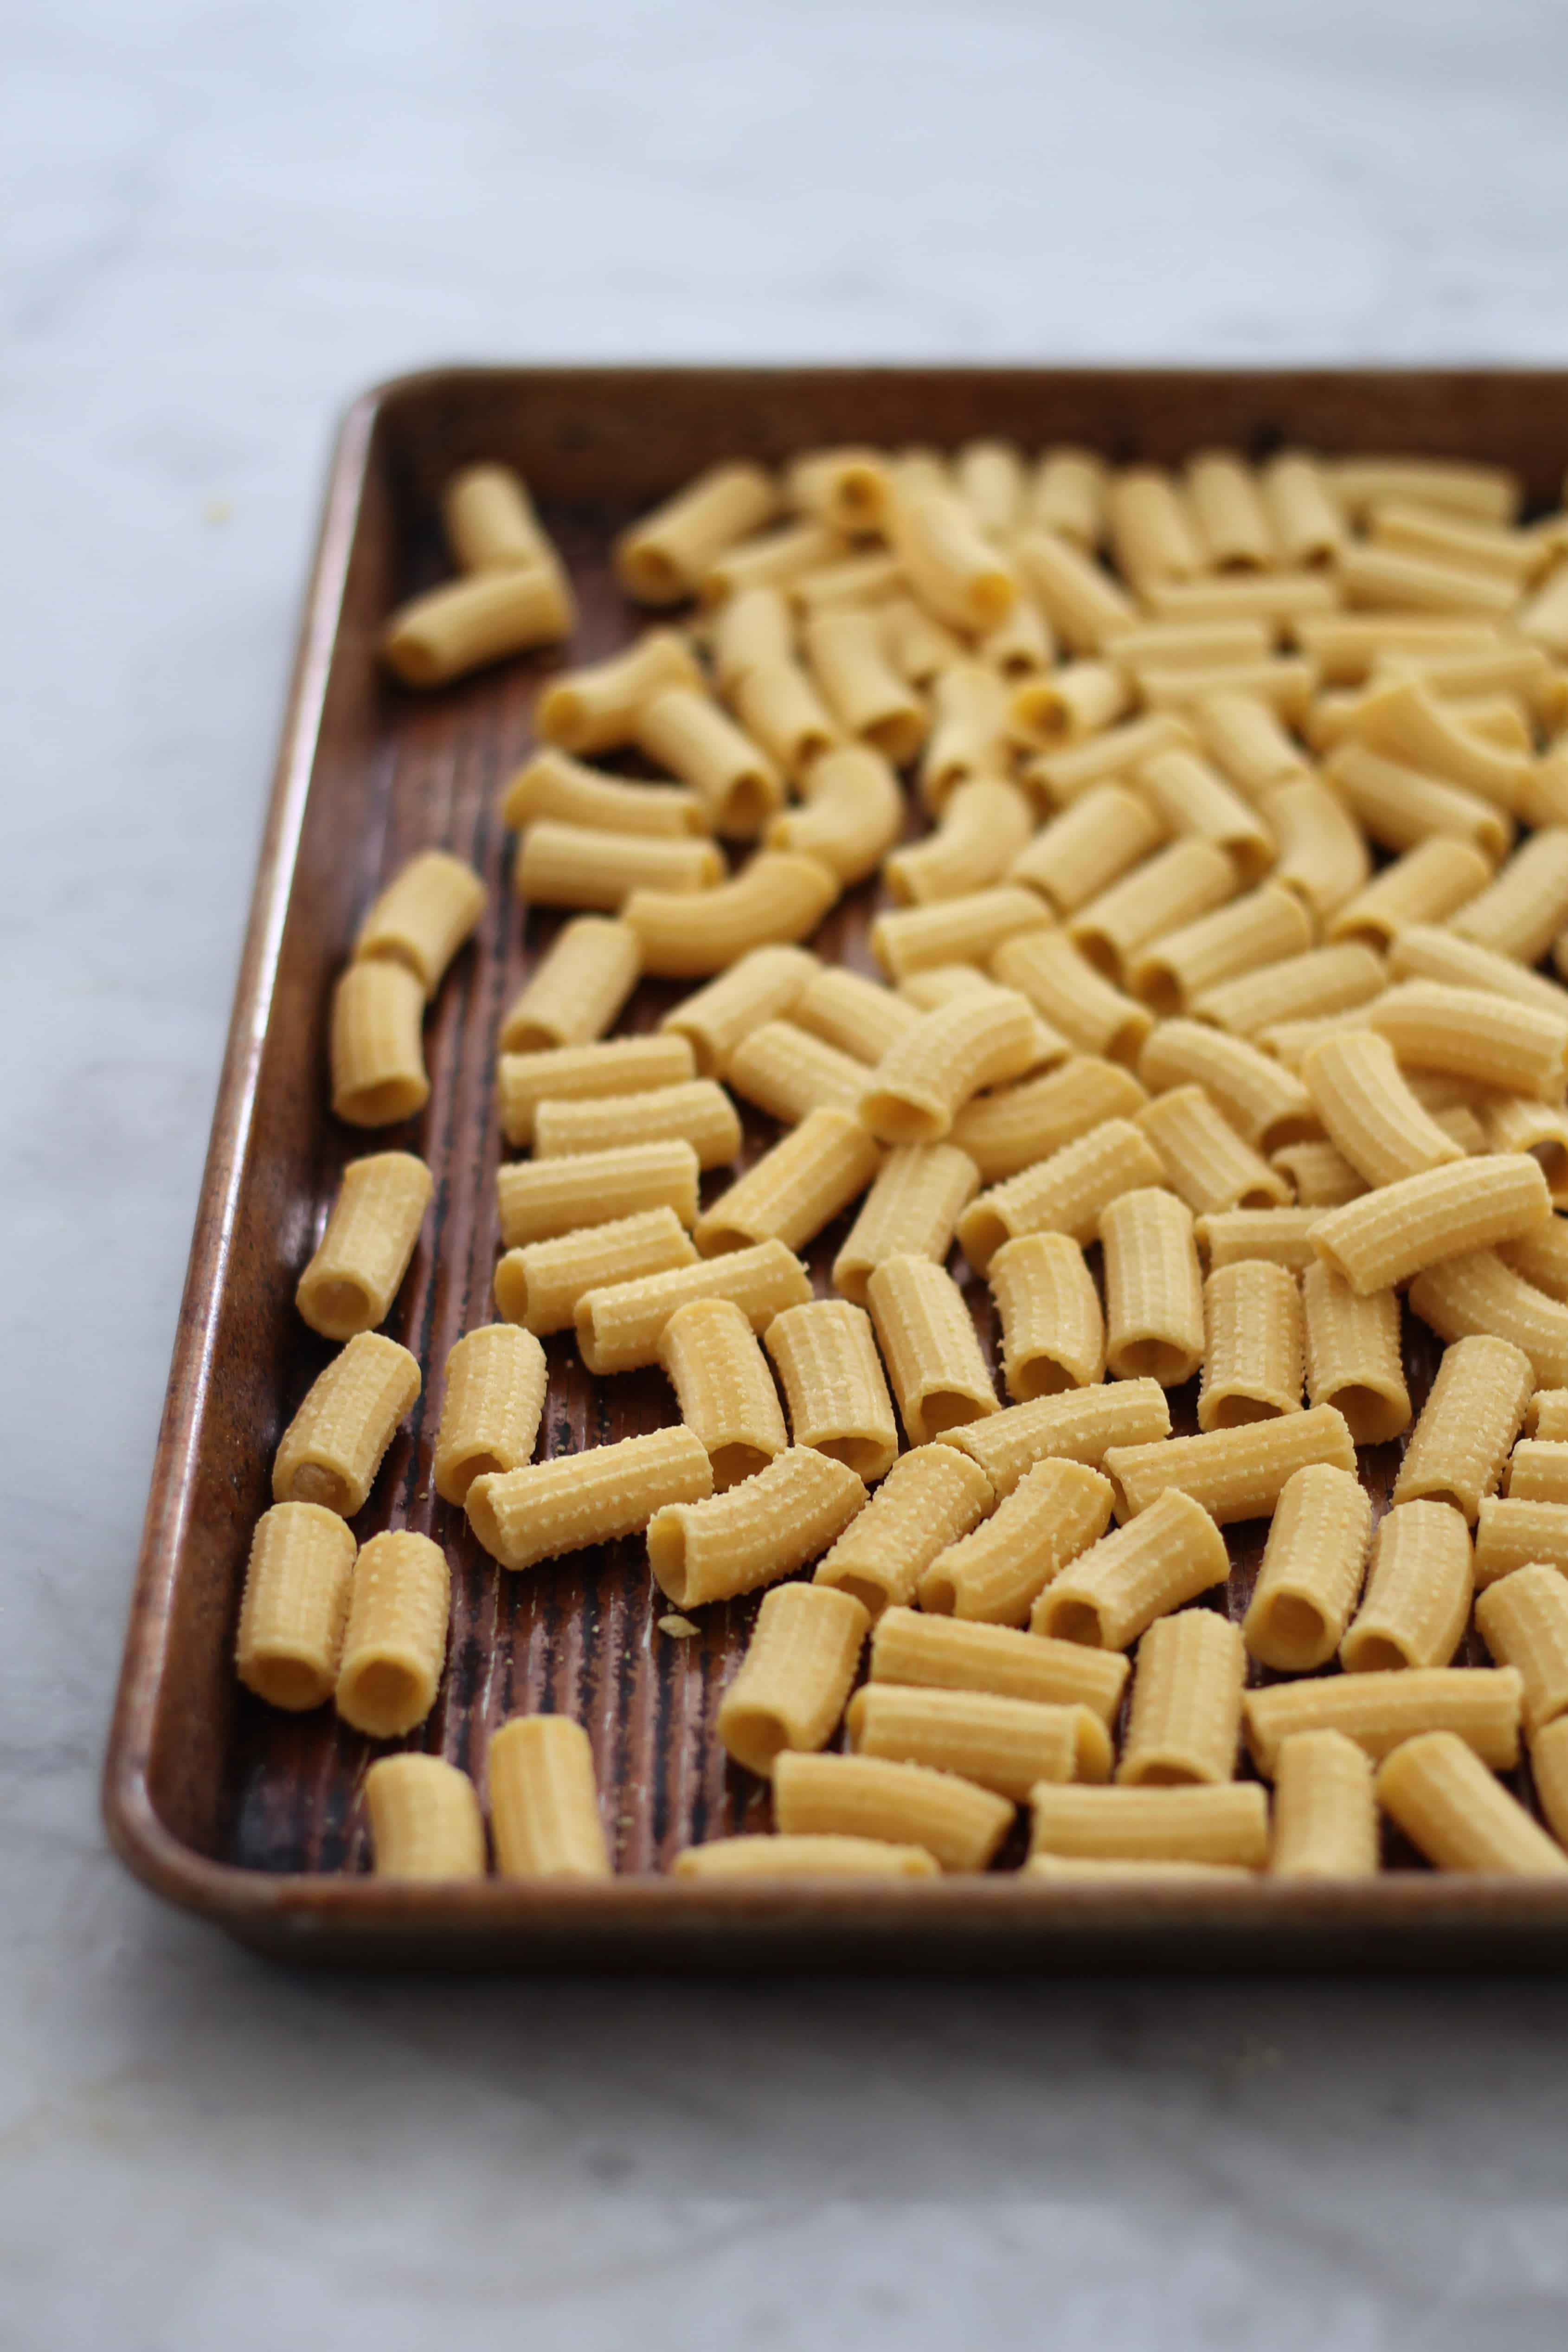
As I was browsing the different pasta making attachments that would work with my KitchenAid mixer before Christmas, I had a hard time deciding which type to try first. The extruder attachment made shaped pastas like macaroni, fussili, rigatoni and spaghetti, if I got the roller, I could make sheets of pasta and then cut them into different sized noodles, or use the sheets for lasagna ravioli etc. Both had great reviews on Amazon, but ultimately I chose the Kitchen Aid Pasta Press because my kids can’t eat long noodles anyway and I figured this made the most sense. Santa brought it for me Christmas morning and I’ve been hooked ever since.
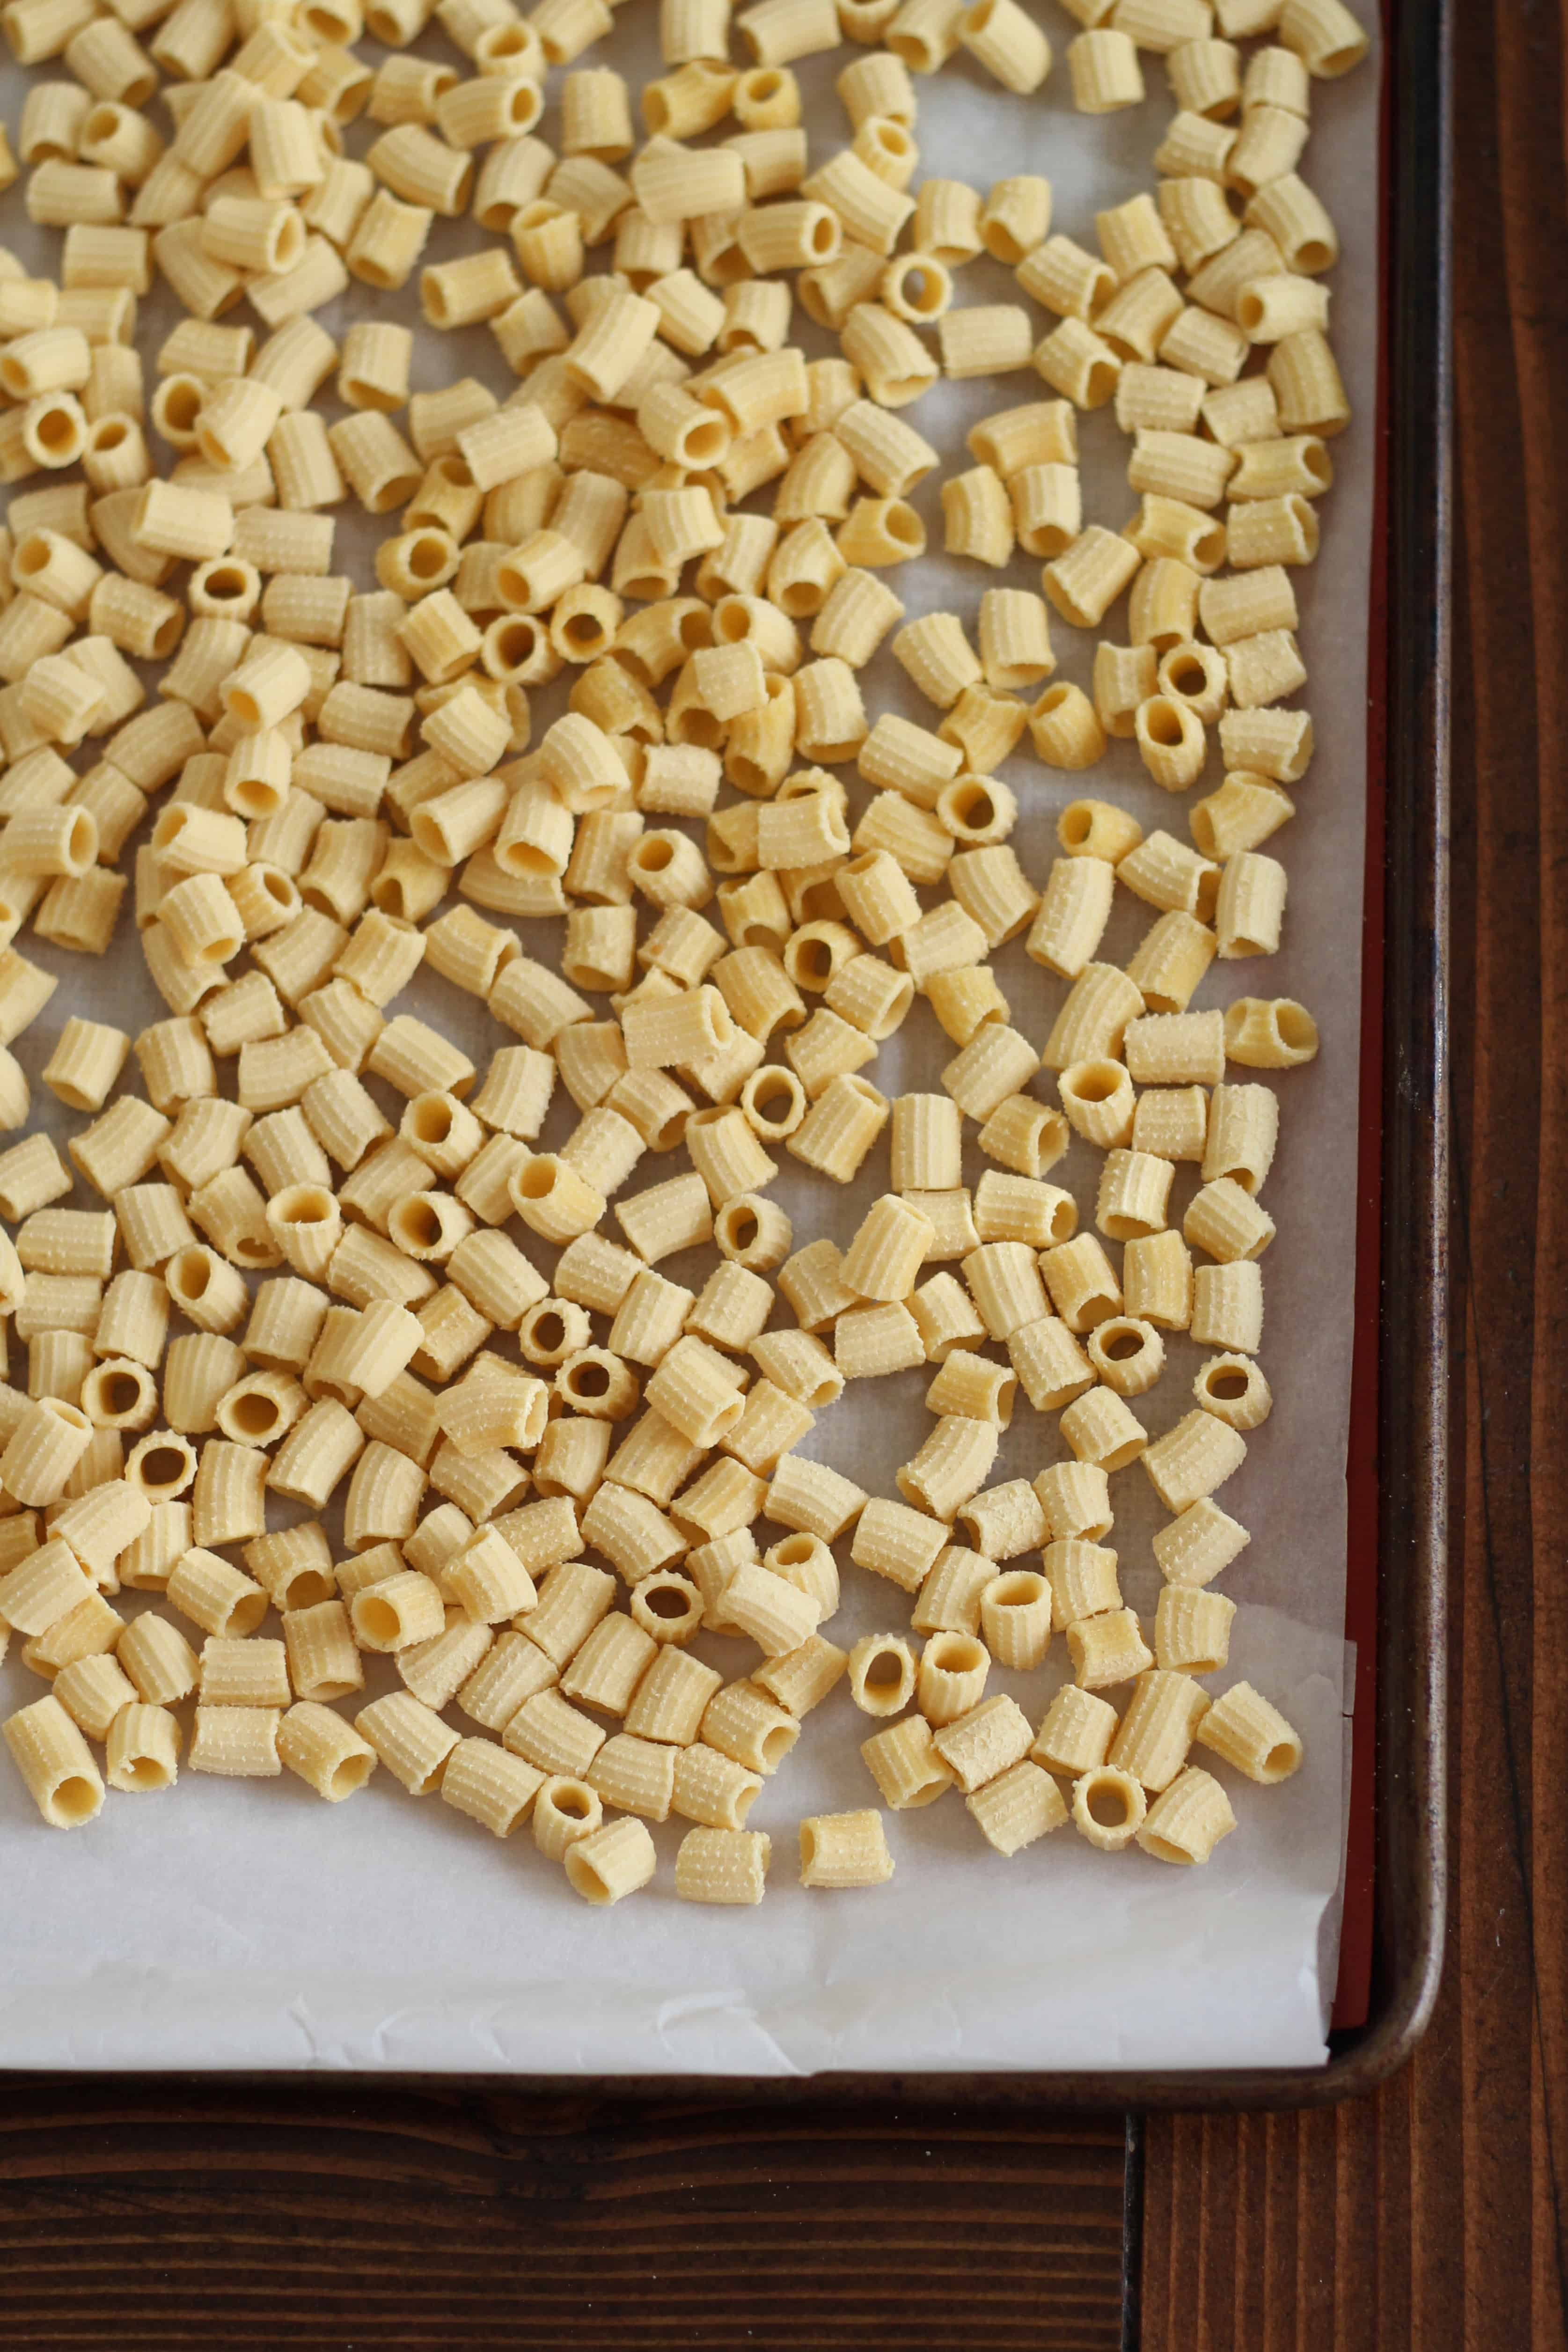
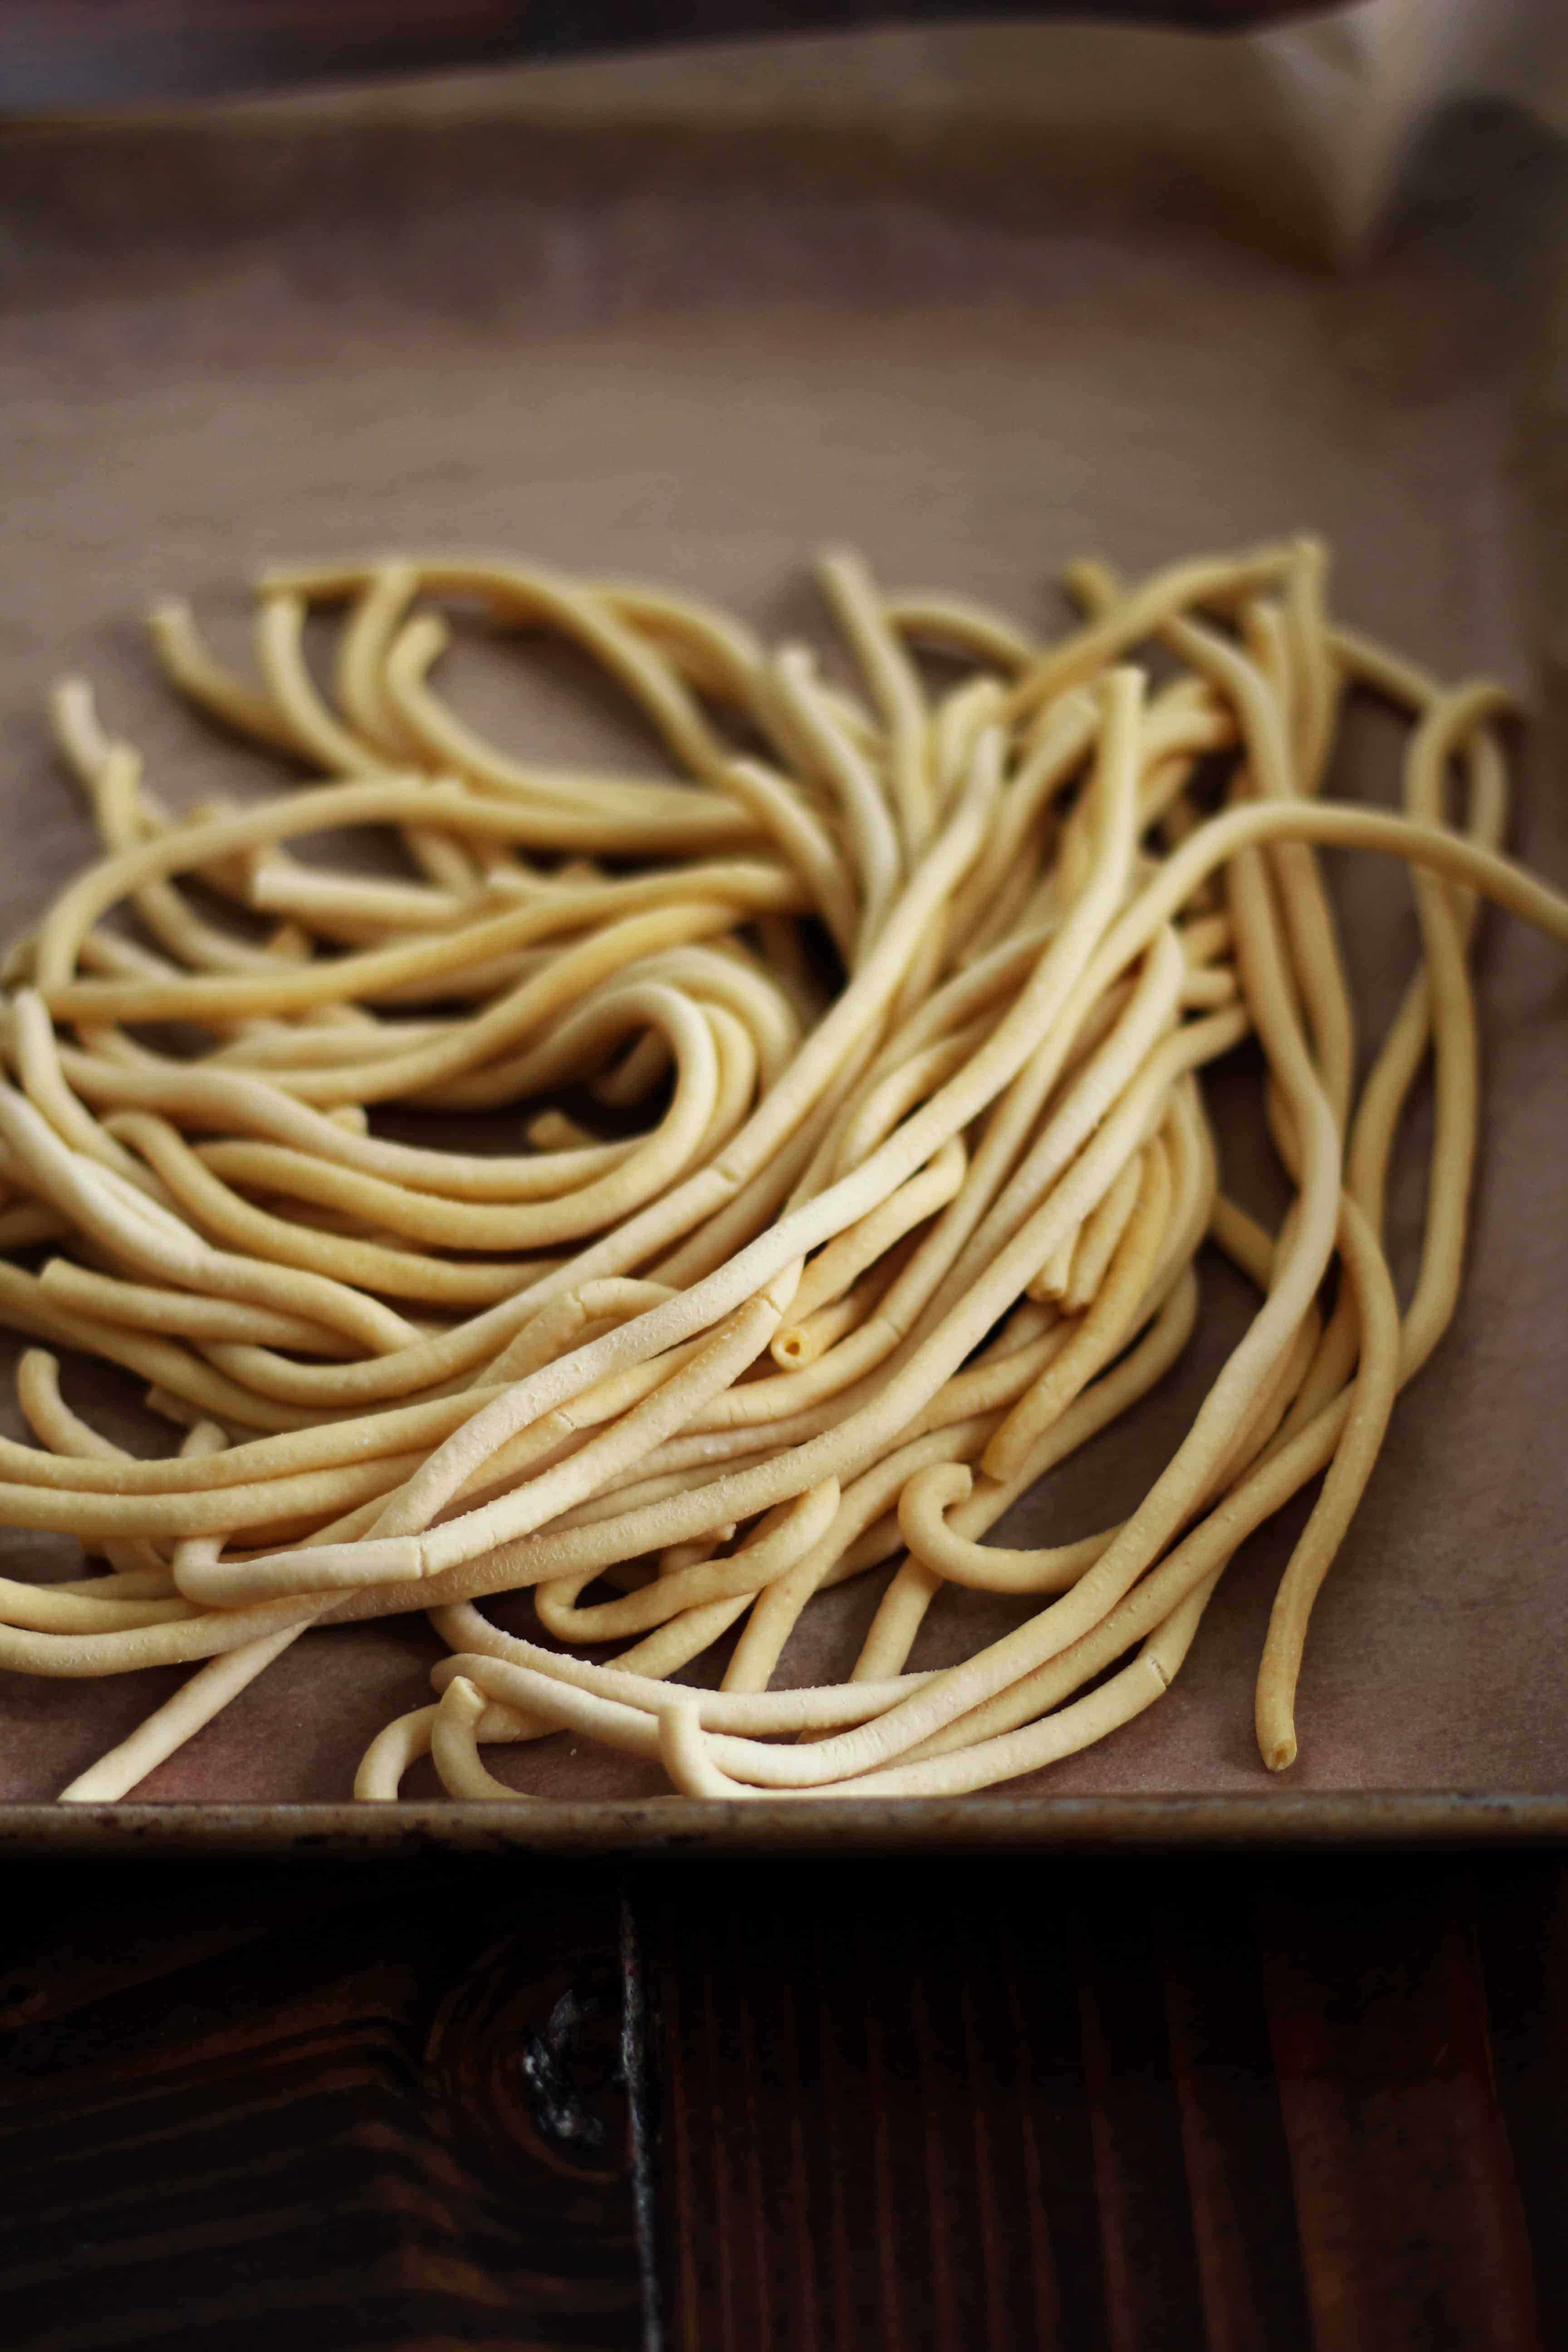
The extruder couldn’t be easier to use. You attach it to your mixer, make a really simple pasta dough, and then put walnut-sized pieces of dough into the machine and watch the perfectly shaped pasta come out. (It kinda reminds me of one of those playdough extruder toys!) Simply arrange the pasta in a single layer on a cookie sheet until you’re ready to use it and there you go. Easy peasy.
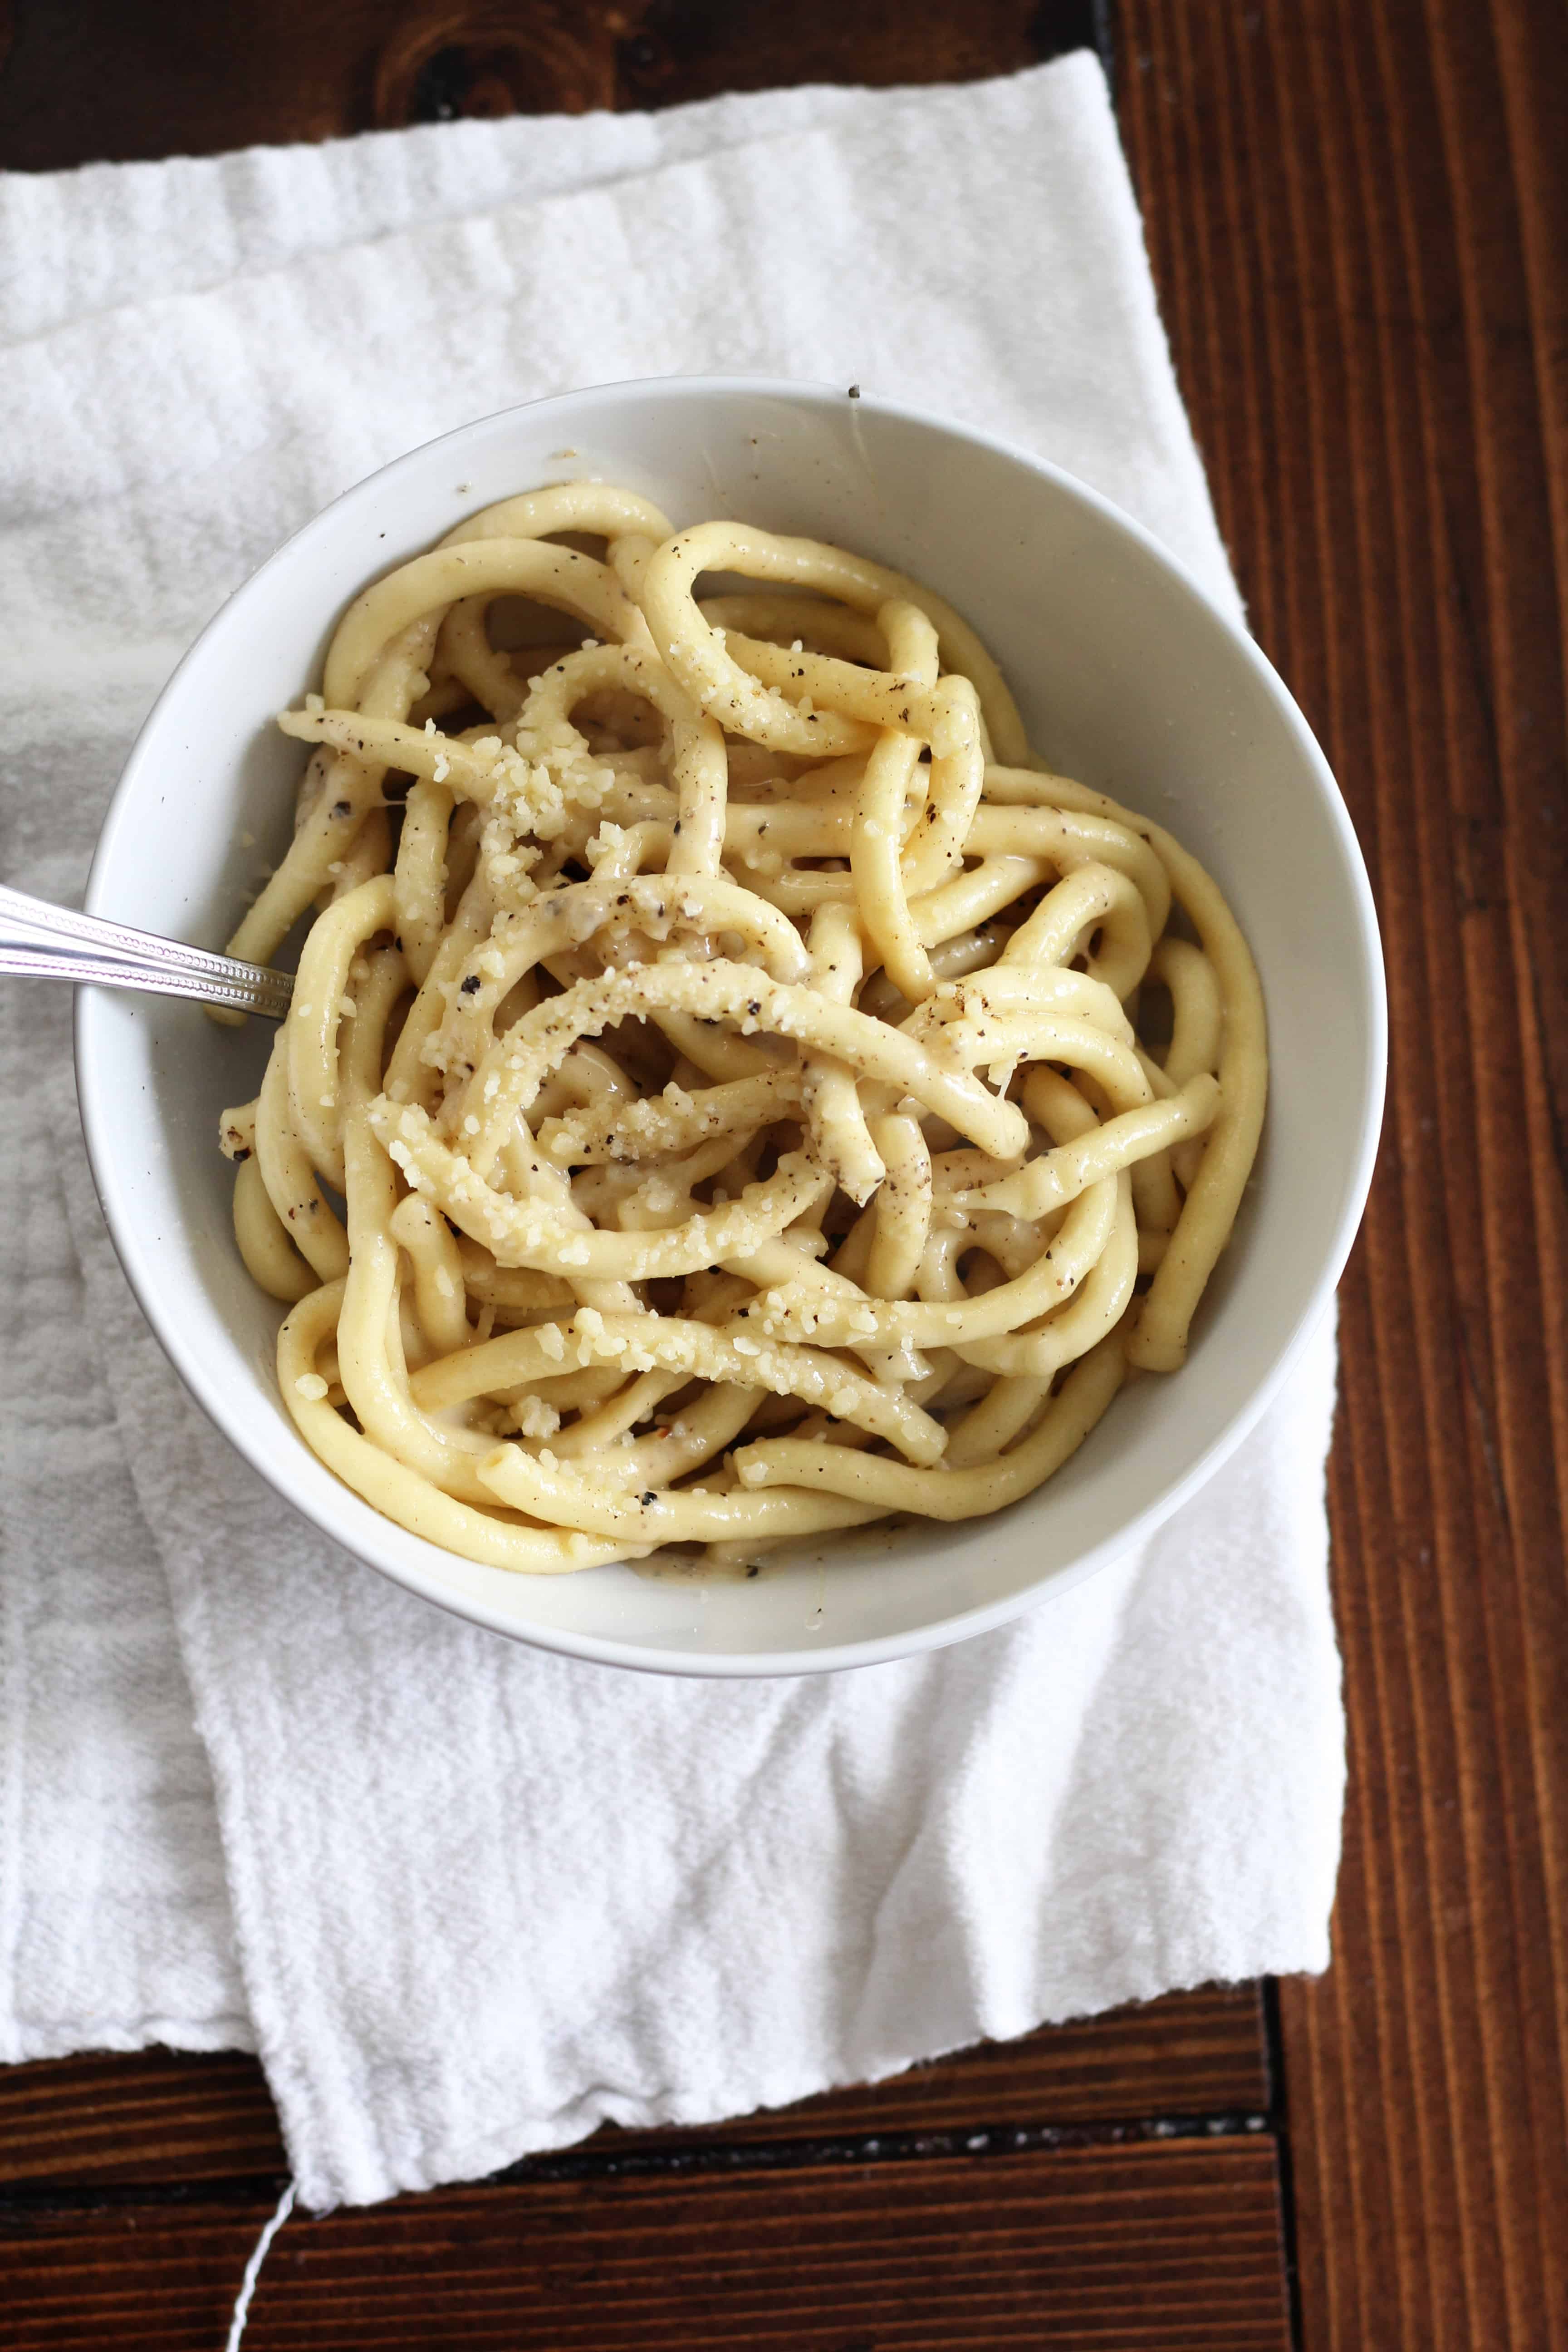
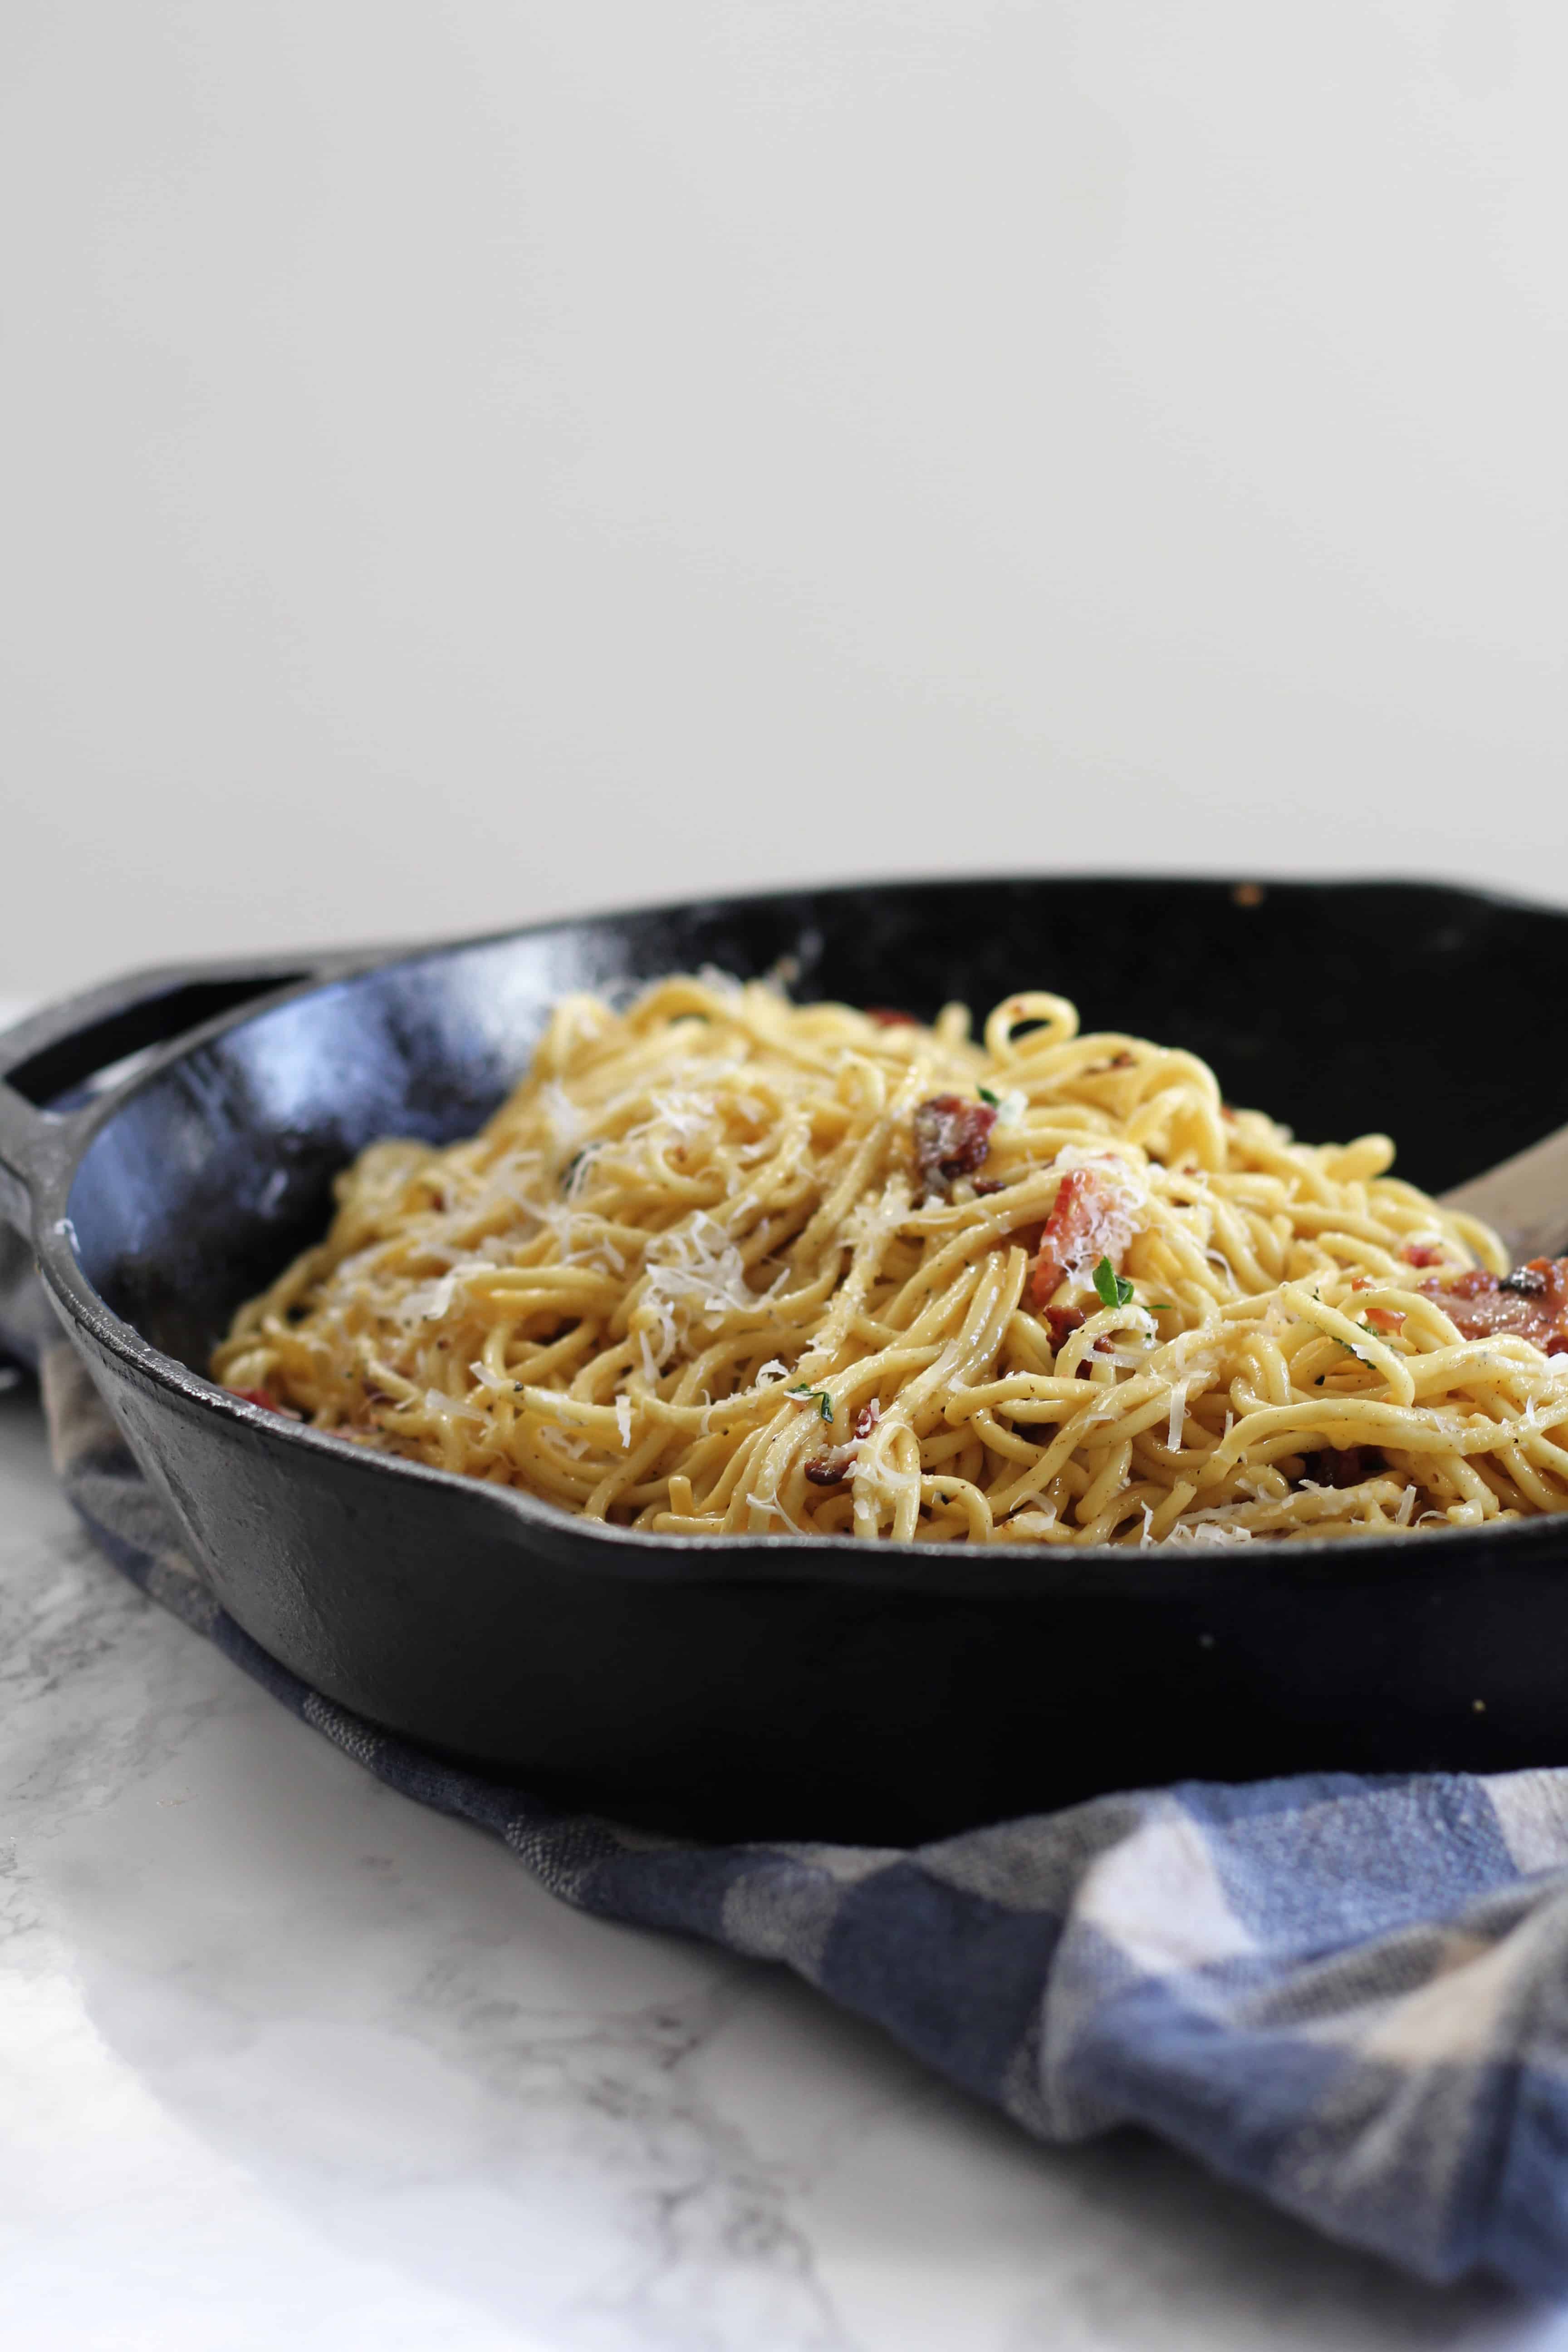
I really love this attachment and am so happy to have it. Sometimes I decide to make something like macaroni and cheese for dinner and have fresh pasta made, sauce done, and dinner on the table in an hour. It really is so simple once you get the hang of it.
Here are a few tips I’ve gathered to making fresh pasta with an extruder:
1- Dough needs to be dry and firm.
If you’ve made pasta with a roller before you want it to be soft and elastic, which is achieved by letting it rest for 20-30 minutes before rolling it. For extruded pasta, you actually can skip this step, and you want the dough to be dry and almost a little crumbly. It gets kneaded as it works it’s way through the machine and I find the finished product to be the perfect consistency when it’s not sticky or tacky. You’ll know if it’s not right because the cut pasta will stick together or not be shaped correctly.
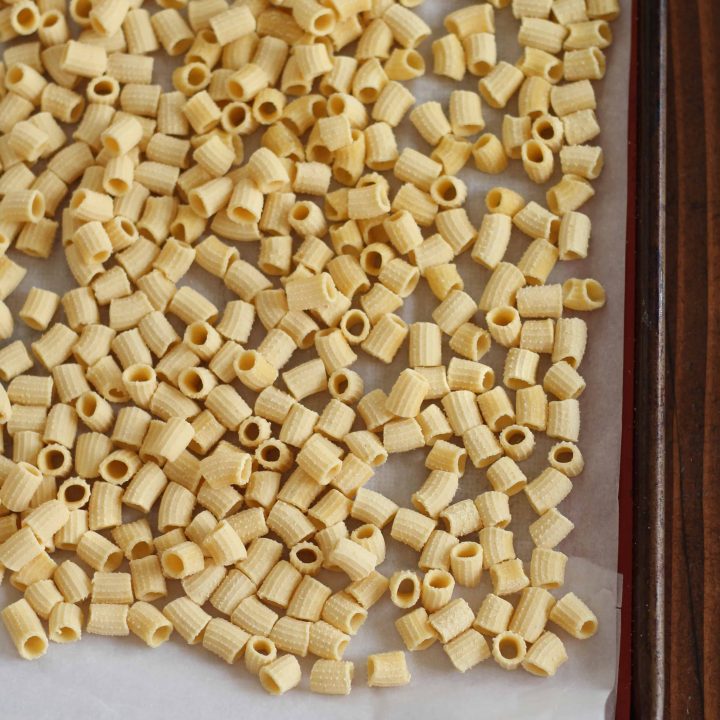
2- The pasta shapes will become more regular after the first couple batches.
I remember being confused why my first few batches of macaroni were perfectly curled and then came out more straight. This is totally normal. At first the dough will curl a bit and then will be smooth and straight. I actually like the look of the curled macaroni, and drove myself crazy wondering why it didn’t stay that way, but alas- normal.
3- Make fast, clean cuts. If your tube shaped- pasta gets cinched- it means you are cutting too slowly or your dough is too sticky.
The machine comes with a little blade you slide back and forth to cut your pasta. You can make it any length you want. Sometimes I like teeny macaroni for soups, or longer ones for baked pasta. A swift clean cut is ideal for keeping your pasta perfectly shaped.
I love this attachment, but have since gotten the roller and am enjoying trying that out too. Here is my favorite pasta recipe- I use it for both types- extruded and rolled pasta, I just keep it a bit more dry for this version. This is by far the fastest way to make homemade pasta, cutting out the steps of letting the dough rest and rolling out thin sheets. Let me know if you have any questions!
Fresh Pasta Dough
Ingredients
- 2 cups all purpose flour
- 1 cup semolina flour*
- 3 whole eggs
- 1/2-1 cup of water
- salt for cooking pasta
Instructions
- Using either the bowl of a stand mixer, or by hand on your counter, mix the flours together. Create a well in the center of the flour and crack the eggs into it. Mix by hand or with the paddle attachment of your mixer until a scraggy dough forms. Add water, a little at a time until the dough holds together in a dry ball. (Add more water if rolling the pasta.)
- Cover dough with a clean towel as you pop walnut-sized pieces into the exruder attachment.
- Arrange formed pasta single layer on a cookie sheet until you're ready to cook it.
- Boil salted water and cook pasta for 3-4 minutes.
Notes
*I like the texture and flavor semolina flour adds to the mix but if you don't have it, I've had great success with all AP flour as well.
This post contains Amazon Affiliate links. I purchased this pasta maker myself, but if you choose to buy it from these Amazon links I get a teeny bit of commission!
i have a question for ok withthe semolina flour to make home made pasta and pot pie squares ok do you have to use flour and semolina flour together????? thank you sandie
Hi Sandie- I’m not sure I understand your question. I only use semolina for making pasta :)
thank you for getting back to me thats ok i think i gt the answer thank you honey sandie
your recipe calls for flour and semolina right?? thank you honey
Yes! 2 cups AP flour and 1 cup semolina flour.
thank you i got it sandie
I have been a little intimidated about homemade pasta, but this looks so good. I’m going to have to give it a shot. I’m sure it tastes a million times better!
I just want you to know that I read this on Sunday and then had a dream about making pasta on Sunday night! I think that’s a sign. MUST. MAKE. PASTA.
I know I’m late to the party but I hope you can answer this question. When using the KA extruder attachment, does speed have anything to do with it? I mean does it work better if you have it cranked up to medium/medium-high or is slower better?
Thank you
Yes- certain pasta shapes require certain speeds. I think the spaghetti is a 6 and others are a 2/3. It was all printed in the manual :)
Thank you Audra, I don’t know how I missed that.
Hi,
Is the above, the recipe you used for the extruder? I read that it’s best not to use eggs? The recipe above loooks similar to the one I use for spaghetti. Can’t wait to try it out! Thank you!!
Thanks for the recipe and instructions.
I do have a question:
If I make pasta and have too much for that night, how do I store the extra amount?
Thanks in advance.
We own a restaurant in New Orleans and make fresh pasta every day. This recipe is every bit as great as our own handmade, extruded pasta. Thanks for sharing.
I’ve just started using my KA extruder and it’s easy to operate. My problem is the thickness of the pasta is to thick so the taste more like dumplings.
Is there a method to get them thinner??
Thanks for the help — Lorraine
Do You have an extruder pasta recipe that doesn’t contain eggs? Allergies keep me from making egg pasta.
Thanks!
I loved this post! Making homemade pasta seems like such a rewarding experience, and your tips are super helpful. Can’t wait to try the dough recipe! Looking forward to Part 2!
I absolutely loved this post! Making homemade pasta has always seemed intimidating, but your step-by-step instructions make it feel so achievable. Can’t wait to try out the recipes you shared. Thanks for the inspiration!
This post makes homemade pasta feel so approachable! I can’t wait to try the recipe this weekend. Your tips on kneading and rolling out the dough are super helpful. Looking forward to Part 2!
I absolutely loved this post! Your step-by-step instructions and beautiful photos have me excited to try making pasta at home. Can’t wait for Part 2! Keep up the fantastic work!