Felt Valentine Frame How-to
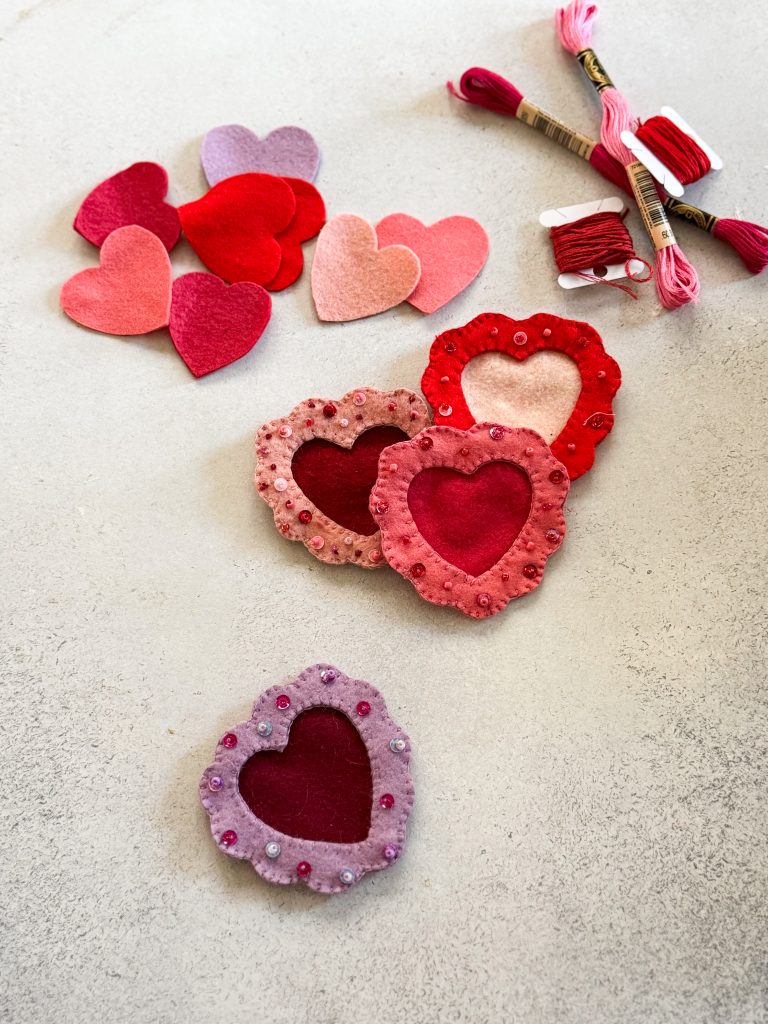
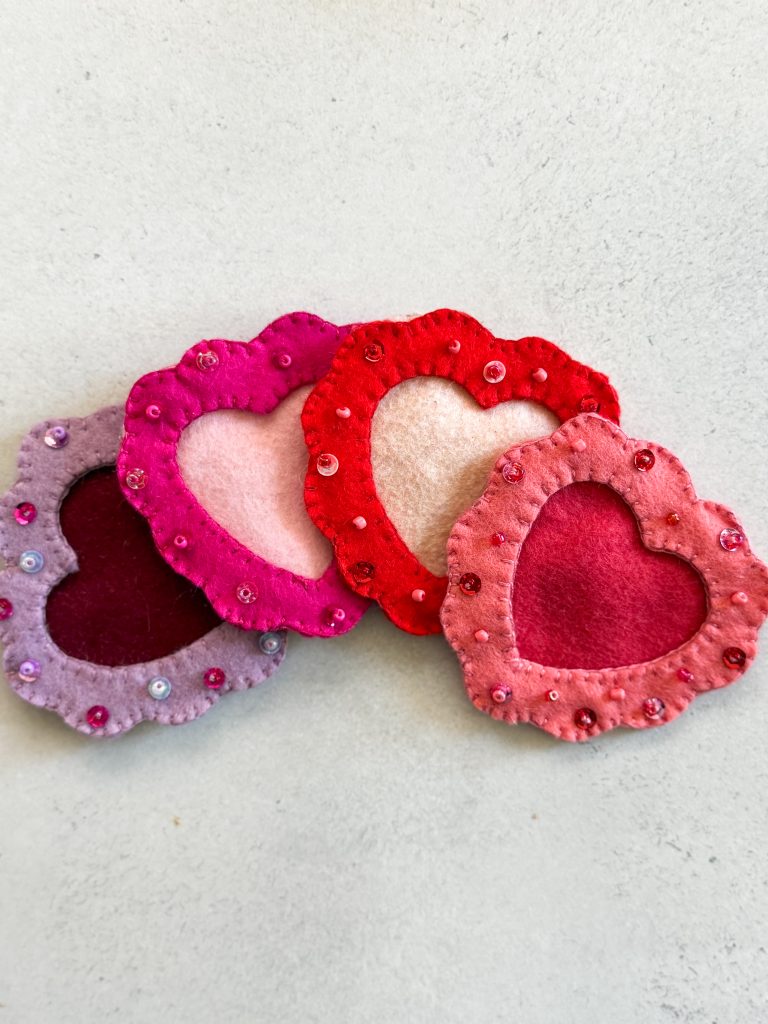
These adorable felt picture frames are the cutest homemade Valentine around. Unlike some more disposable options, with a magnet on the back this is something any family would be overjoyed to receive and put on their fridge! (I’m planning to put a picture of each student in my son’s kindergarten class inside!)
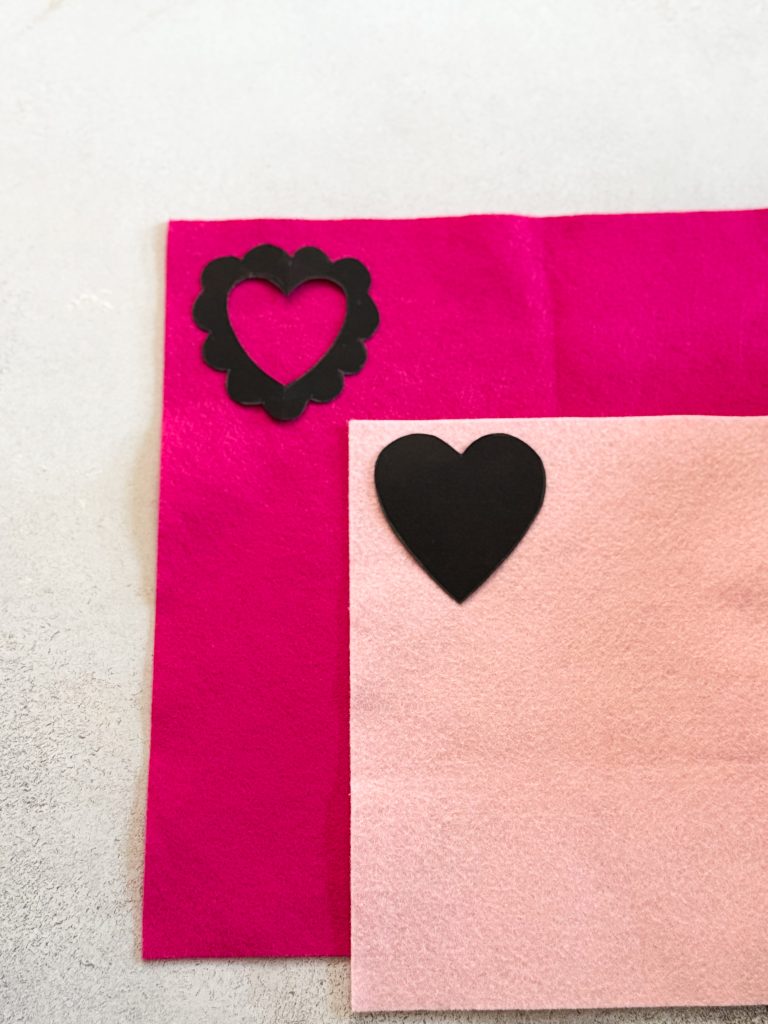
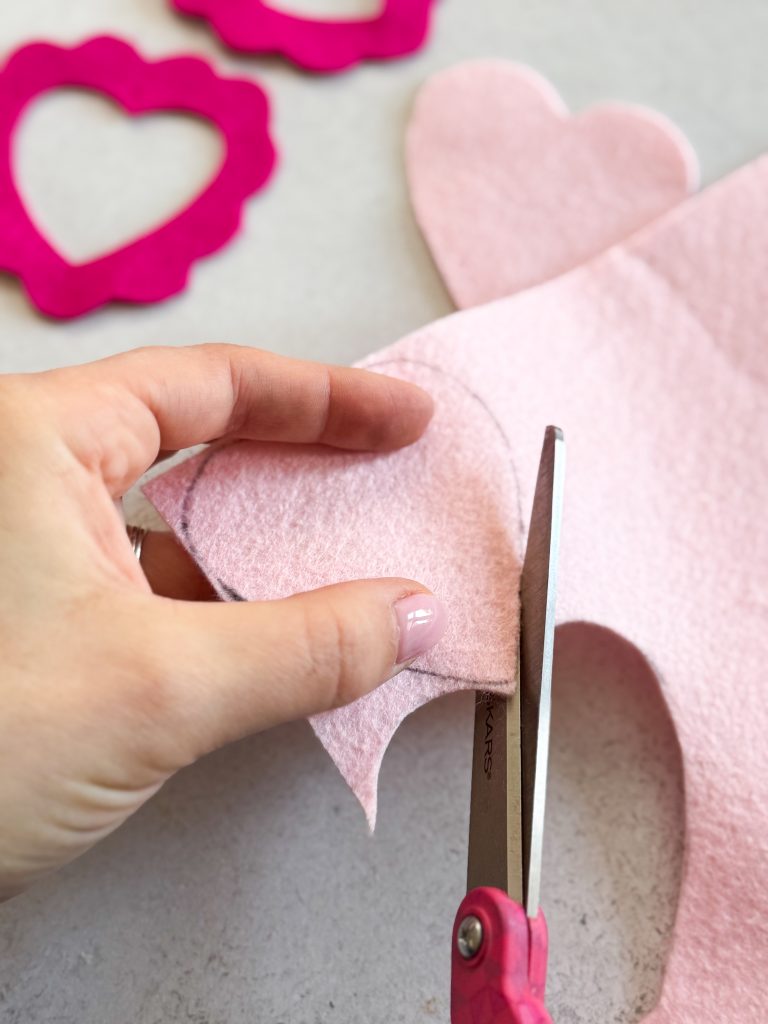
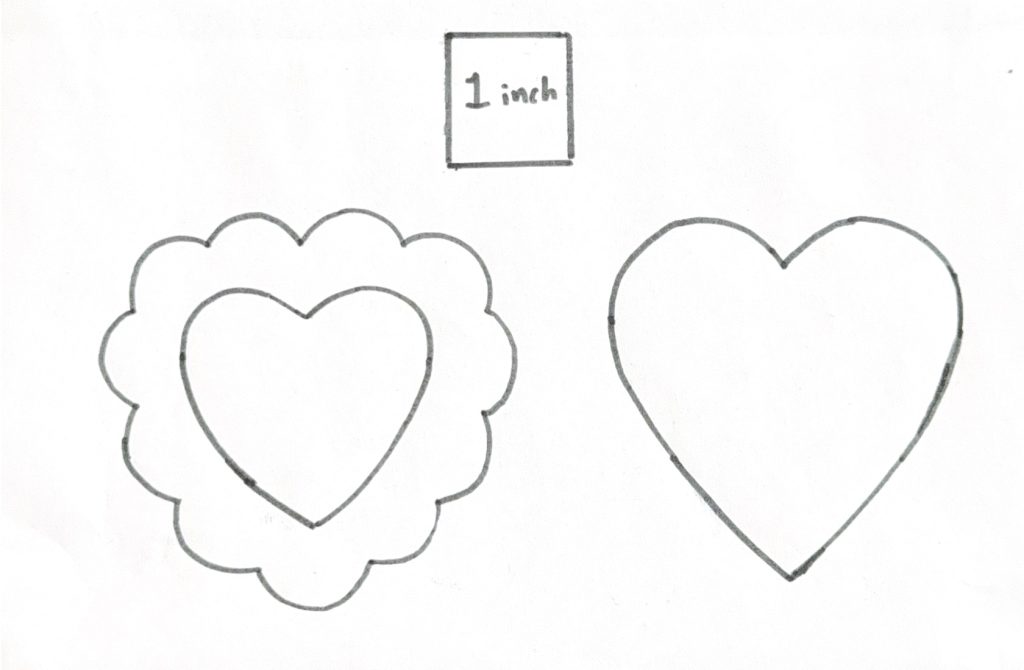
I free-hand all my patterns, but I decided to trace it and upload it here for you so you can make these at home! (You can find the template at the bottom of the post.) I suggest putting a piece of white paper up on a computer screen and using it like a lightboard to trace the shapes and then transfer to cardboard if you’d like! (I included an inch measurement for scale)
Supplies needed for these Felt Valentine’s Day Frames:
- Felt. I get all my felt from a local-ish to me store called Benzie Designs which also has an amazing online store! I like the wool blend felt. (Sometimes I order when I don’t have time to drive the 45 minutes- and they ship super fast!)
- Embroidery Floss: You can buy this from any local craft store- I like the DMC brand. I also often get the matching colors to the felt I buy from Benzie’s site.
- Beads/Sequins: I get all mine from Amazon. I have all the supplies I use listed HERE.
- Sewing Scissors
- Needles
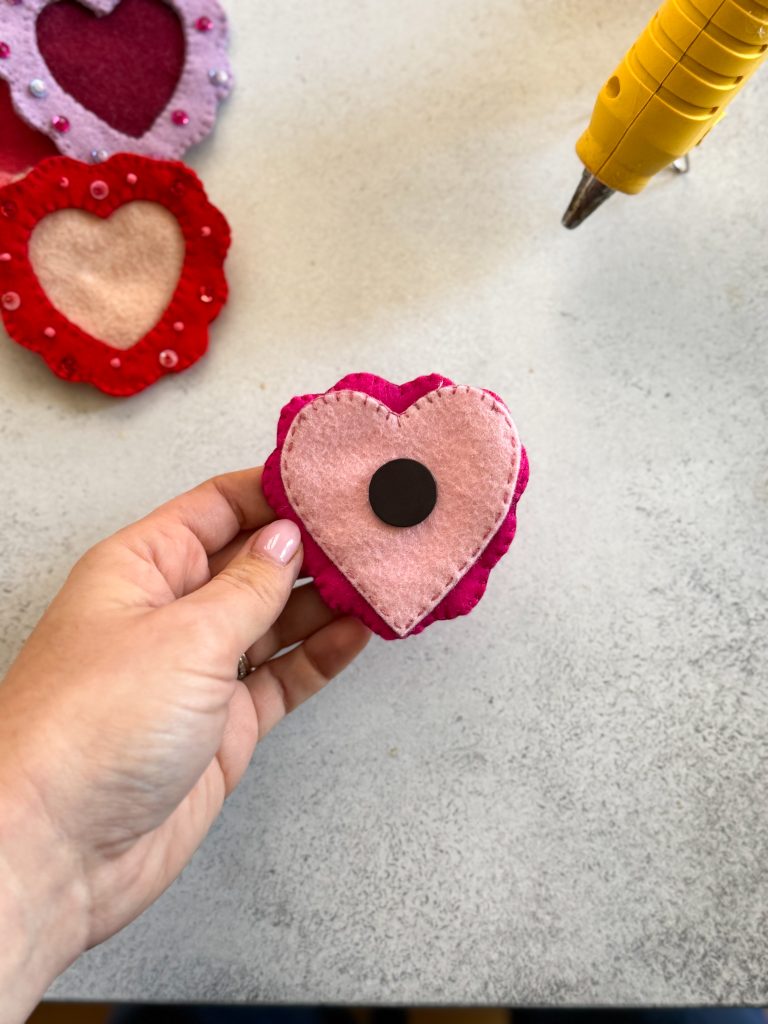
- Magnets
- Hot Glue or Fabric Glue
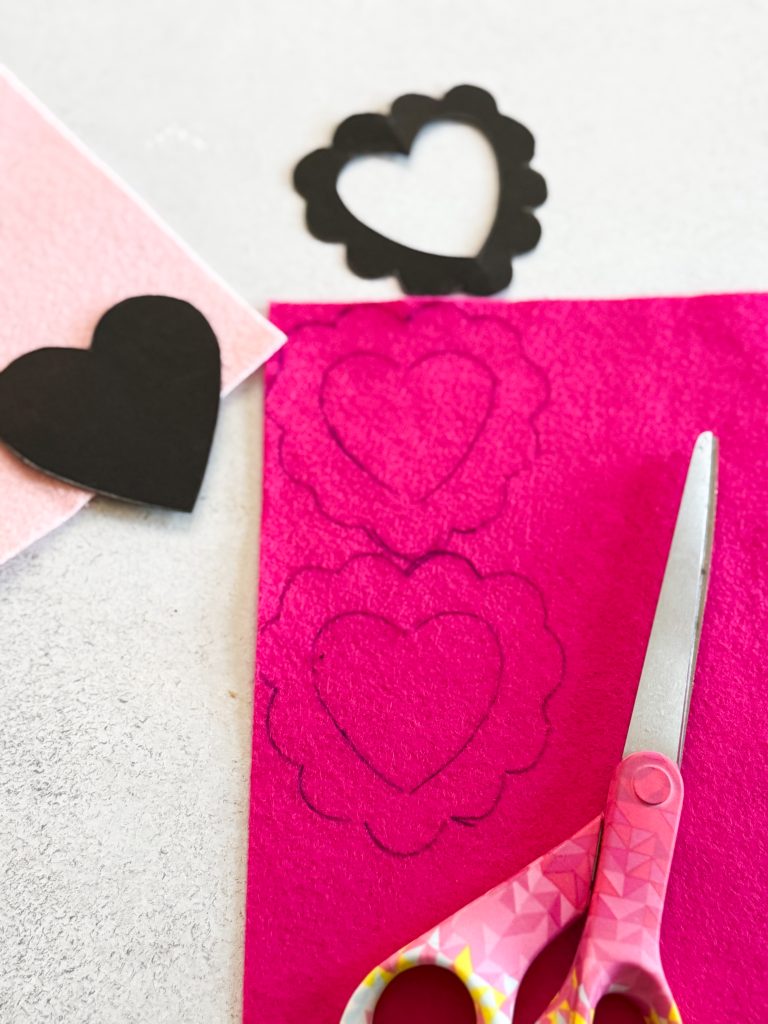
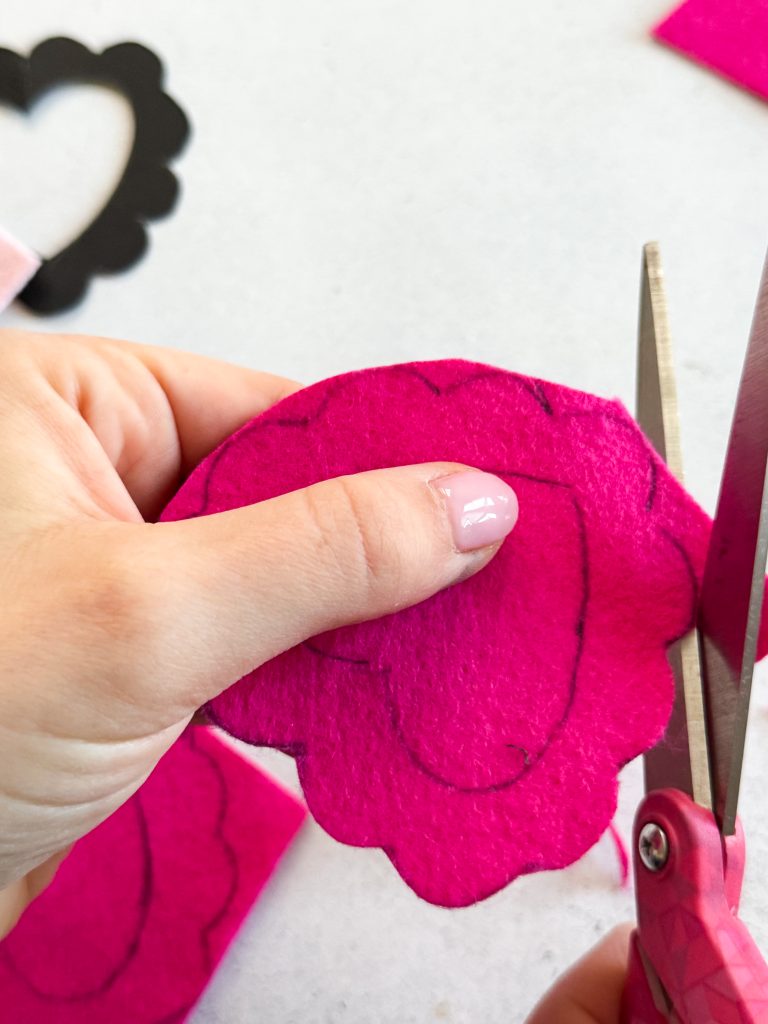
Trace the stencils on your felt. I like to do a contrasting color for the back vs. the front. Cut everything out with a fabric scissors.
Do a blanket stitch along the top of the heart shapes. That’s where the photo will slide in.
Do a running stitch to attach the hearts to one layer of the frame. It will show on the back but not the front so you can have any knots end up on the front.

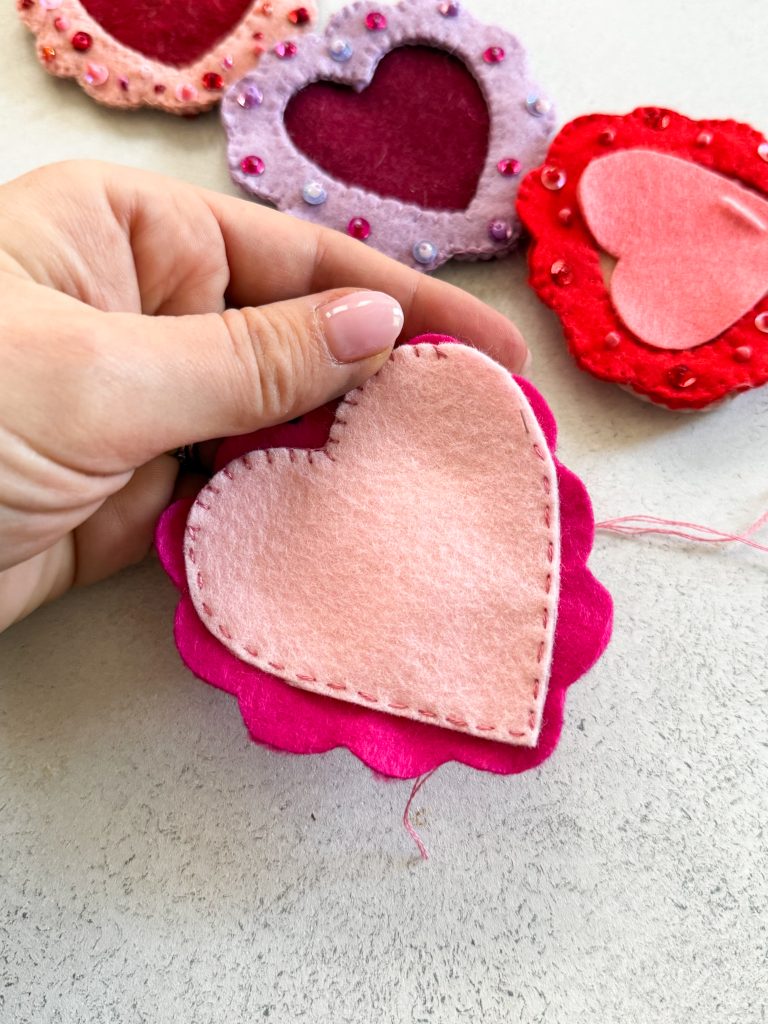
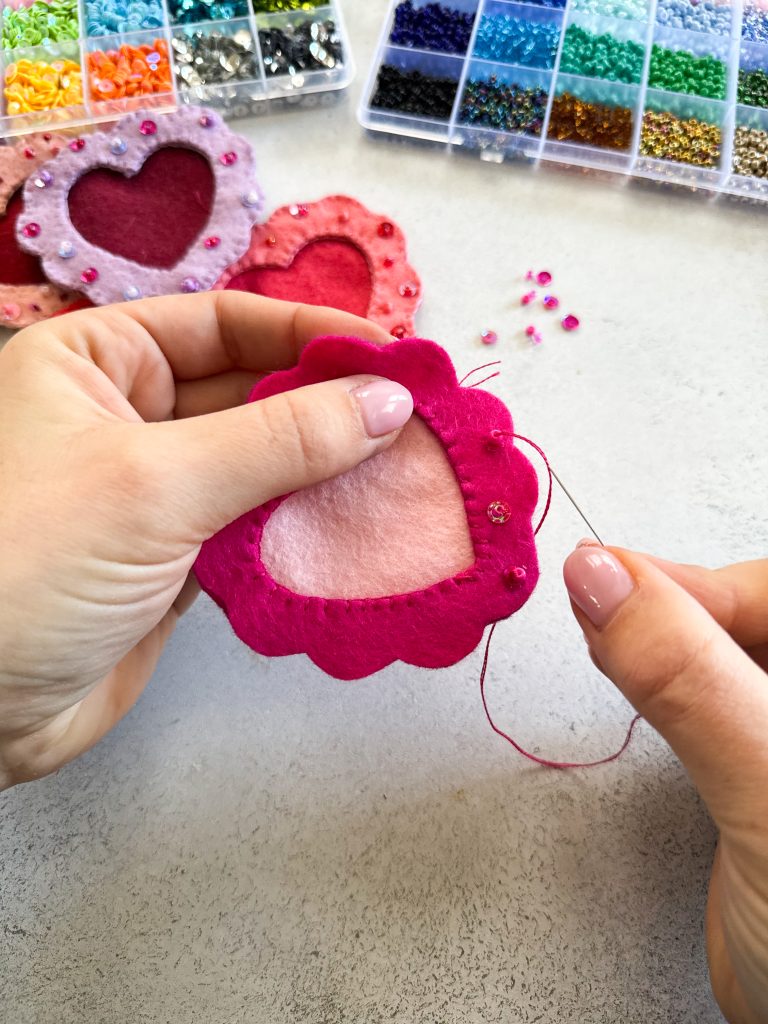
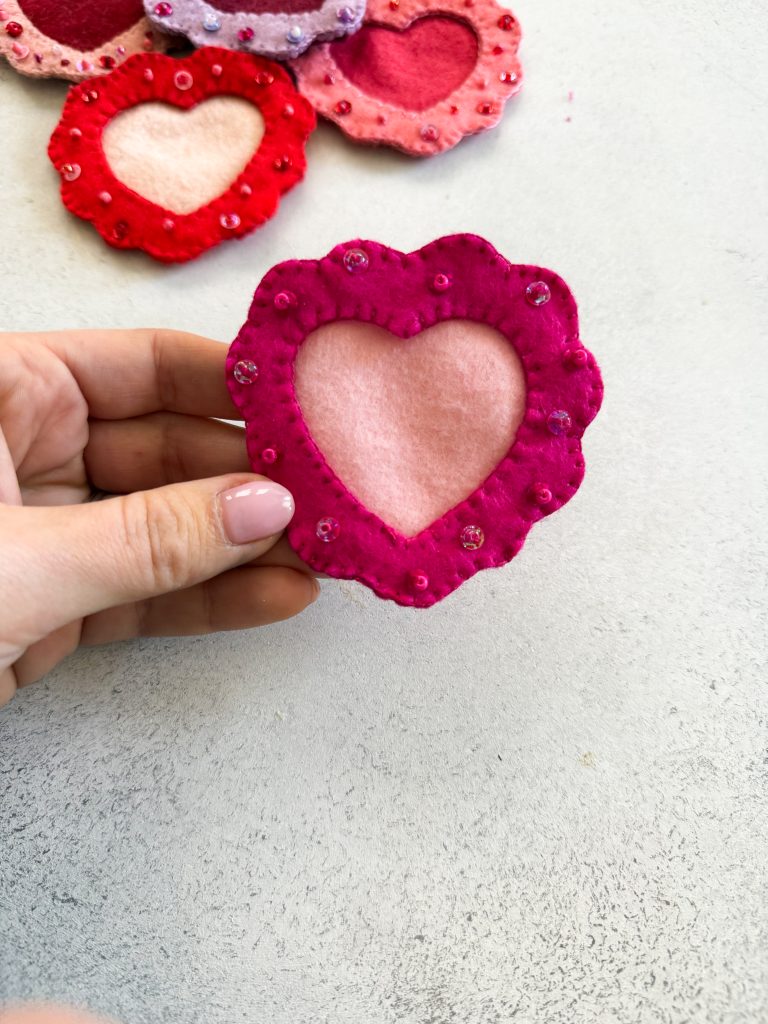
Align the top layer of the frame with the bottom, and do a blanket stitch around the inside heart. (I find it easier to attach beads and sequins with it attached but you could also sew them on first.)
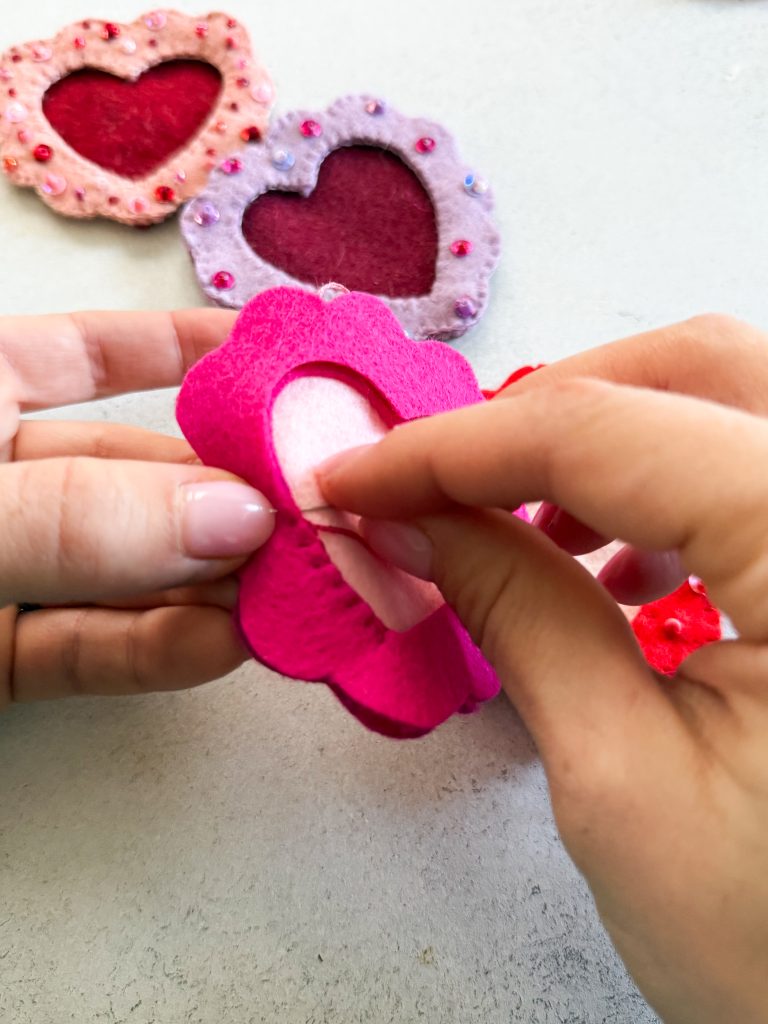
Sew on any beads or sequins. I like to make a small stitch underneath each one to secure it. (this doesn’t show on the top.)
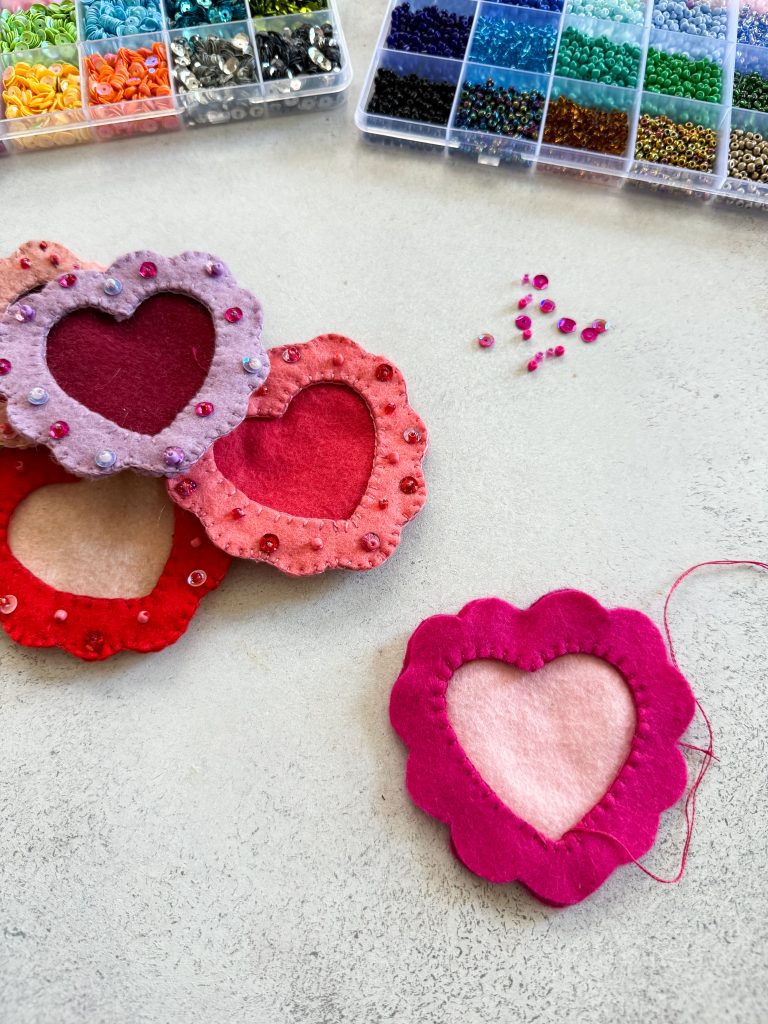
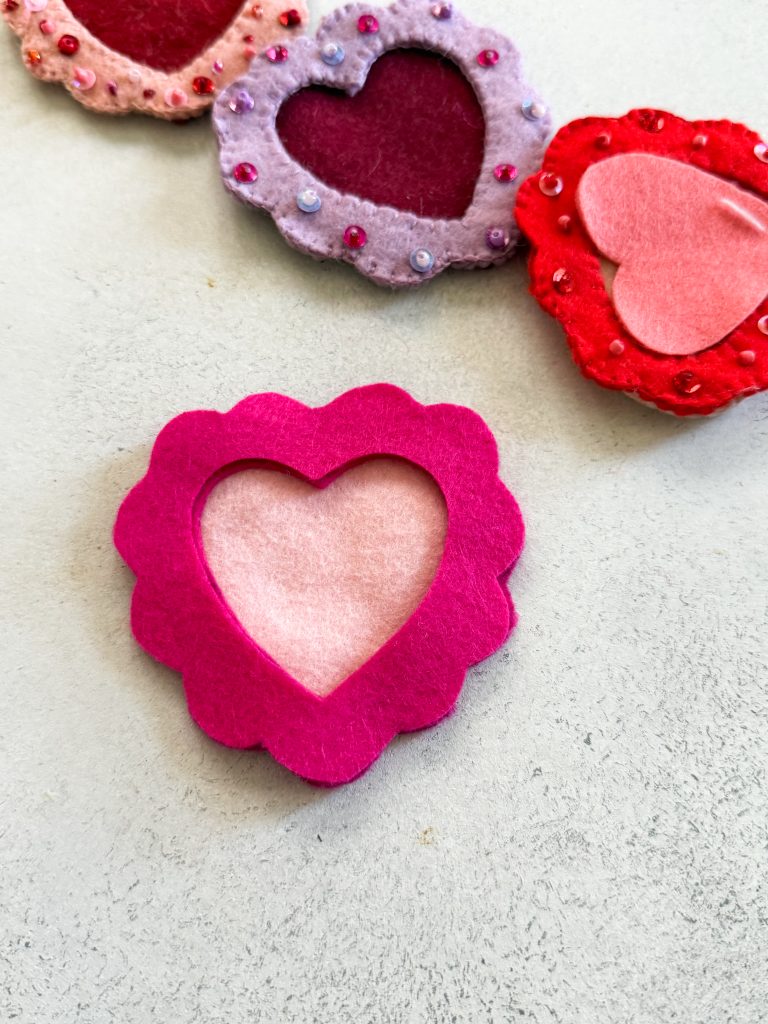
Once all the beads are on, finish by sewing all the edges together with a blanket stitch.

Use hot glue or fabric glue to attach a magnet to the back of the frame.
All done! It’s so fun experimenting with the different color combos! Want to see a video tutorial? I have the whole process layed out in this video on my Tiktok!
This post contains Amazon affiliate links- these are the actual products I use!