Fabric Flag Bunting Cake Topper How-To
As it was with most of my wedding, I wanted to DIY something special for my cake. Now, I didn’t have a traditional cake with lots of tiers and fancy decor. After tasting several wedding cakes in the area- I found them all just “Eh.” (a curse of having such high dessert standards.)
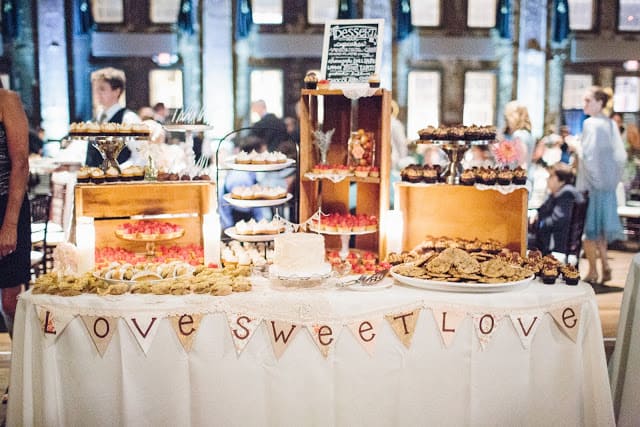
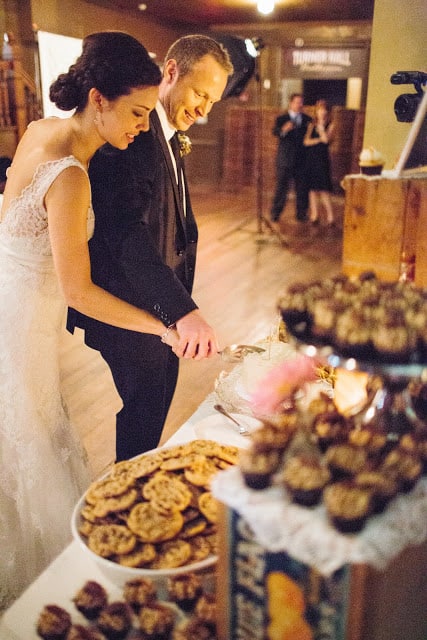
So- It didn’t take long before I realized a dessert bar was the way to go. I found a cupcake place I adored, and our caterer made cheesecake lollypops, and mini lemon tarts that were to die. Add to that, my Mom making 200 of her famous chocolate chip cookies, and my Dad making traditional middle eastern baklava. Dessert heaven! I couldn’t have been happier with how the whole thing turned out.
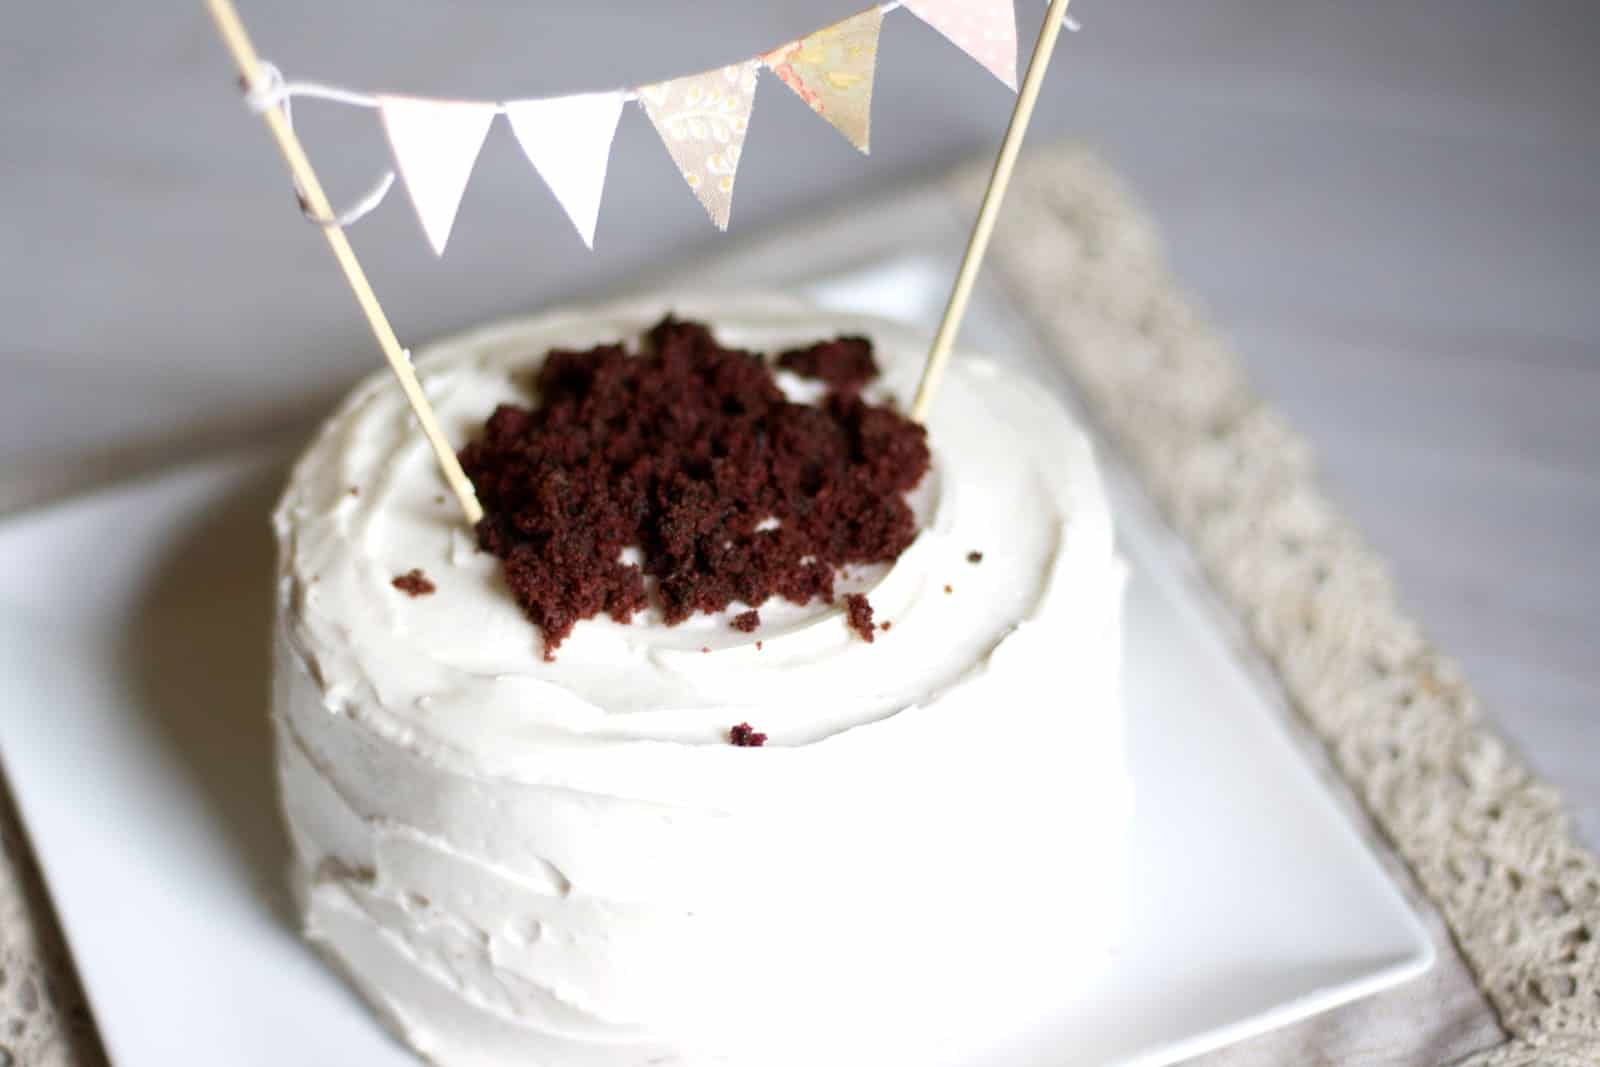
Anyway- I did want a small cutting cake, so our cupcake shop made up a 6 inch cake in our of our cupcake flavors: Vanilla Salted Caramel. (Surprised??) I knew it needed something cute to go on top of it, and I’d seen flag cake toppers around etsy. Why pay $20+ for something I could easily make it hours? You can either leave it plain like you saw here, or stamp letters on for a special occasion like I do below. And here’s how!
Supplies needed:
1. Scrap fabric
2. Small piece of cardboard
3. Fabric glue
4. 3 bamboo skewers
6. Rotary cutter/mat/ruler
1. This is a great use for scrap fabric. Both the linen for my wedding topper and the fabric for the topper of the Vegan cake came from leftovers from my napkin-making project.
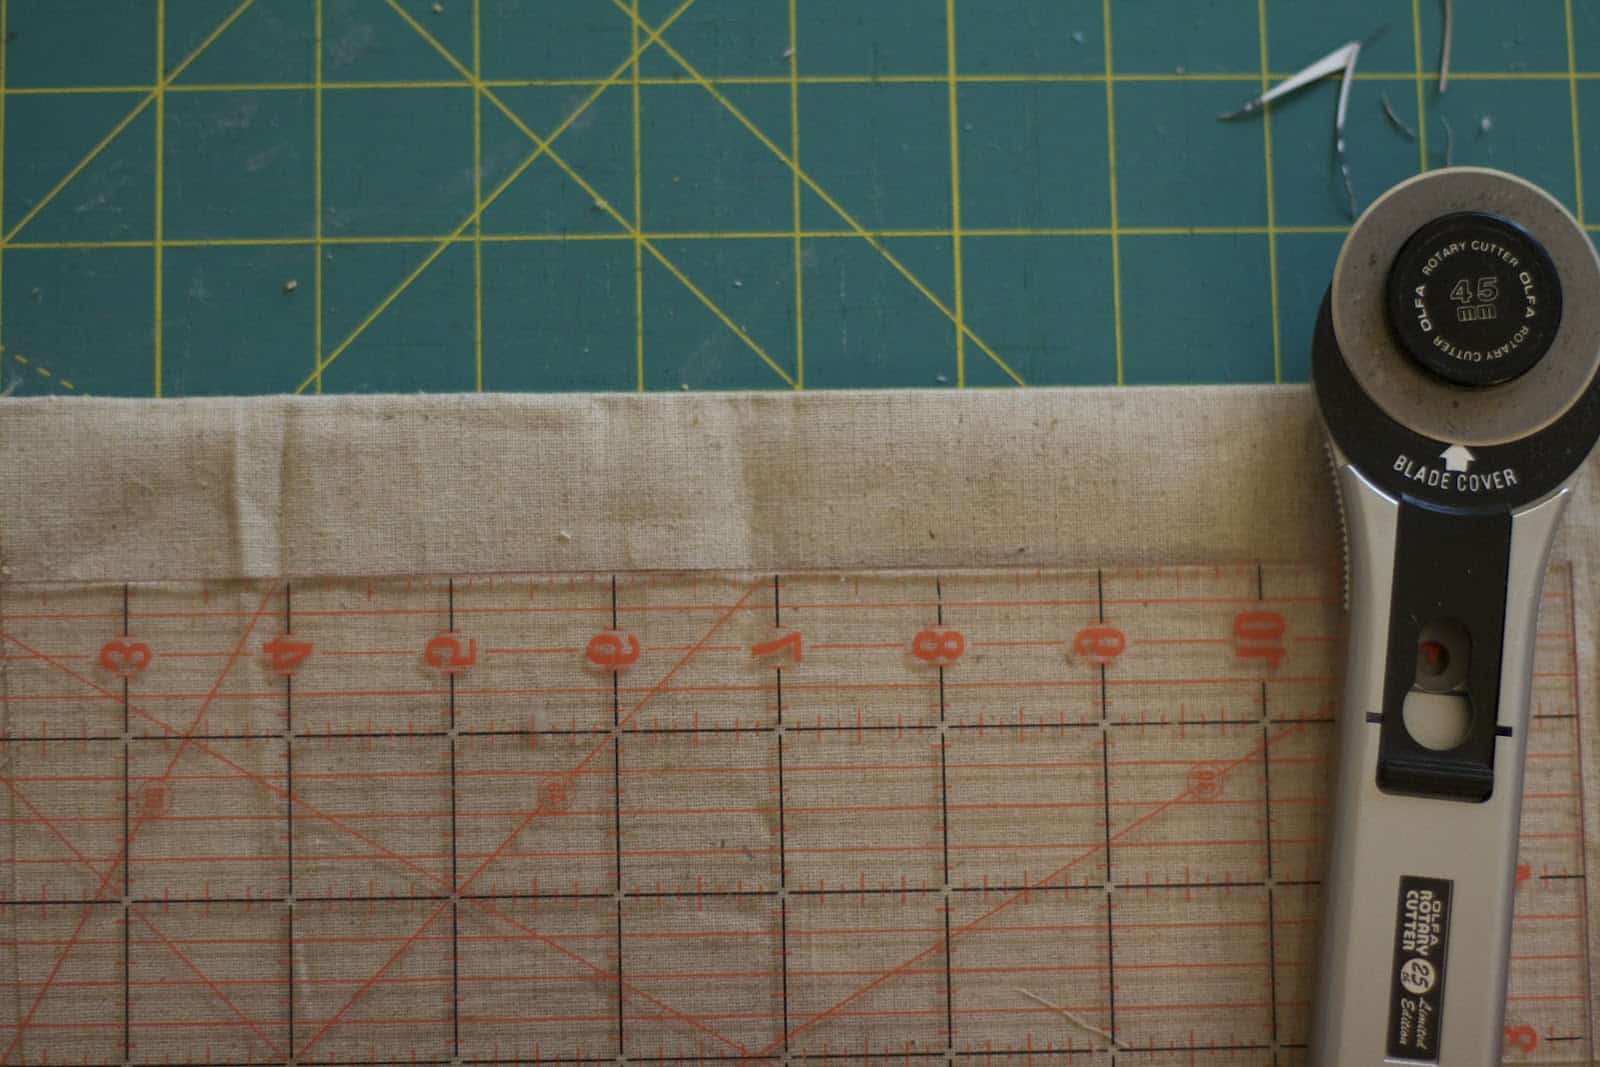
2. Fold a long piece of the fabric in half, and press if needed to create a crisp crease. Using a cutting mat/rotary cutter, Measure about an inch and cut a strip. (You could also just do this with a scissors.)
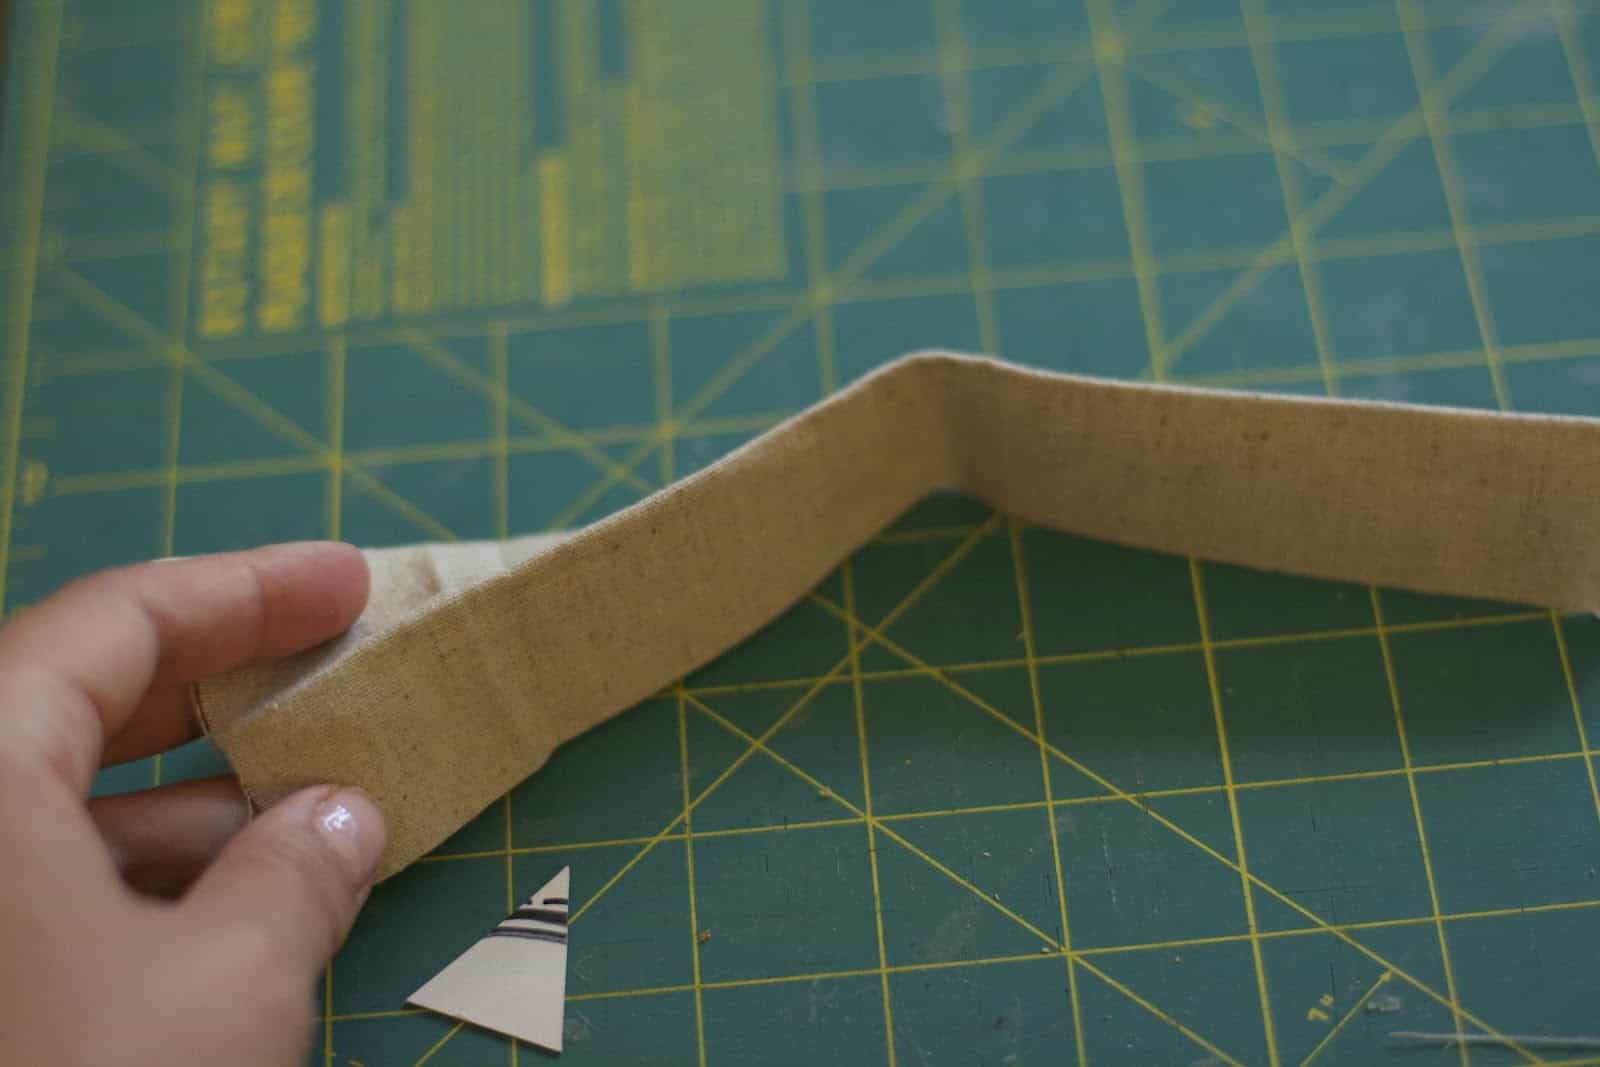
3. Create a cardboard stencil of your flag. Measure it to be an inch long and trim the sides at your desired width
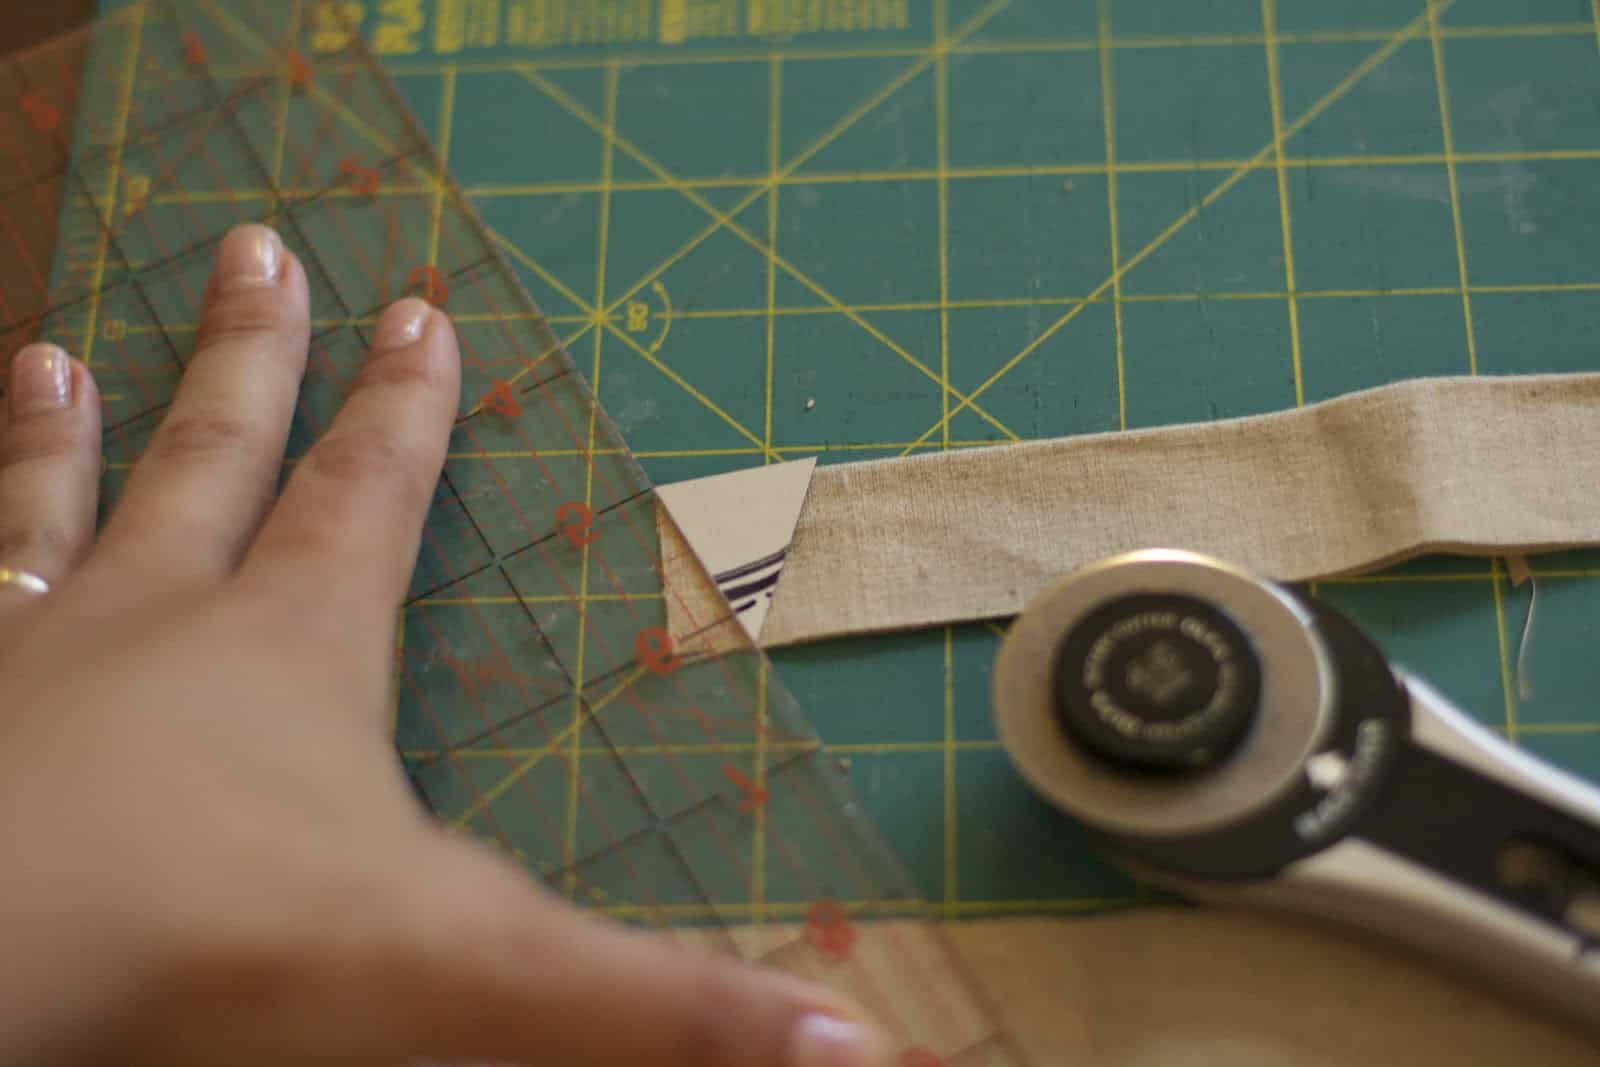
4. Using the rotary cutter and a ruler, cut however many flags you want for your topper- making sure the flat side is always on the folded crease
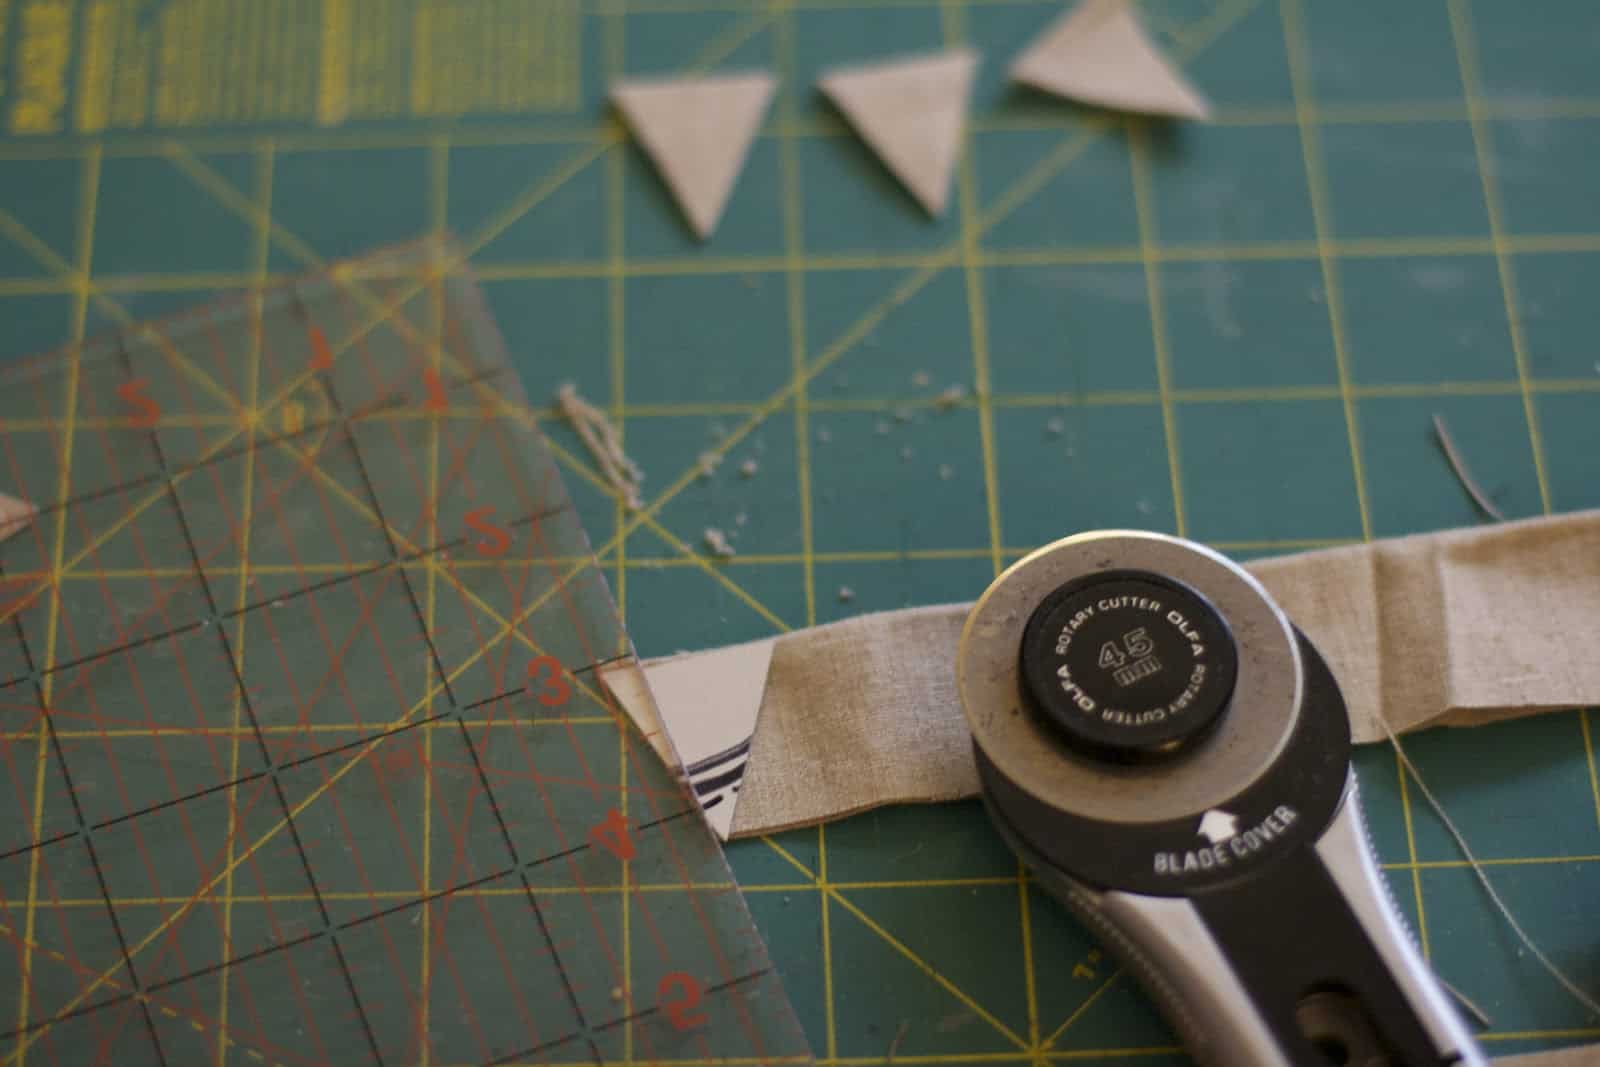
5. Repeat. :)
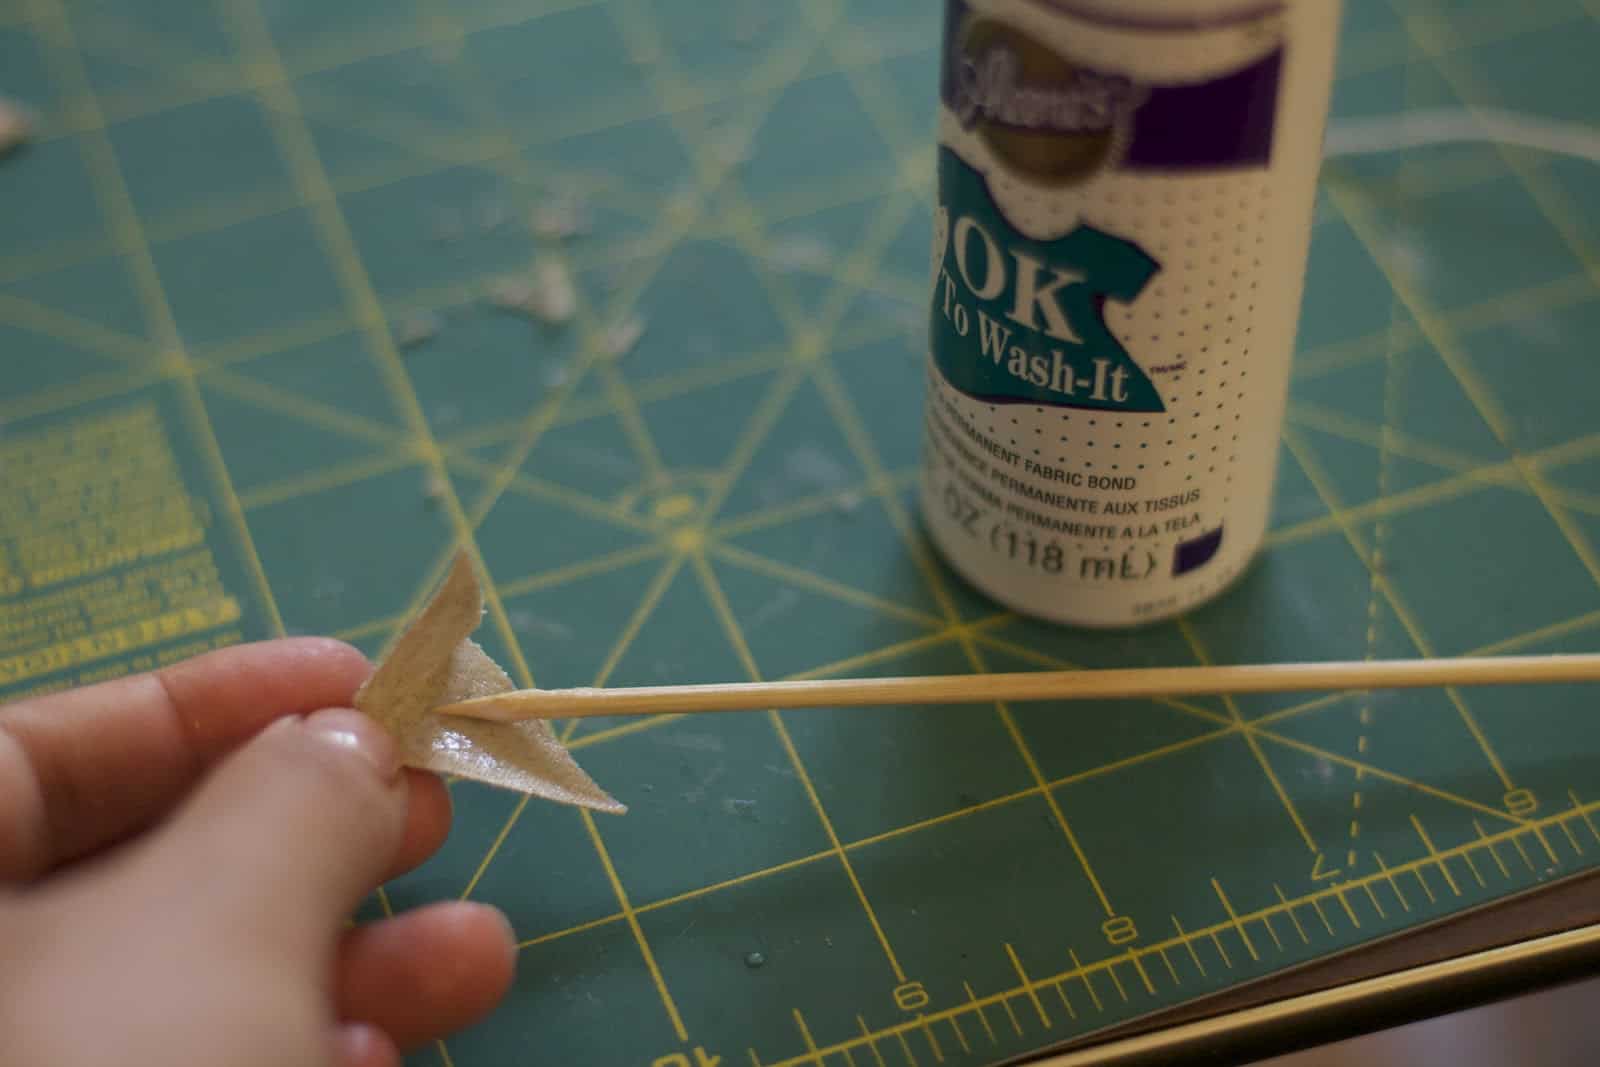
6. Using some fabric glue and a wooden skewer, spread a thin layer of glue inside the triangle, leaving the very inside of the crease glue-free.
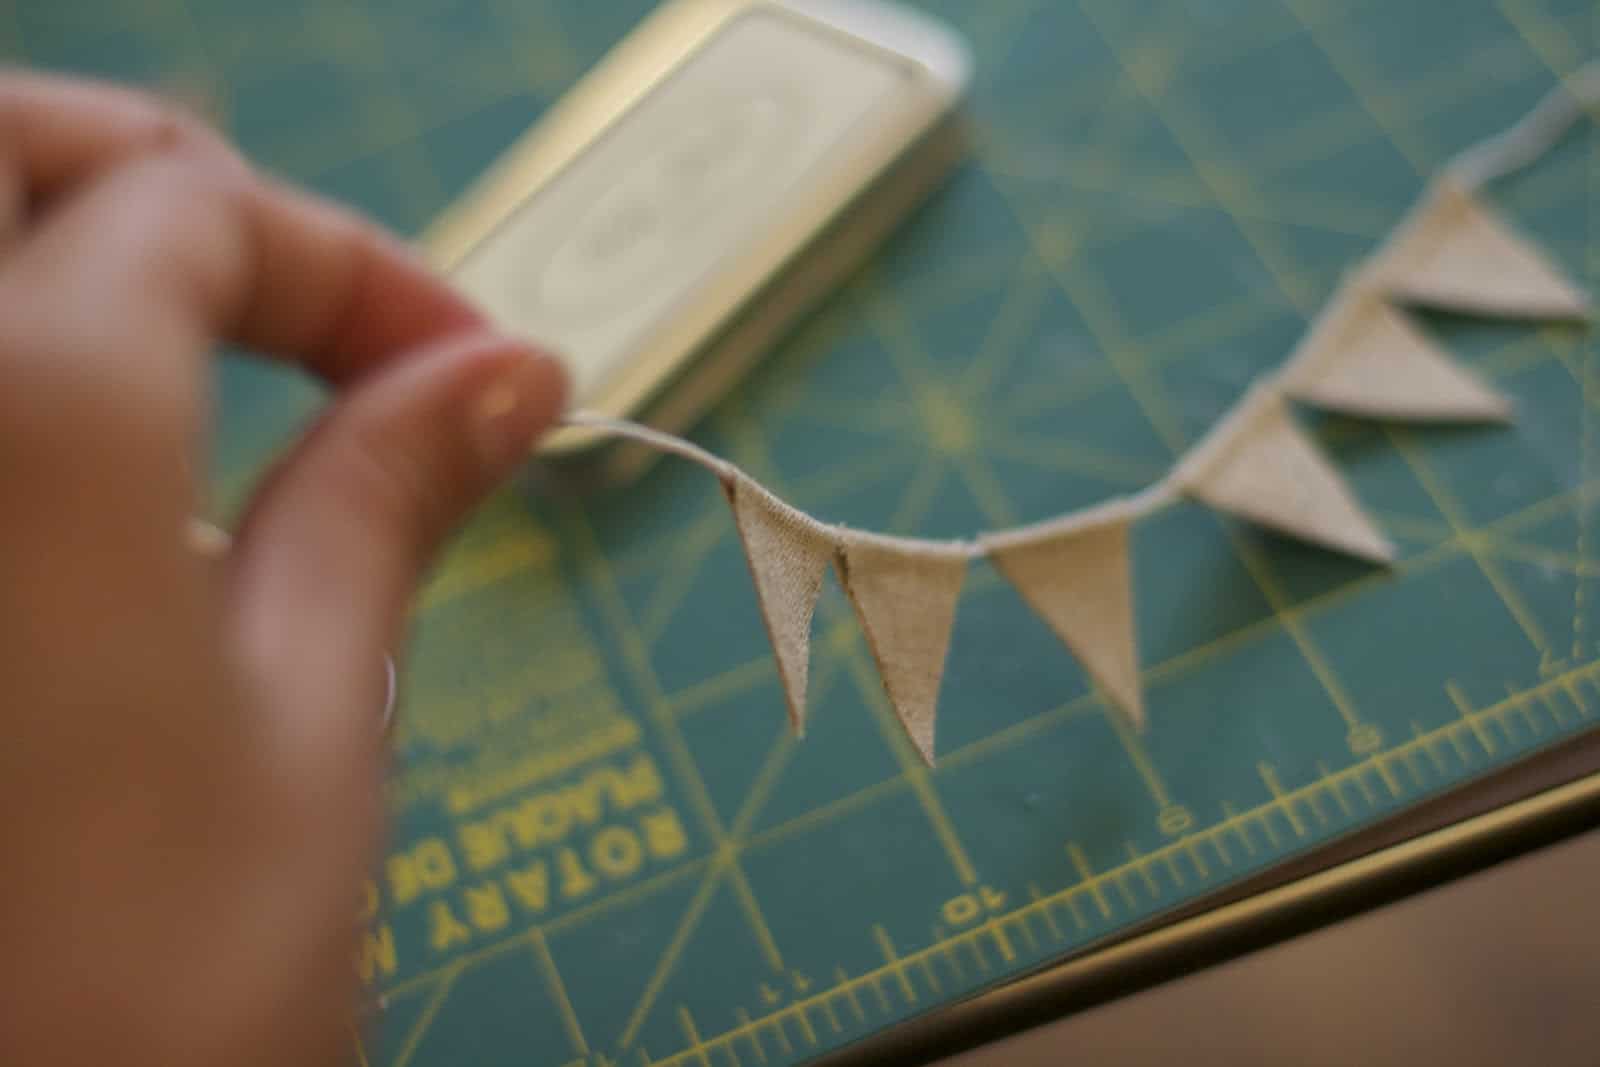
7. One-by-one, press each flag onto the piece of twine, leaving spaces for separate words if desired.
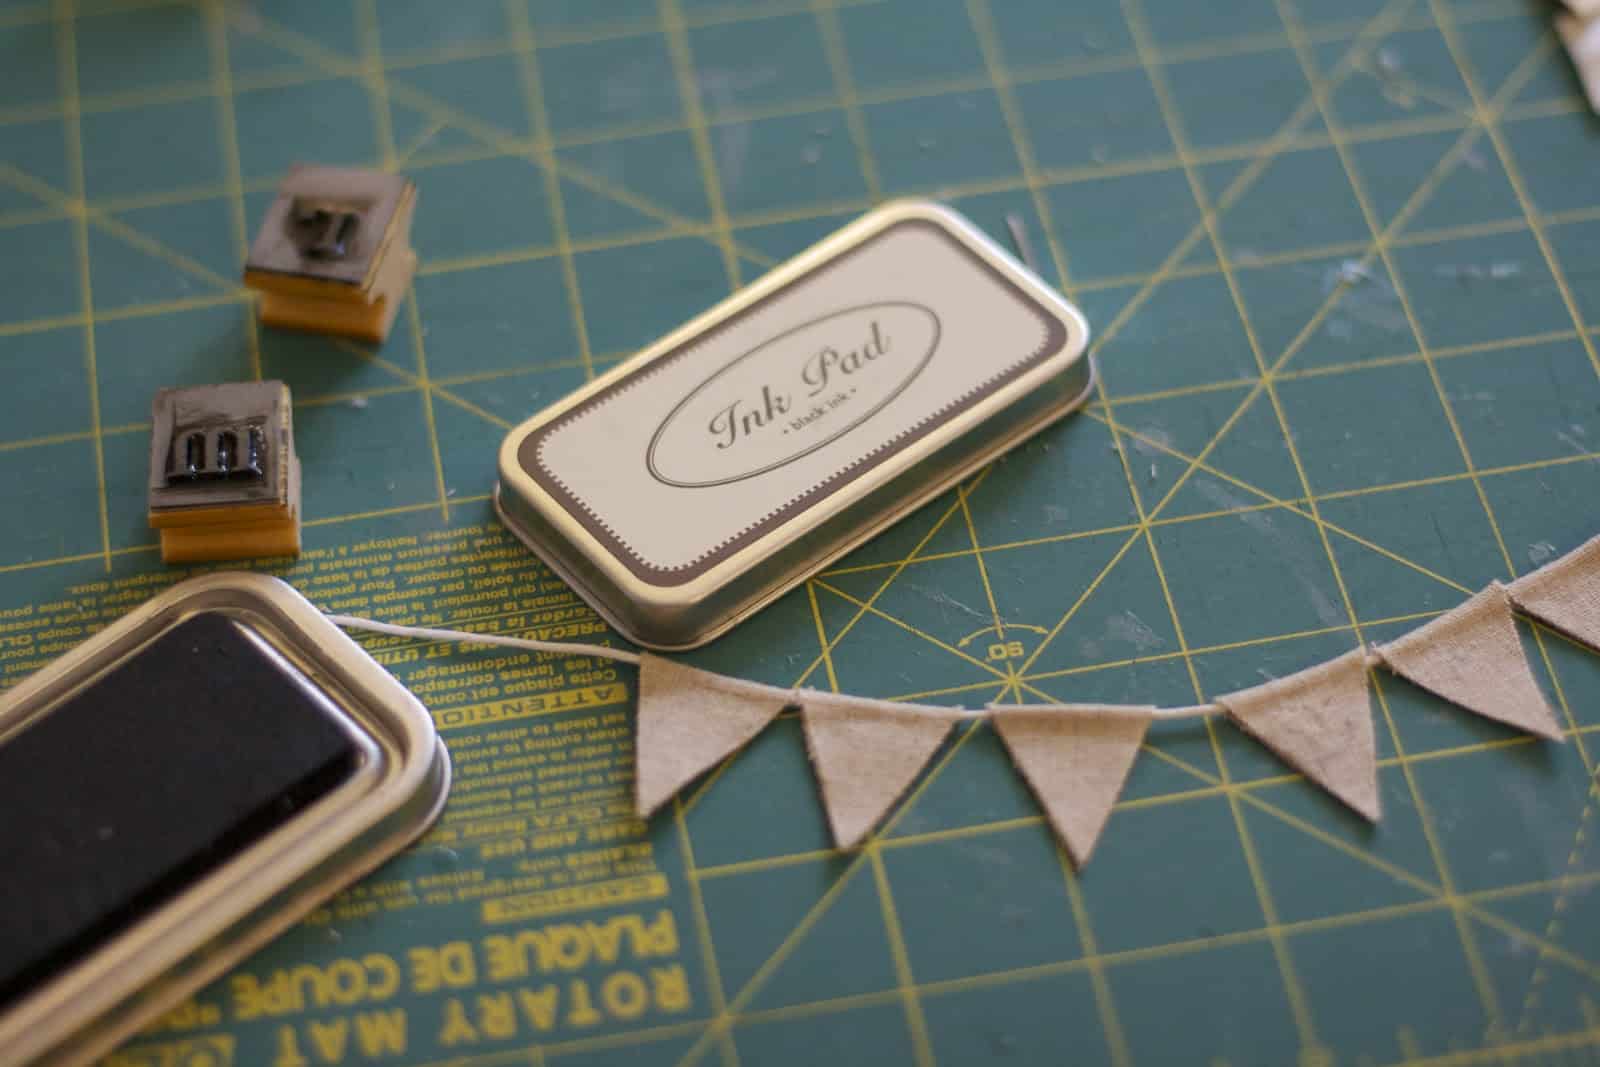
8. If stamping, test out your stamps many times before trying on the flags. For these, I had to wipe down the edges of each one very well before stamping so it didn’t leave a rim. You could also hand-write letters on!
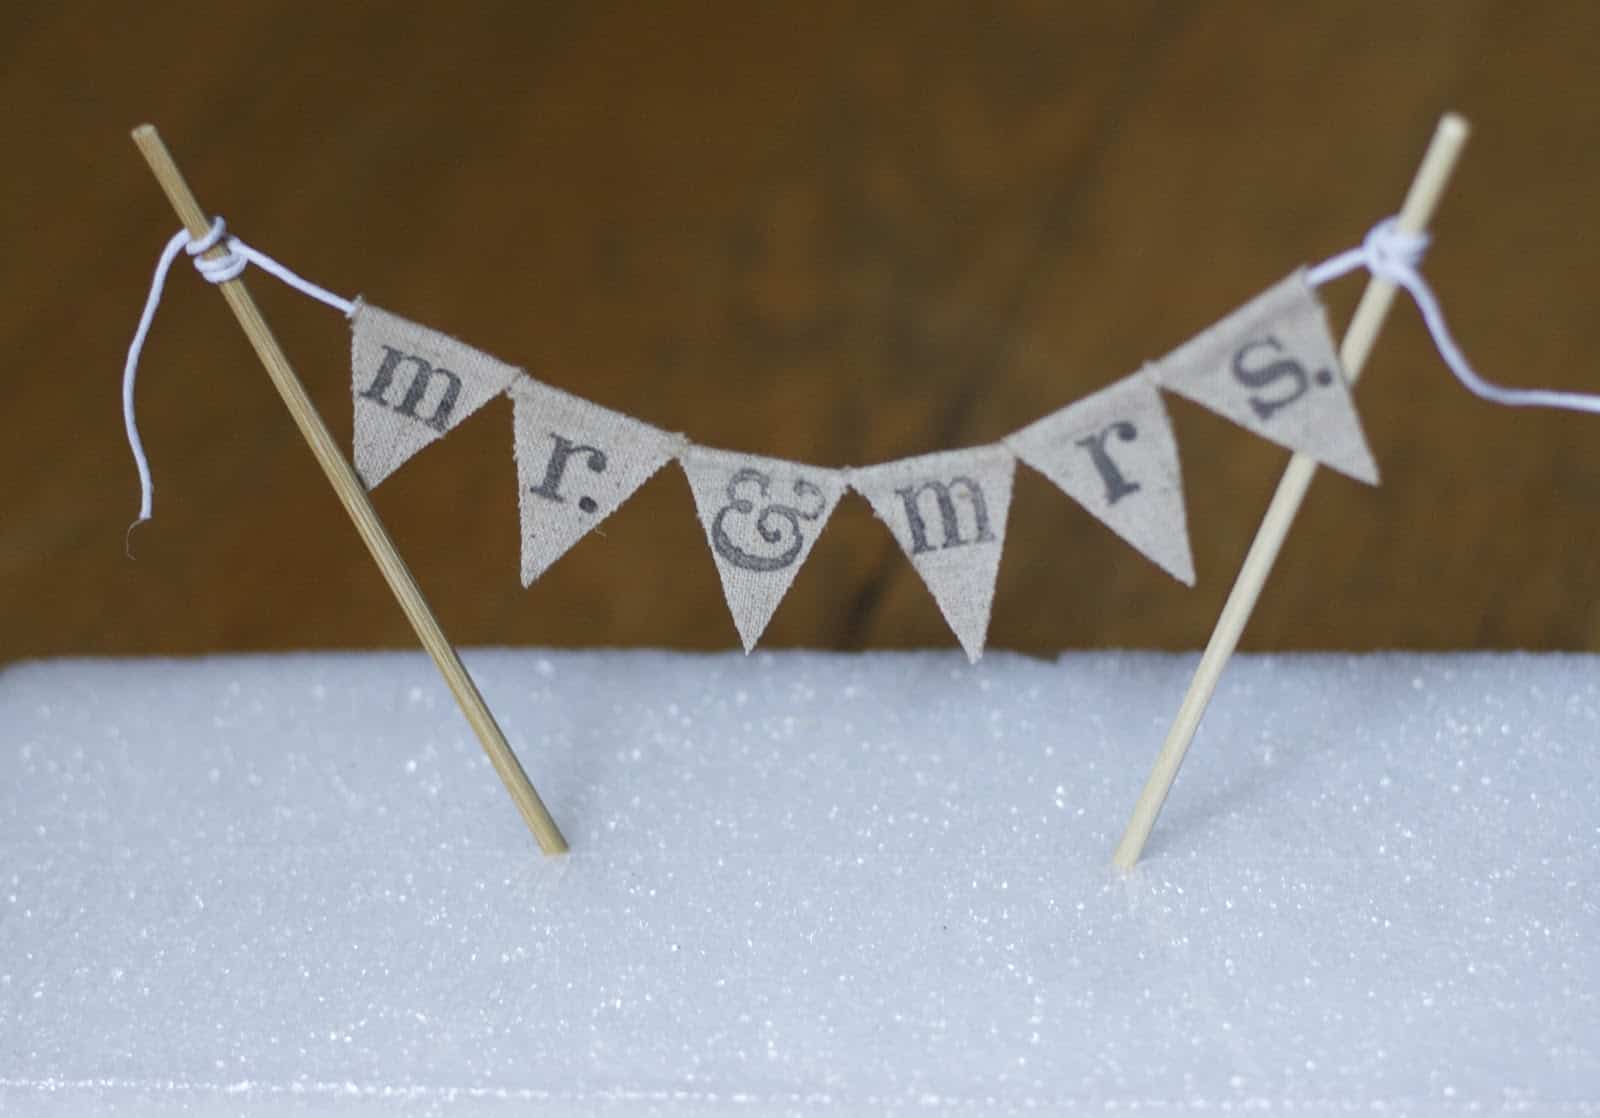
Finished product! I stuck mine in some styrofoam until I was ready to use it! So cute right? And here it is in our mini wedding cake!
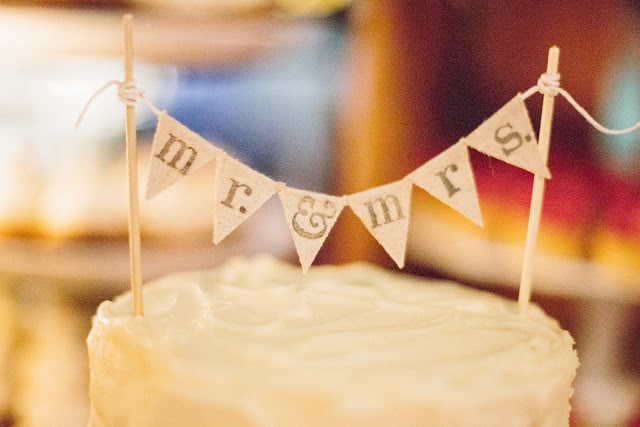
too cute!
I love this idea!! I am sooo not the crafty lady, but it just means I appreciate others’ craftiness all the more :) The dessert bar idea is fabulous- I wish more people did that so I wouldn’t be the one girl going back for 4 pieces of cake… multiple trips to the dessert bar would solely be for the purposes of trying everything. Solely :)
I love dessert bars. That’s what I’m gonna have at my (eventual) wedding. And finally someone who agrees that the overly decorated cakes aren’t all that in the taste department!
Congratulations!
Hi there! What kind of fabric did you use? I love the color and texture! Also, is there a specific type of stamp pad that you used? I stamp on fabric a lot and have a hard time finding a brand that will show up on fabric well. Thank you!
Hi! I just used cotton fabric leftover from a different wedding project.
I don’t remember the brand of stamps I used- I bought them at a little craft store- and I asked the worker about what ink to use- I think that was the factor that helped it show up! Also- to use a fabric that doesn’t have any sort of film or finish on it :)