Homemade Lemon Curd
If you’re by chance living in the part of the country covered with snow this morning, you may need something bright and sunny as much as I do today! Now don’t get me wrong I happen to love me a good snow day: the quiet blanket of white covering everything, and the way it forces us all to slow down and relax. But my mind is dreaming of Friday when I leave this winter wonderland for five glorious days in Mexico! Andy & I survived the first year as parents so we thought we’d take our sweet little boy to see the ocean and drink a margarita to celebrate his birthday. (Well we will, not Hugo ;) )
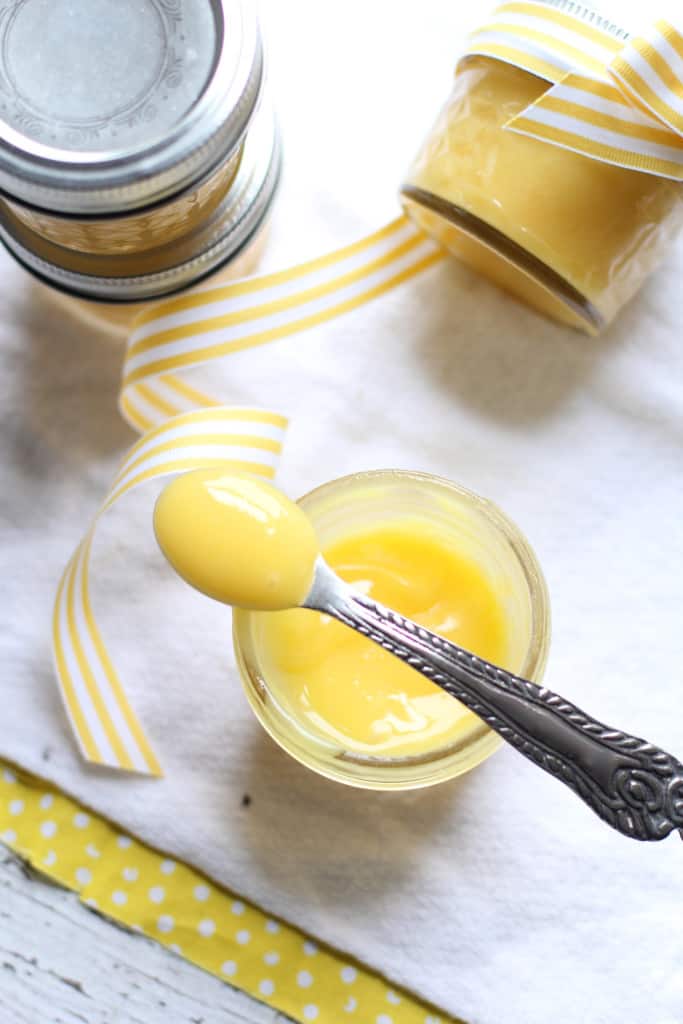
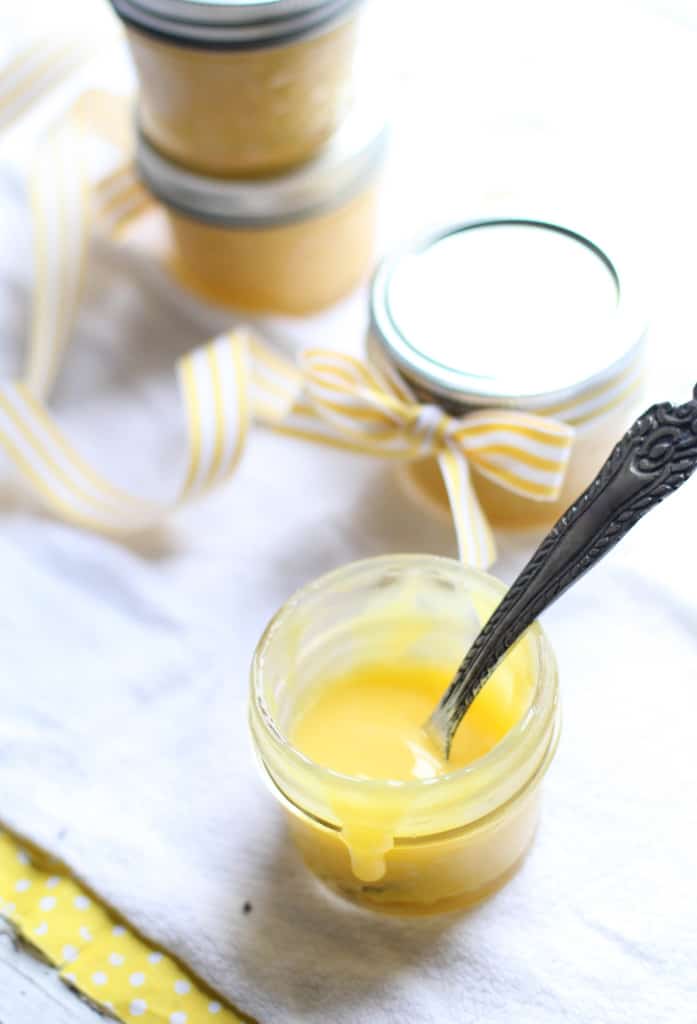
Anyway- this sunny, bright, tart and sweet curd is just what I need this week. It is so delicious and easy to make at the same time. I love swirling it in a bowl of greek yogurt, slathering it on toast, pancakes, scones or even just eating it right out of the cute little jar.
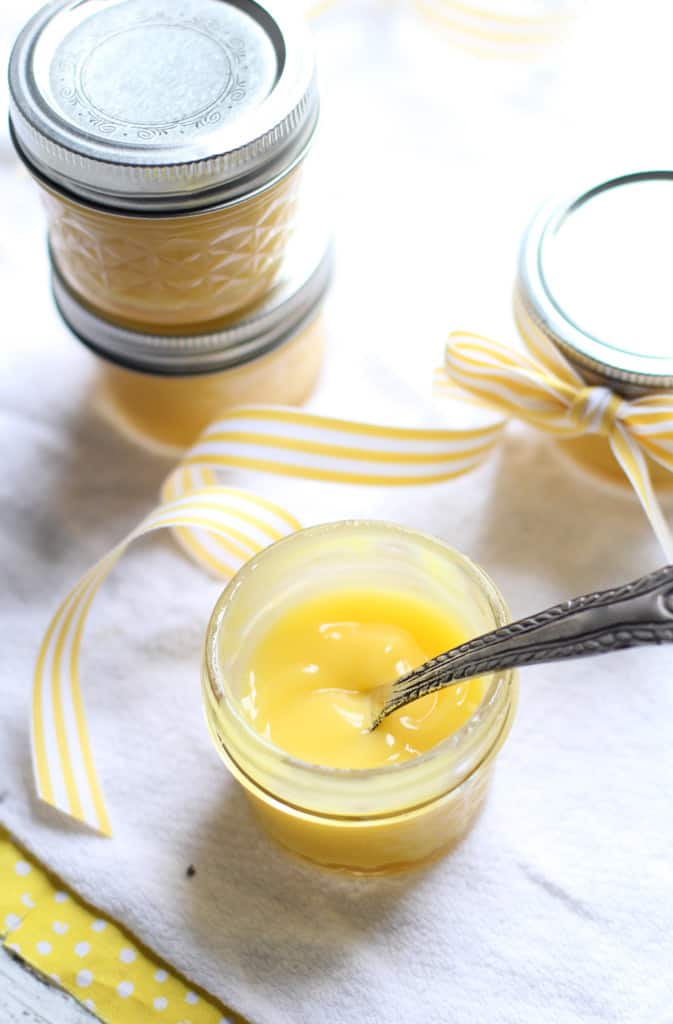
I made these as favors for Hugo’s birthday party last weekend and everyone was so excited to take one home. Some didn’t know what to do with it but everyone was excited to try. I preserved the curd in little 4 oz jars that I gifted, (and I will give more info on that below,) but you could of course just store it in the fridge or freezer and keep it all to yourself!
Chances are you have all the ingredients for this delicious treat at home. If you choose to can it, it’s suggested to use bottled lemon juice for the consistent acidity, but of course if you’r not canning it use fresh! I found an awesome organic lemon juice that I loved the taste of so it didn’t bother me too much. Plus who likes juicing lemons? I followed the instructions listed on the National Center for Home Food Preservation’s website. I will list the instructions with the recipe below as well, I found their version a bit hard to understand. (Some pics can be found below the recipe) Whose day wouldn’t be brightened by a cute little jar of this stuff!?
Homemade Lemon Curd
Ingredients
- 2½ cups sugar
- ½ cup lemon zest, from about 5 lemons
- 1 cup lemon juice
- ¾ cup unsalted cold butter, cut into cubes
- 1/2 teaspoon of salt
- 7 large egg yolks
- 4 large whole eggs
Instructions
Prep your supplies:
- If you plan to can, get everything prepped ahead of time. You'll need three pots: a smaller one with a bowl fitted on top or a double boiler, a large one that will fit all the jars and lids to sterilize them, and another large one with a strainer or rack inside to process the filled jars at the end. I used a large stock pot that had a steamer insert. You could also use a proper water canner.
- Place the jars and lids, and a set of tongs in the designated pot and heat on high. Once the water starts boiling turn off and let them chill in the hot water until you're ready to fill them.
- Fill the canning pot with water and clip a candy thermometer on the side. You want this water to be no higher than 180F when it's time to drop the jars into it, so let it heat up. You can always add cold water if needed to drop the temp down.
For the Lemon Curd!
- Combine the sugar and lemon zest in a heatproof bowl (that you plan to use in your makeshift double boiler.) Work the zest into the sugar to release all the oils.
- Stir in the juice, eggs, yolks and salt.
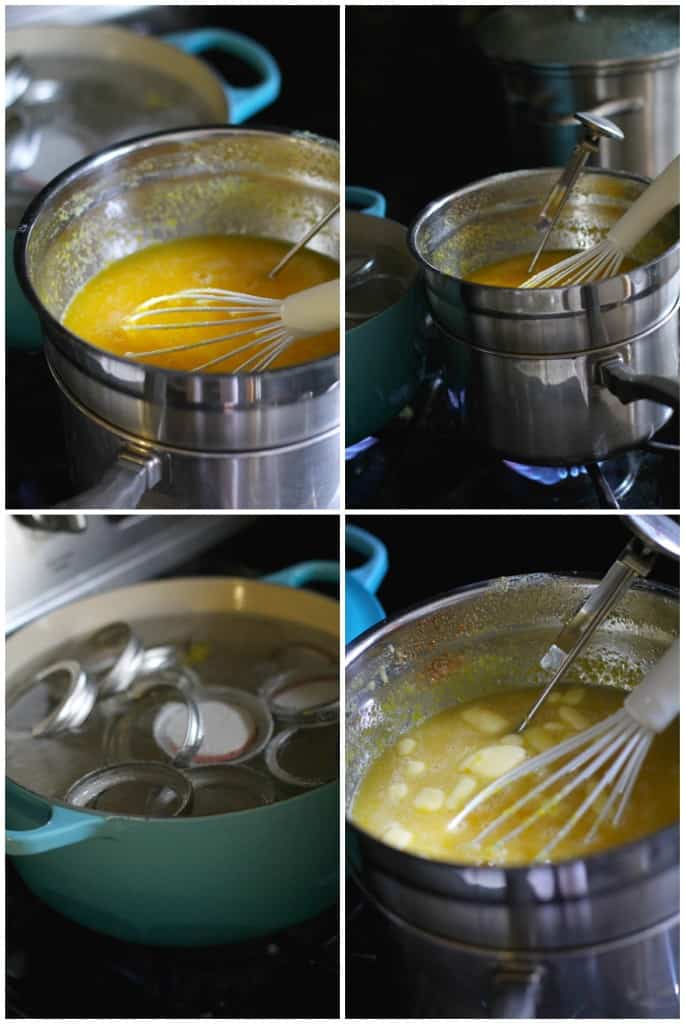
- Place the bowl over the pot of simmering water and stir to combine. After a few minutes, add the butter cubes and stir until melted.
- Clip the candy thermometer to the side of the bowl and stir frequently until it reaches 170F. (It will be thick and bubble like lava.)
- Remove the bowl from the heat and strain it through a fine mesh sieve. (This removes all the zest and any eggy clumps.)
- Use sterilized tongs to remove the jars from the hot water and set them on a clean towel. Dry them quickly and then fill them with lemon curd, leaving 1/2 inch of space at the top of each. Wipe down the rims if needed.
- Use the tongs to remove the parts of the lids and dry them. Carefully screw the lids as tight as you can.
- If your water is at 180F (a little lower is Ok,) carefully place the jars onto the rack and once boiling, process for 15 minutes. (Make sure all of your jars will fit before you begin. I ended up processing some in the pot I used to sterilize the jars.)
- After the 15 minutes is up, remove the jars from the boiling water and place them on the counter or somewhere else safe and leave them be fore 12 hours. You'll hear the lids pop, and after the 12 hours is up you can check the lids to ensure they are on securely by pressing the tops.
- Canned curd has a shelf life of 2-3 months if stored in a cool, dry, place. Or use it within a week or two of opening stored in the fridge
Notes
Recipe and Instructions adapted from the National Center for Home Preservation
Nutrition Information:
Yield: 8 Serving Size: 1 gramsAmount Per Serving: Unsaturated Fat: 0g
I love love love lemon curd but had never thought to can it and give it as a gift…silly me! I’m sure my whole family and friends would love it!
xo, Elisa
Audra this looks delish! Any ideas how long this will keep in the frig if you don’t sterilize in the jars? Also I would assume you can substitute fresh juice for the bottled? Have a fabulous time in Mexico!
Yes definitely! I would keep it in the freezer for months or in the fridge for 2 weeks!
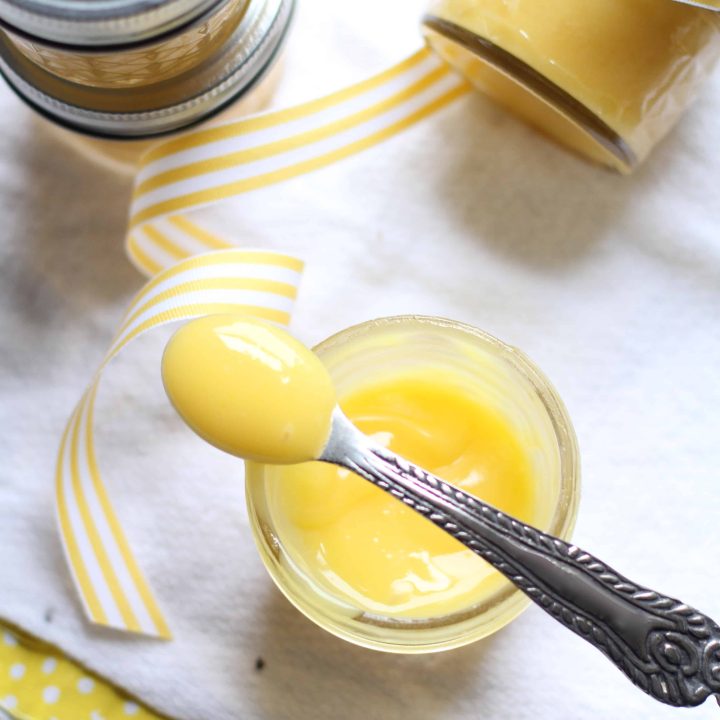
Lemon curd is like SUNSHINE. Pure sunshine. Such a perfect favor!
I have an abundance of meyer lemons from my tree. Will this work in place of bottled juice?