Perfect Homemade Pizza Crust
One of my New Years Resolutions was to bake more homemade bread. After mastering pita, I felt like the natural next step is a really delicious, classic pizza crust. Middle of the road- not too thick or too thin, crisp but also chewy… you know- that pizza crust that will house years of pizzas for my family. Is it weird I already have this vision of Friday pizza night becoming a household tradition?
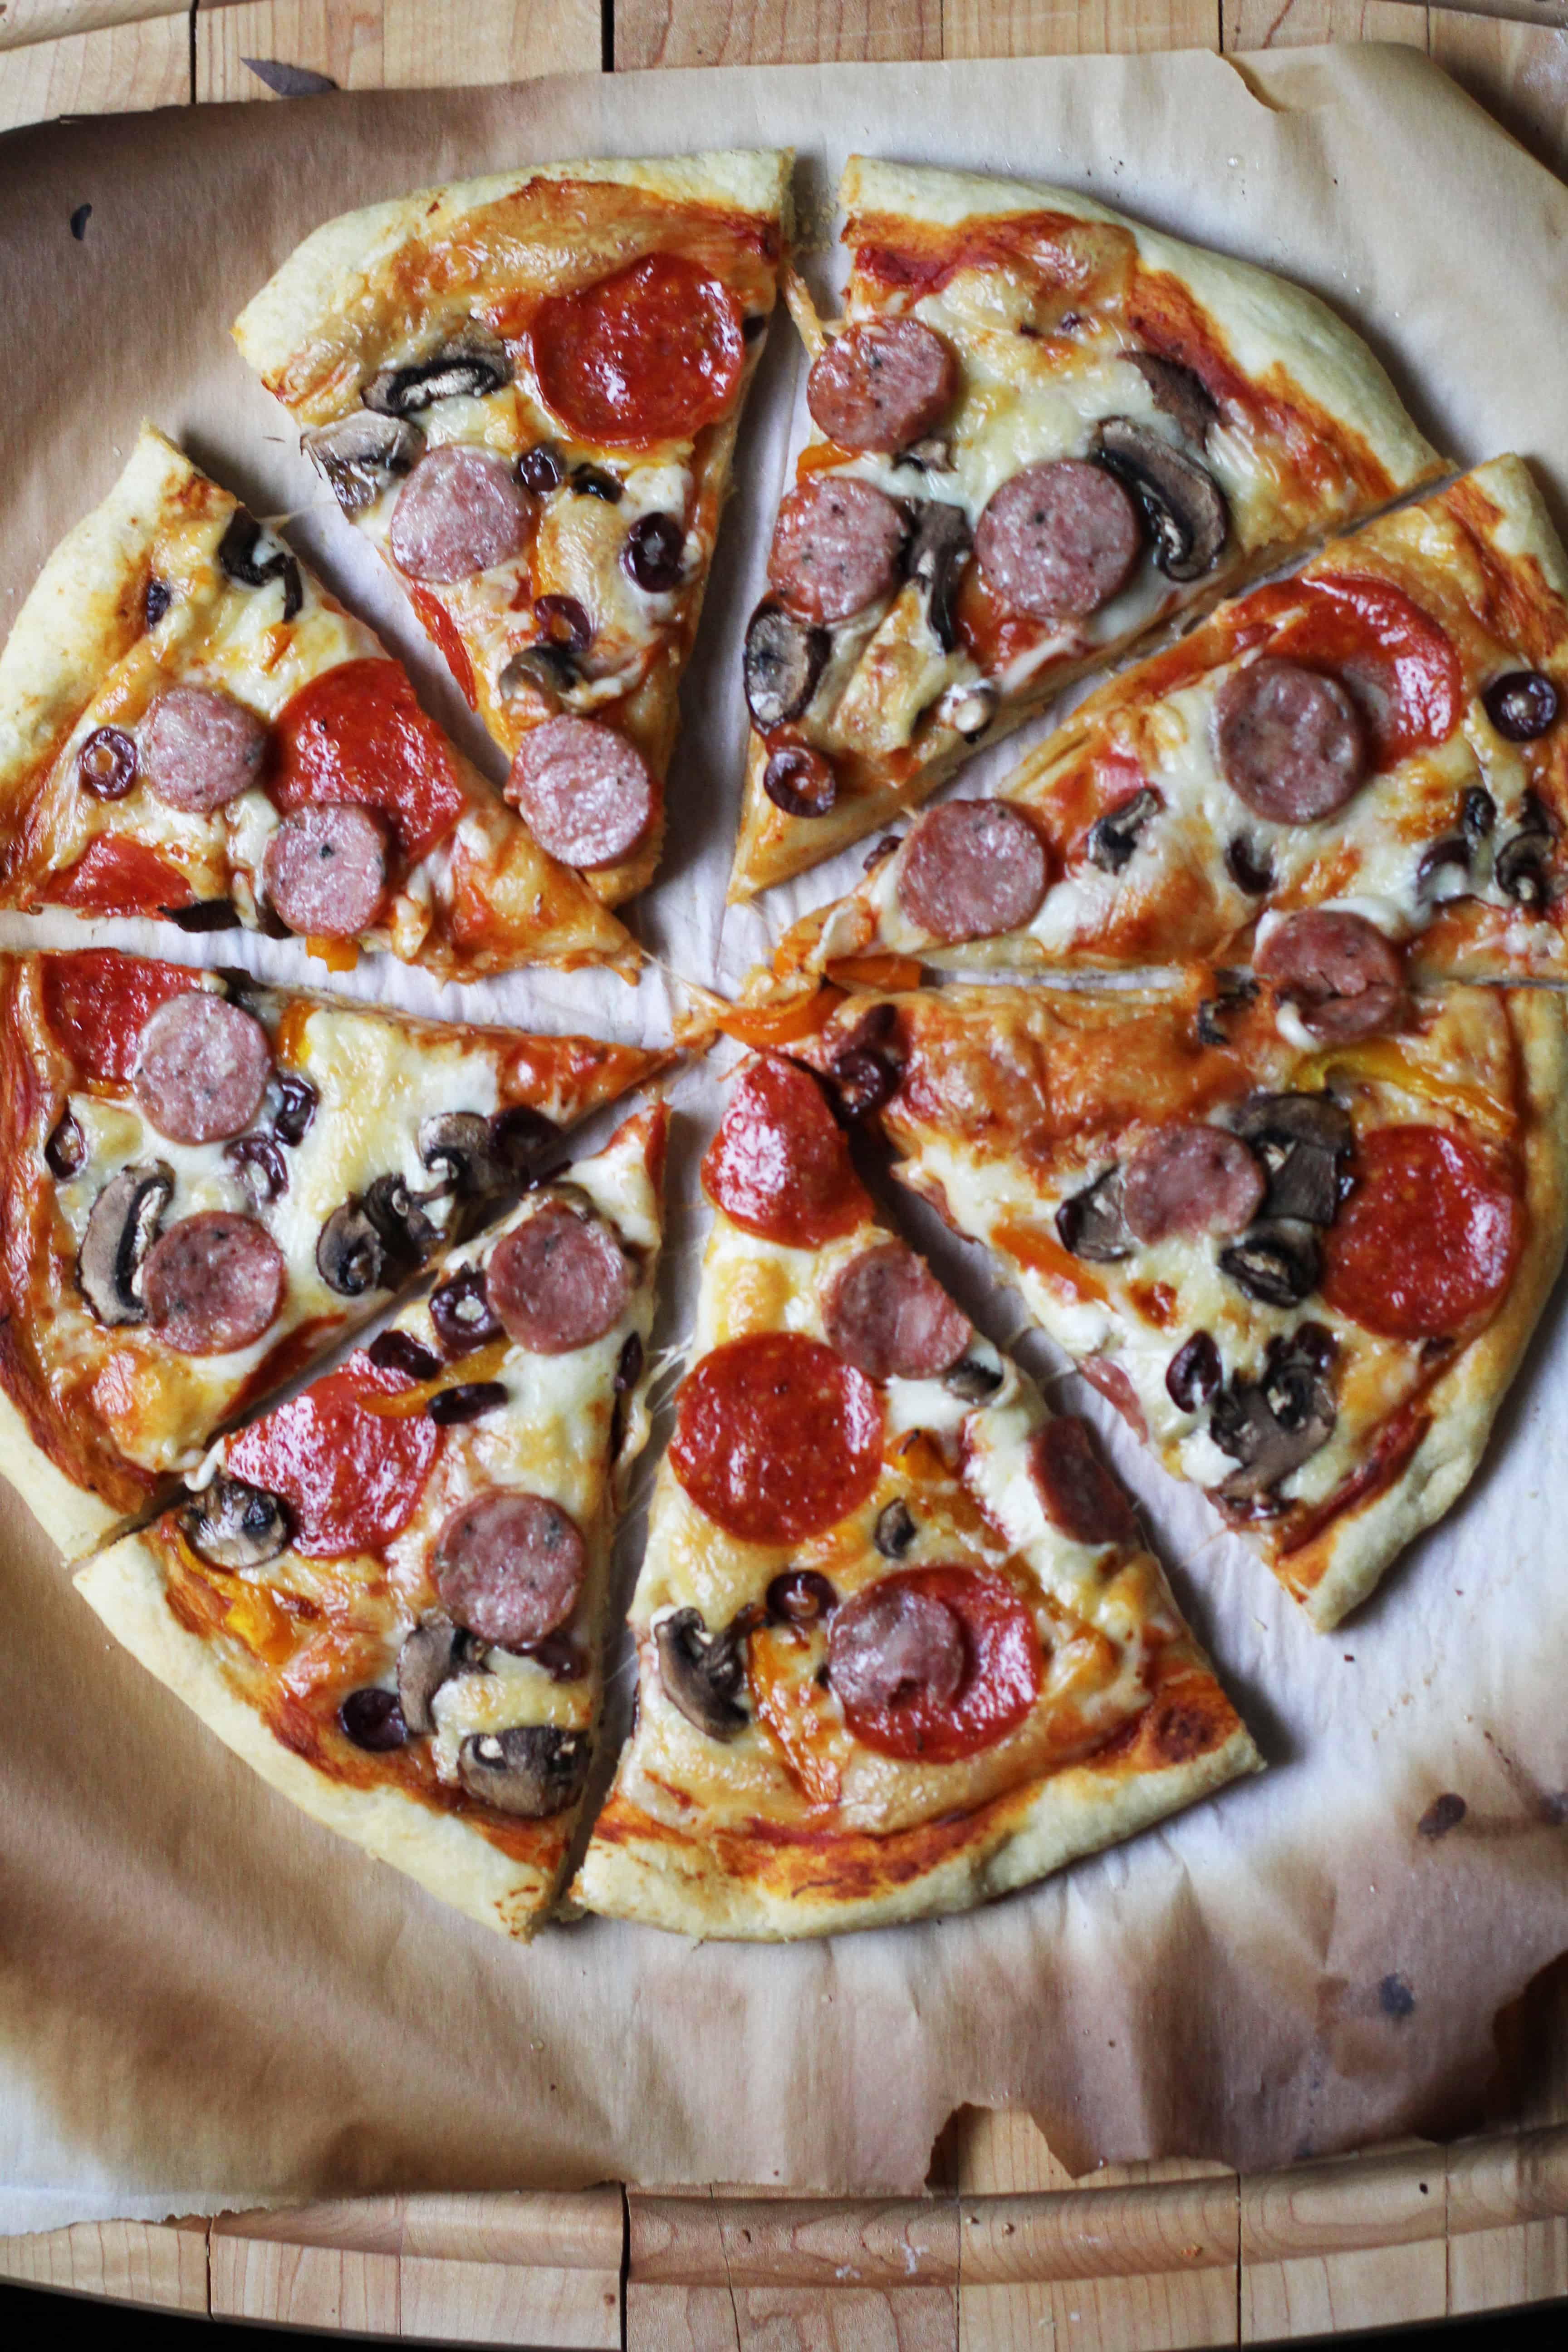
In our current household though, pizza has become a tradition on Sundays instead- football Sundays to be exact. Since my beloved PACKERS are still in the running we’ve been having a lot of fun having some friends & family over and whipping up a few pizzas throughout the game. You can prep the dough ahead of time and roll out the dough when you’re ready to bake them. And I don’t think I have to tell you about all the topping options! They are of course endless.
I hope to make fun pizzas a regular thing around these parts which I hope you’re on board with. Buffalo Chicken Pizza anyone!?
I’ve made homemade pizza dough a few times before, but this is definitely the best. Super easy, relatively short proof time, and really the perfect consistency. I got the recipe from Annie who has a great post with FAQs and extra info about perfecting this wonderful recipe so make sure to check that out too!
Perfect Homemade Pizza Crust
Ingredients
- 2 1/4 tsp. instant yeast
- 4 cups 22 oz.* bread flour, plus more for dusting
- 1 1/2 tsp. salt
- 1 3/4 cup lukewarm water, at room temperature
- 2 tbsp. extra-virgin olive oil plus extra for handling the dough
Instructions
- In the bowl of a stand mixer fitted with the paddle attachment, combine the bread flour, salt, and yeast, mixing briefly to blend.
- With the mixer on low speed, pour in the water and olive oil. Mix until the dough mostly comes together and then switch to the dough hook.
- Knead on low speed until smooth and elastic, about 5-7 minutes. Oil the bowl and turn the dough once to coat. Cover with plastic wrap and let rise in a warm place until doubled in size, 1½-2 hours.
- Punch the dough to deflate it and transfer it to a lightly floured work space.
- Divide the dough into two pieces and form each into a smooth, round ball. (If you're going to freeze the dough, wrap it in plastic wrap, then a ziplock bag and pop it into the freezer.)
- If you're using the dough right away, cover with a damp cloth. Let the dough relax for at least 10 minutes but no longer than 30 minutes.
- To bake, preheat the oven and a pizza stone to 500? F for at least 30 minutes. Place a sheet of parchment paper on your work surface and place your dough ball right in the middle.
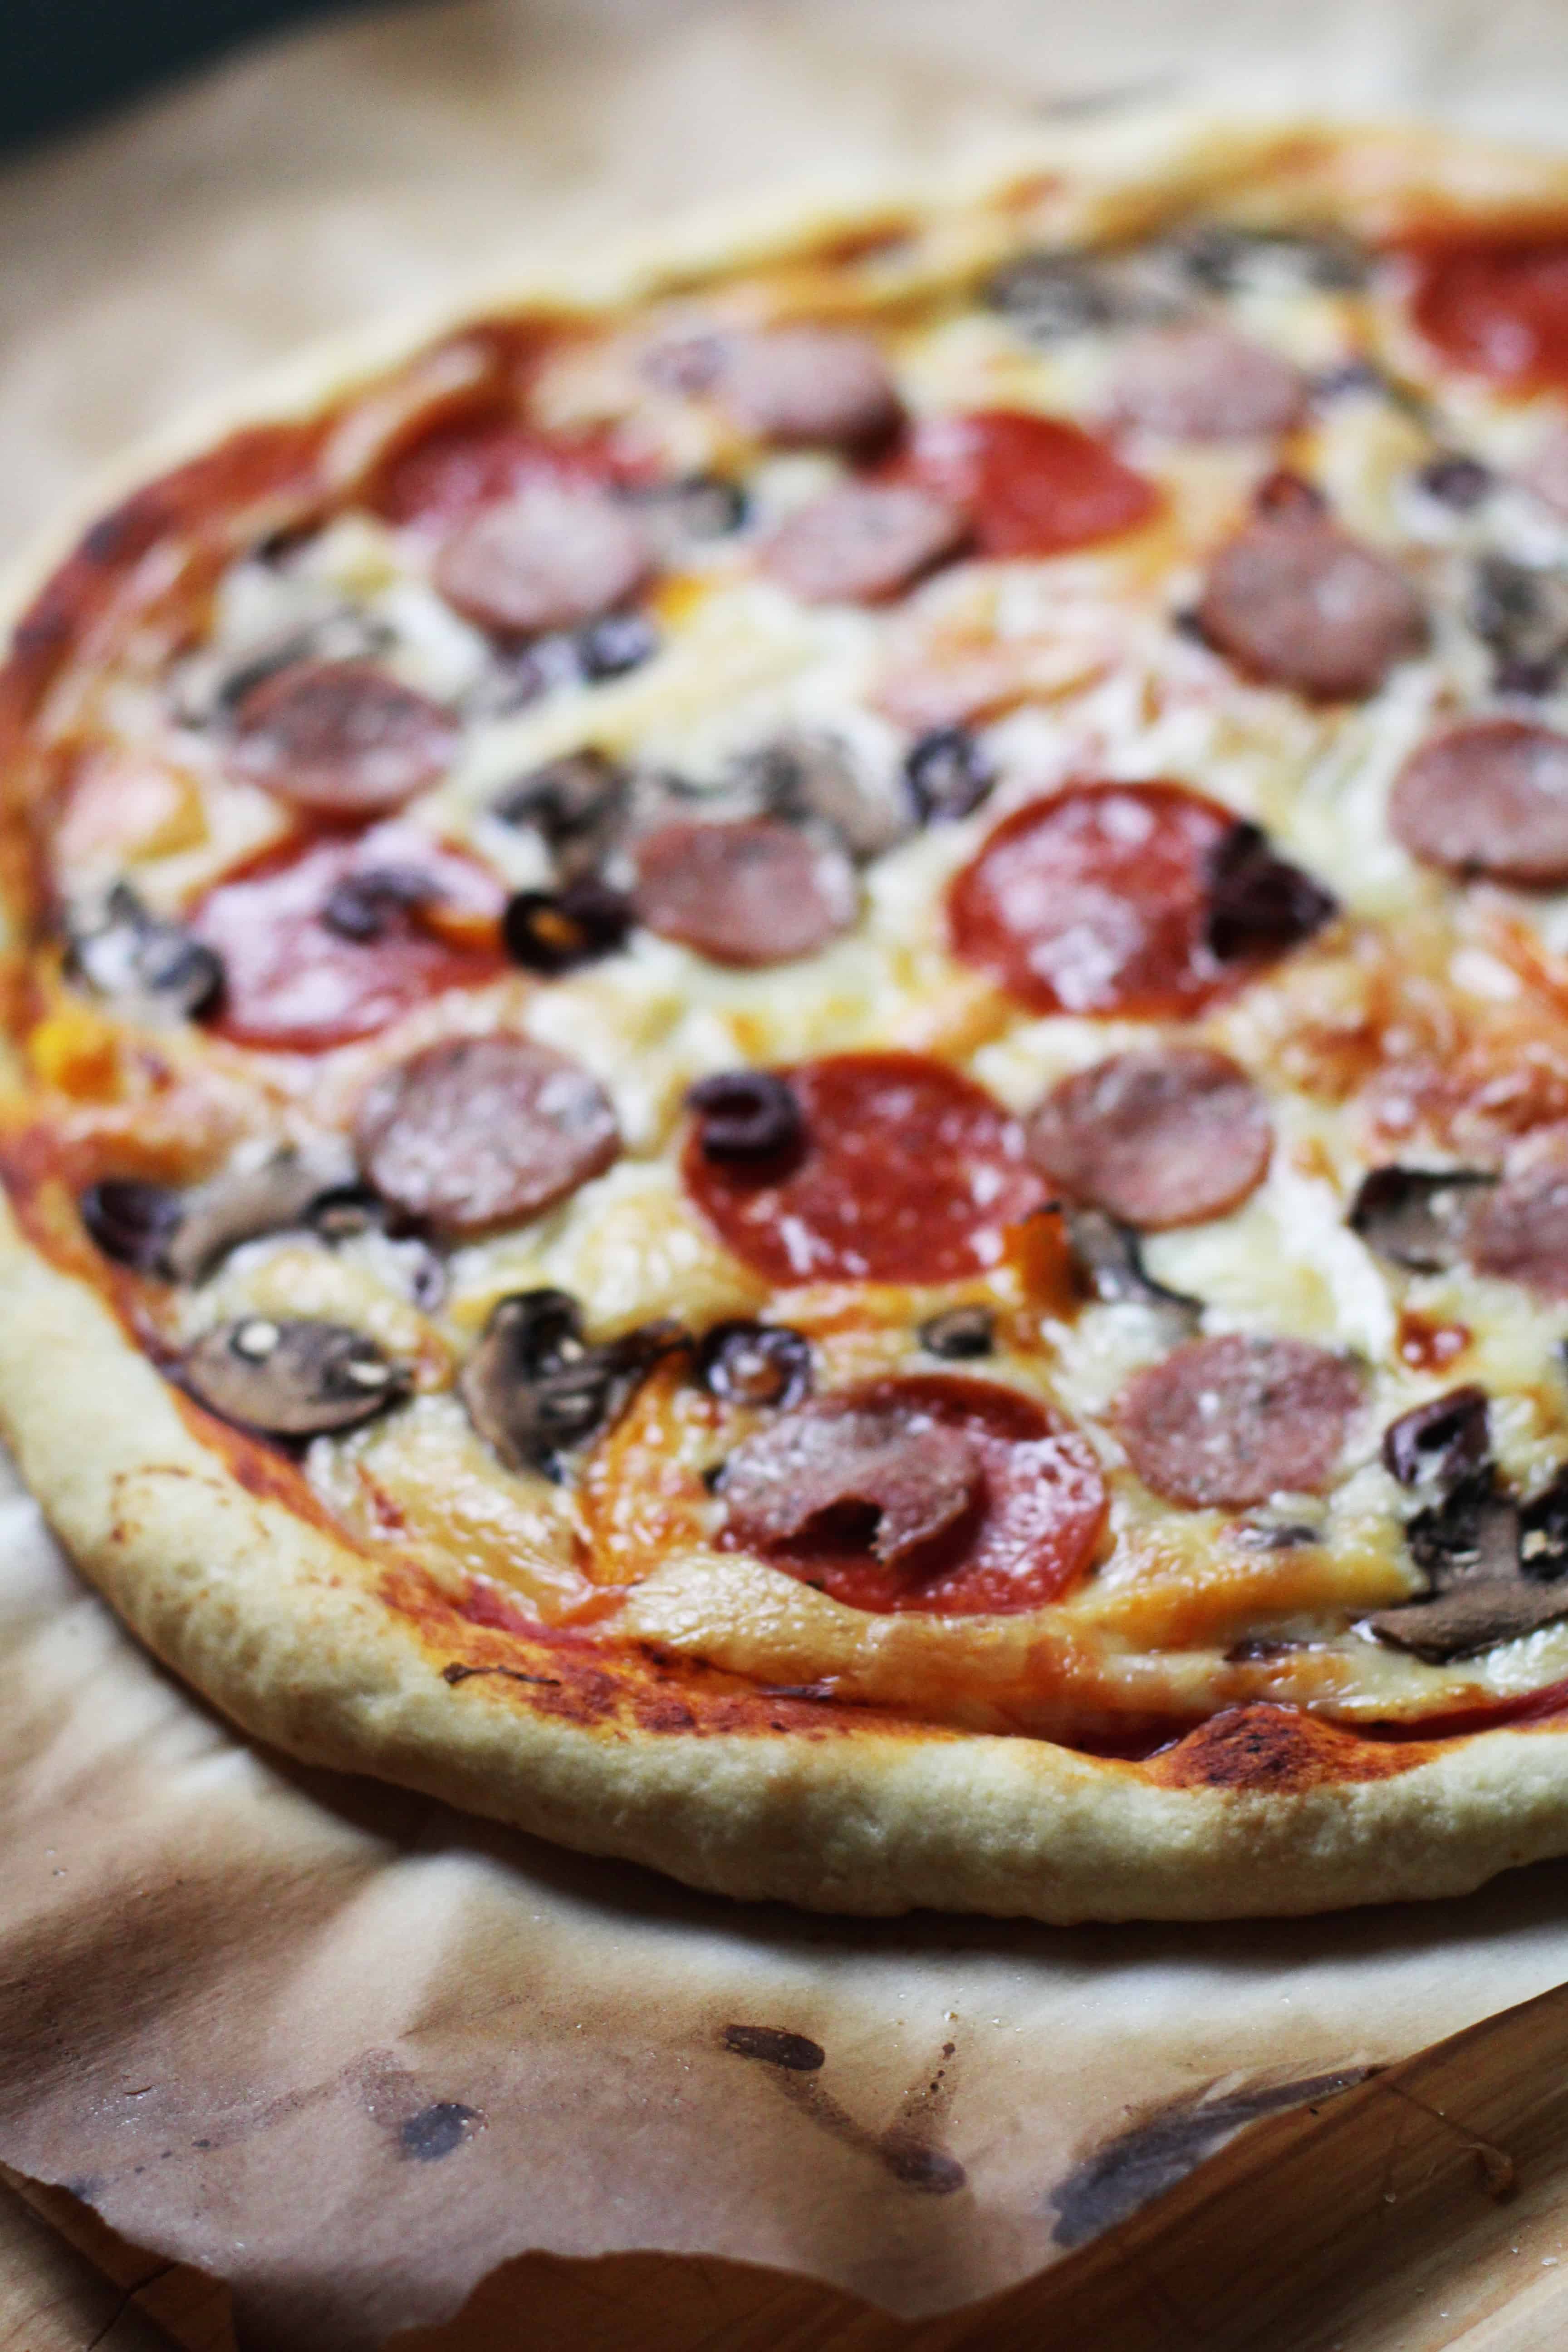
- Using your olive oil-coated hands, roll and spread the dough until it is thin and shaped. (Form a thin crust ridge around the edge.) I found using a bit of extra oil made it easier to spread and actually make thin.
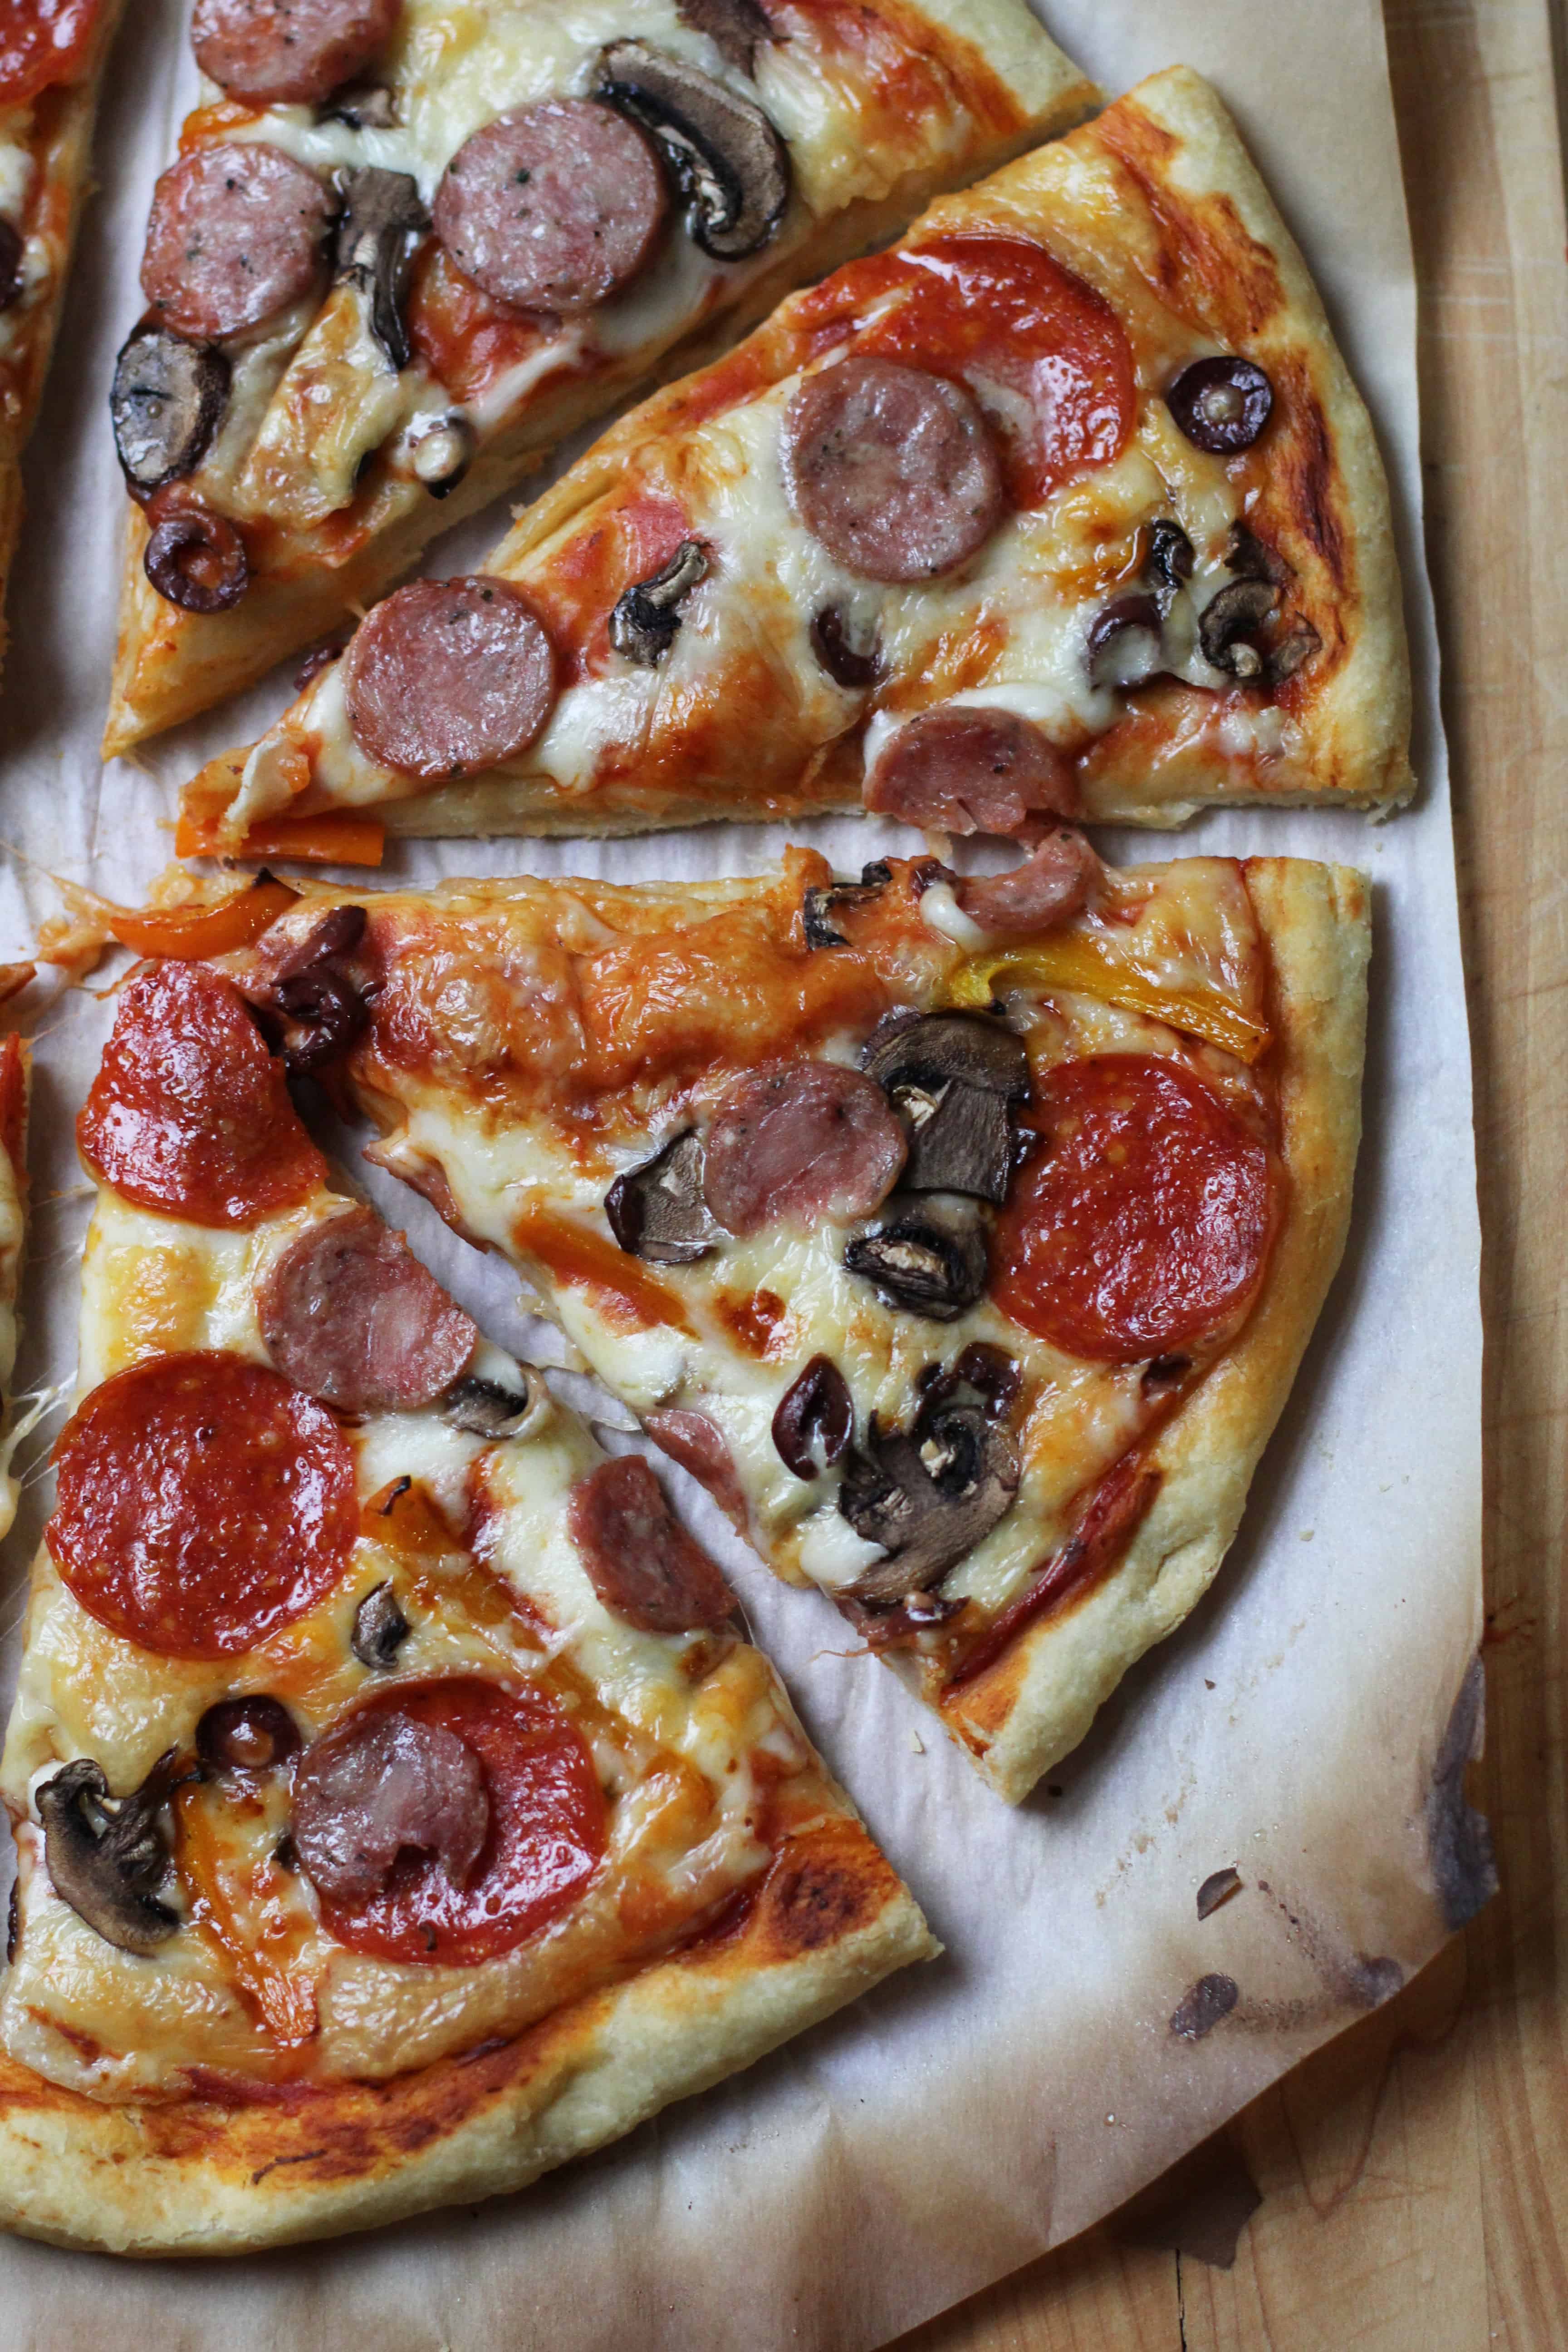
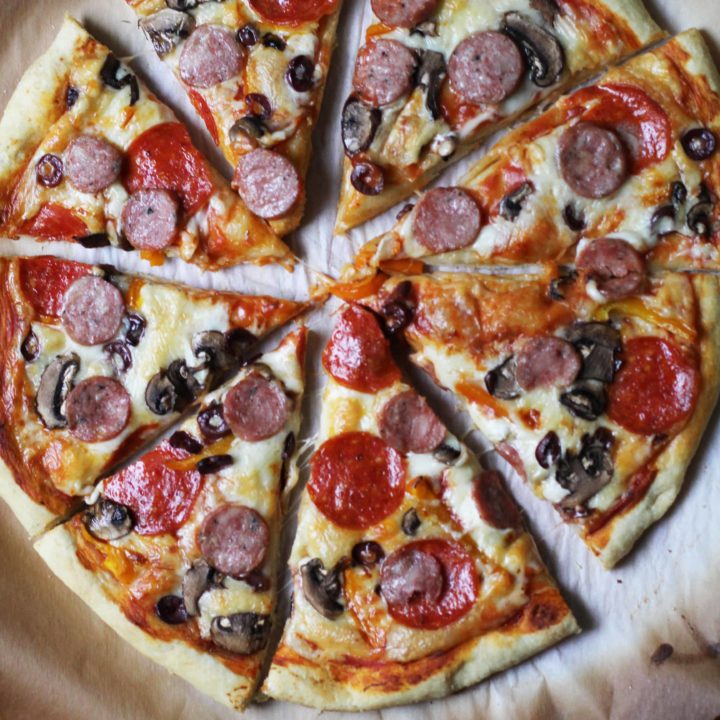
- When your dough shaped on the parchment, add your sauce and toppings. Use a cutting board to help transfer the pizza to the hot stone.
- Bake for 10-12 minutes, or until golden and crisp.
Notes
*To keep this recipe precise it's really important that you weigh the flour. It takes the guess work out and will really ensure that it's the right amount. If you are going to freeze the dough it's very important that you do this right after you form it into balls. The yeast is super active and will continue to proof unless it's really cold. You can always stop the proofing in the freezer and then bring it to the fridge when you're ready to use. Recipe adapted from Annie's Eats
Nutrition Information:
Yield: 2 Serving Size: 1 gramsAmount Per Serving: Unsaturated Fat: 0g
Solid pizza dough is essential in every kitchen! Definitely need to try yours!
We’ve made pizza a couple of times but haven’t quite got it down. This dough looks so soft and amazing, we have to try it! Pinned!
This looks amazing! I’ve actually never made my own pizza dough but have always wanted to try it. Yours looks so delicious!
I am still trying to master pita bread. Please share your secret.
Hey Connie! I have a post with my Grandmother’s Pita bread here on the blog! Just type “Pita Bread” in the search window on the top right of the site :)
I just got a baking steel and used it for the first time Wednesday night. It works like a dream but I wasn’t thrilled with my dough recipe so I’ll have to give this one a try. Thanks!
I was just thinking about how I want to start a Friday pizza night in our home already, too. :) This crust looks perfect!
Homemade pizza dough really is the best. Plus, roll it out thicker and then you’ve got focaccia. Booyah.
So glad you enjoyed this! It is an absolute staple in our home.
It’s not even 10 in the morning and now I want pizza…bad! Thanks for the fab recipe!
Homemade pizza is the BEST! We had pizza Fridays when I was a kid…it totally MADE the week!
This pizza crust is the best ever!
My boyfriend is super fussy with pizza crust and he polished the whole pizza and left nothing for me.
I adapted this recipe for use with a bread machine (dough program). You just need to add some more flour. The dough came out very nice! I am Italian and very picky when it comes to pizza dough, but I totally approve and like this recipe!! :) Thanks for sharing
I love to cook and bake but so afraid of pizza dough. After reading how easy and yummy this sounds, I’m determined to try it. What have I got to lose? Your pictures are so gorgeous. Thank you.
Can I use regular flour? Can’t find bread flour where we live…. :(
At the time of rolling (by rolling pin, or by hand forming) out the dough to make a pizza crust, what is the best temperature of the dough when forming it into the crust? Is it better to be room temperature, or refrigerator temperature, or some other preferred temperature?
Great pizza dough recipe for two pizzas! I wasn’t able to cook them on my stone but they still turned out terrific! I let the dough rest for about 15 mins before pressing it out on parchment paper. I left them on the parchment paper and transferred them to a regular pizza pan. I did not bake them at 500 degrees as the recipe states. I felt it wasn’t safe to bake with parchment paper at that temp so I set my oven to 425 degrees. It needed to cook a little longer but still turned out delicious!! Going to save this recipe in my book for Friday night pizzas! Next time I may leave the parchment paper out of the oven so I can bake at a higher temp. (The instructions on the parchment paper box say to not bake over 425 degrees)