Salty Pretzel Buns
I have officially lived in New York City for 8 years. Wow. That feels like an eternity. Pretty much my entire adult life has been spent here and though I love many things about it, I think in the coming year or two, my little family may be ready to venture off onto somewhere a little easier. Living in NYC, as wonderful as it can be, is also really really hard sometimes, (especially with a baby!) What toughened me and made me into the grown-up that I am, doesn’t seem quite as appealing as a parent with (hopefully someday,) multiple kids.
Up until this year, one of the things I’ve missed the most about Midwest life is summer grilling. Lounging on the back porch- burgers, brats, corn on the cob and all the cook-out food I love. BUT- can you believe that the new apartment we moved into last fall actually has a back patio!? It has a grill and we just ordered patio furniture, and my upstairs neighbors are even putting a kiddie pool and baby swing out there! Once we get it all situated- we may actually get to enjoy a slice of what I’m so nostalgic for.
The idea of summer grilling has been giving me loads of ideas for fabulous summer recipes starting with these Pretzel Buns. I recently had an amazing burger with lots of mustard and a beer cheese sauce on a salty pretzel bun and I’ve been dreaming of it ever since. These buns taste just like my favorite soft and chewy pretzels and are SO freaking good with a burger! I had it yesterday for lunch with a veggie burger and it was to die. The rest will be used this weekend for our first cook-out!
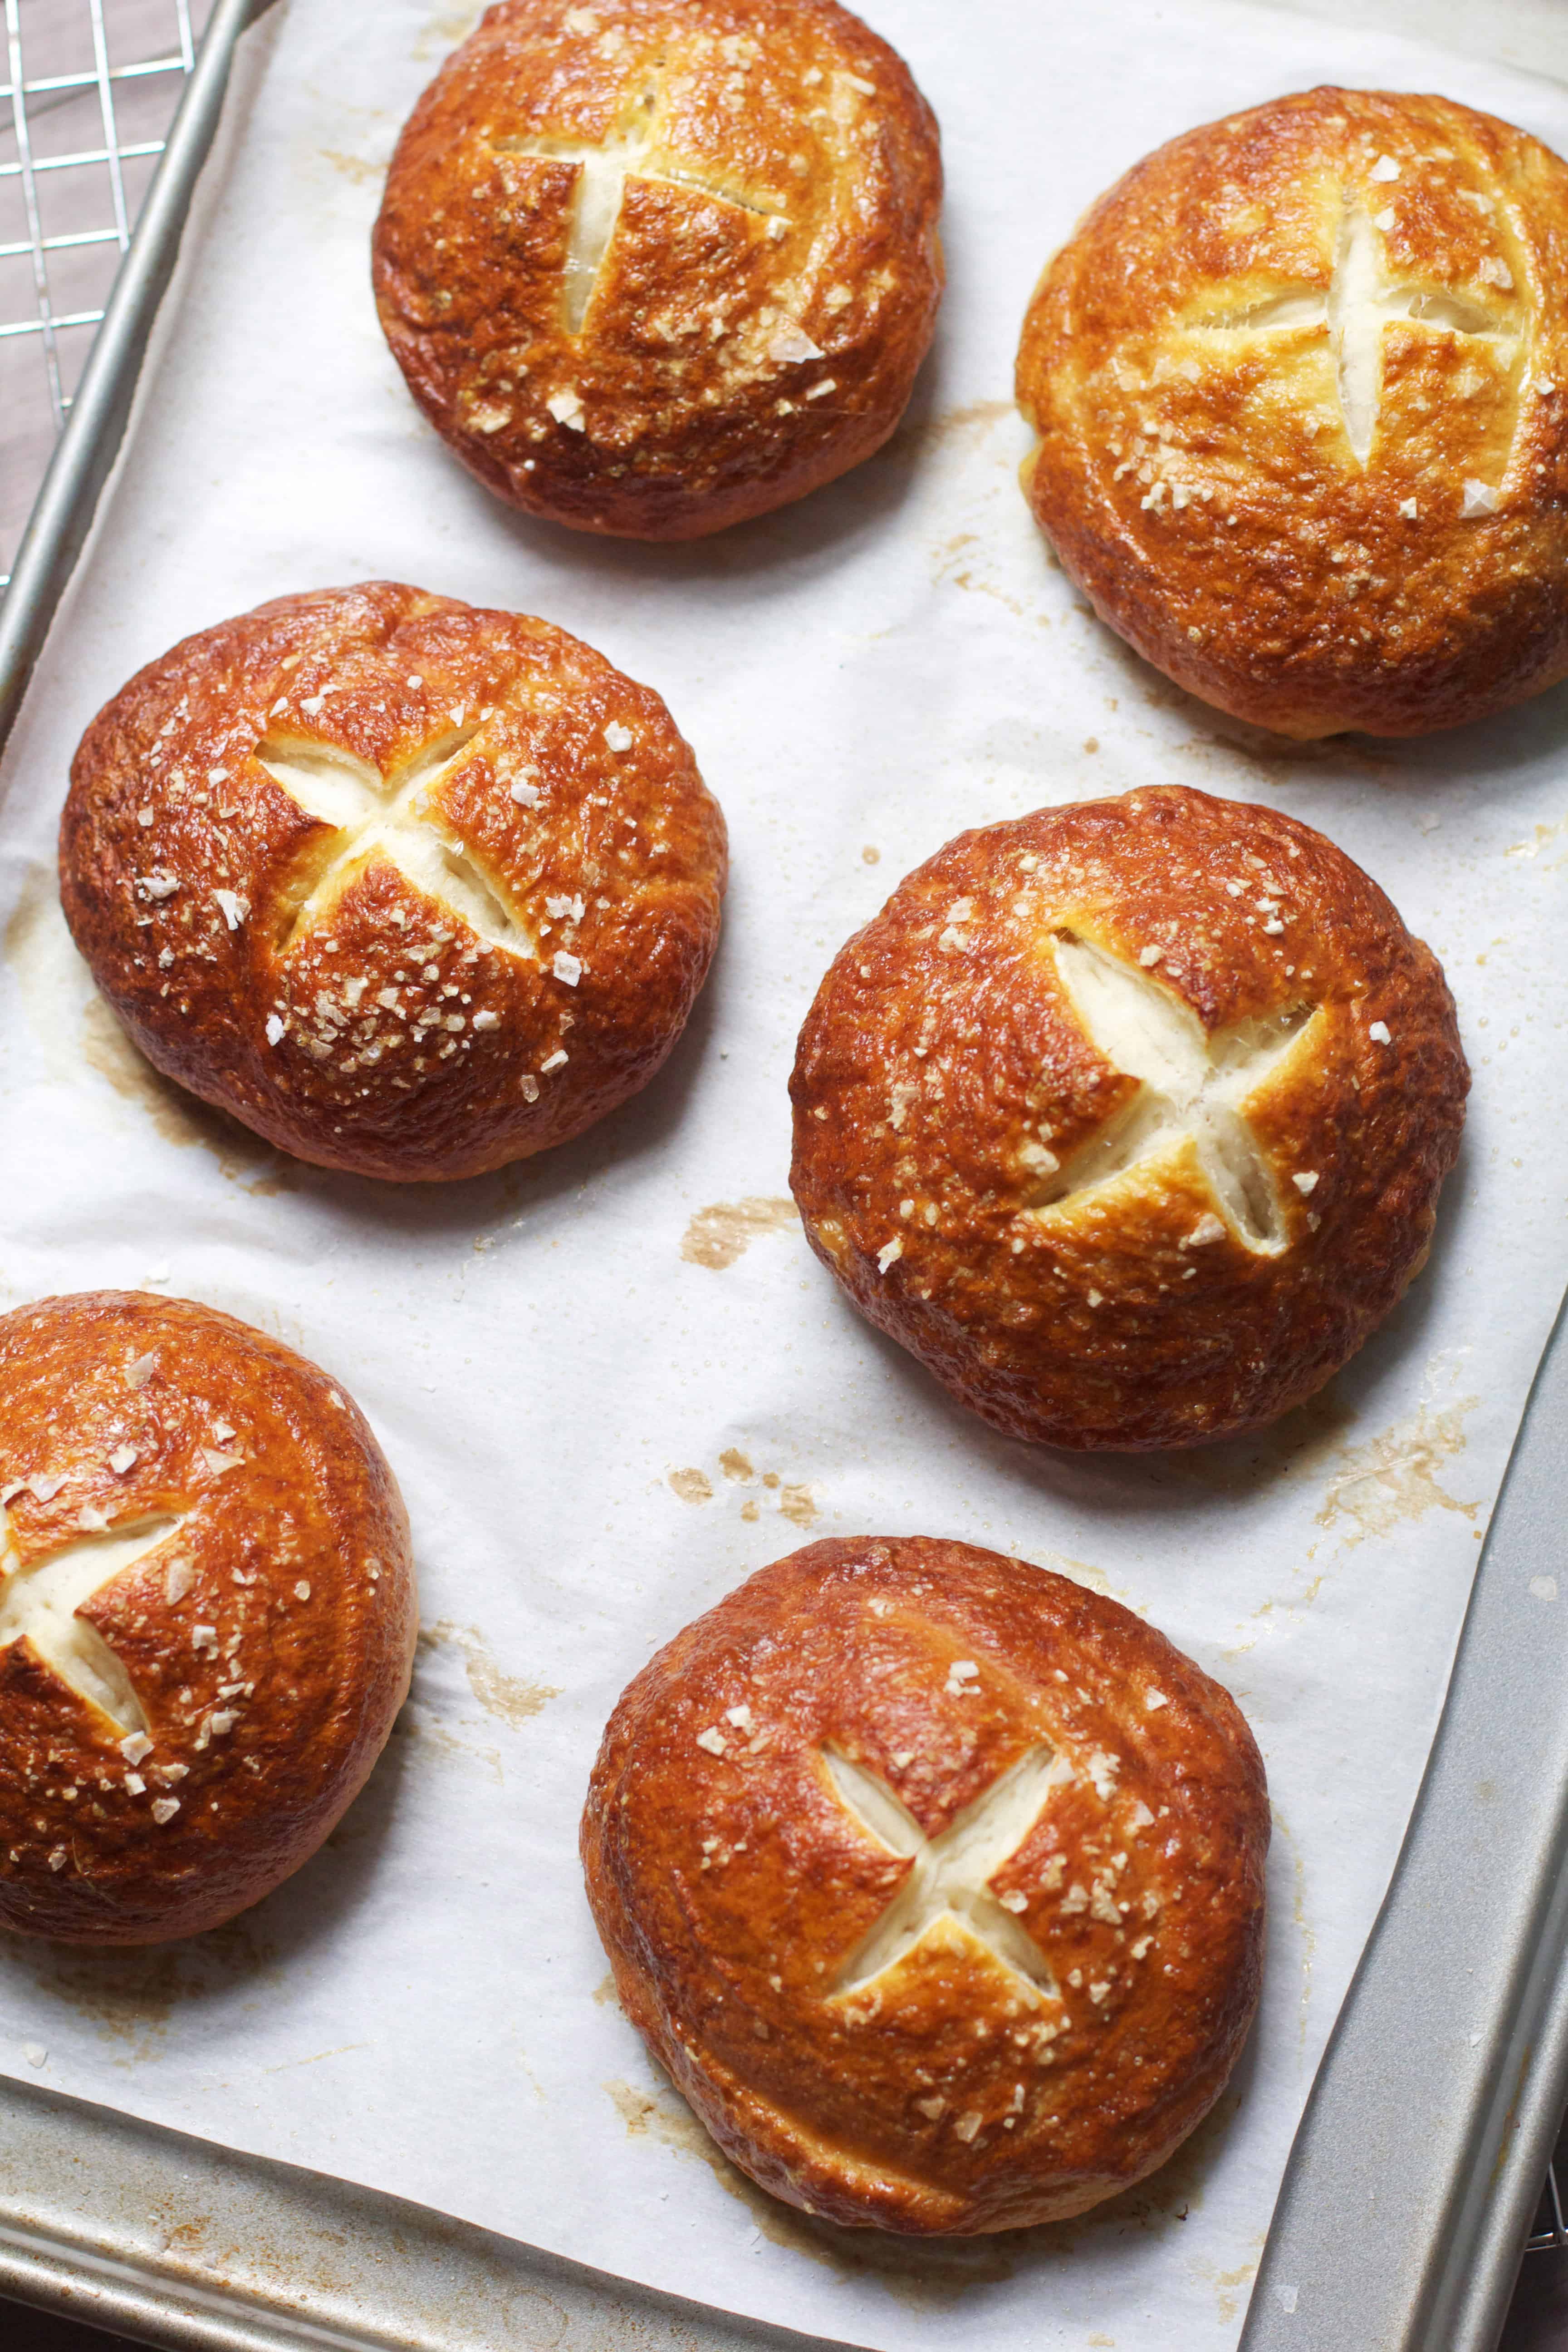
Overall these buns are pretty easy to make, it’s a simple yeast dough, formed into rolls that are boiled in a baking soda solution which helps give them their dark color and chewy pretzel texture. These would also be amazing as hotdog/bratwurst buns (just shaped a bit differently obviously!)
NYC- I am giving you a chance to make my summer grilling dreams come true- don’t let me down! :)
Salty Pretzel Buns
Ingredients
- 1 1/4-ounce envelope active dry or instant yeast (2 1/4 teaspoons)
- 2 3/4 cups bread flour, plus more for dusting the work surface
- 2 tablespoons brown sugar
- 1 teaspoon coarse salt, plus more for sprinkling
- 1 cup warm water
- Vegetable oil, (for coating the bowl)
- 1 egg, beaten
- 6 cups water
- 1/4 cup baking soda
Instructions
- In the bowl of your stand mixer (fitted with a dough hook,) combine the flour, sugar, salt and yeast. Stir to combine.
- Add the warm water and turn the mixer on, low speed at first to combine and then on medium for 7-8 minutes until the dough is smooth and elastic.
- Transfer it to the oiled bowl and cover with a clean, damp cloth. Proof in a warm place for 30-35 minutes or until doubled in size. (While the dough is proofing, line a cookie sheet with parchment paper, spray lightly and set aside.)
- When the dough has proofed, Turn it onto a lightly floured surface and punch it down. Divide the dough into 6 equal portions and shape into rolls. (You can weigh the portions to ensure they are even, I will do that next time.)
- Place rolls on the cookie sheet and cover with the damp cloth again, proofing in a warm place for 15-20 minutes. Meanwhile boil the 6 cups of water and slowly add the baking soda.
- Gently drop the proofed rolls into the baking soda solution, one at a time- one minute on each side, using a slotted spoon to place each boiled roll onto the prepared cookie sheet.
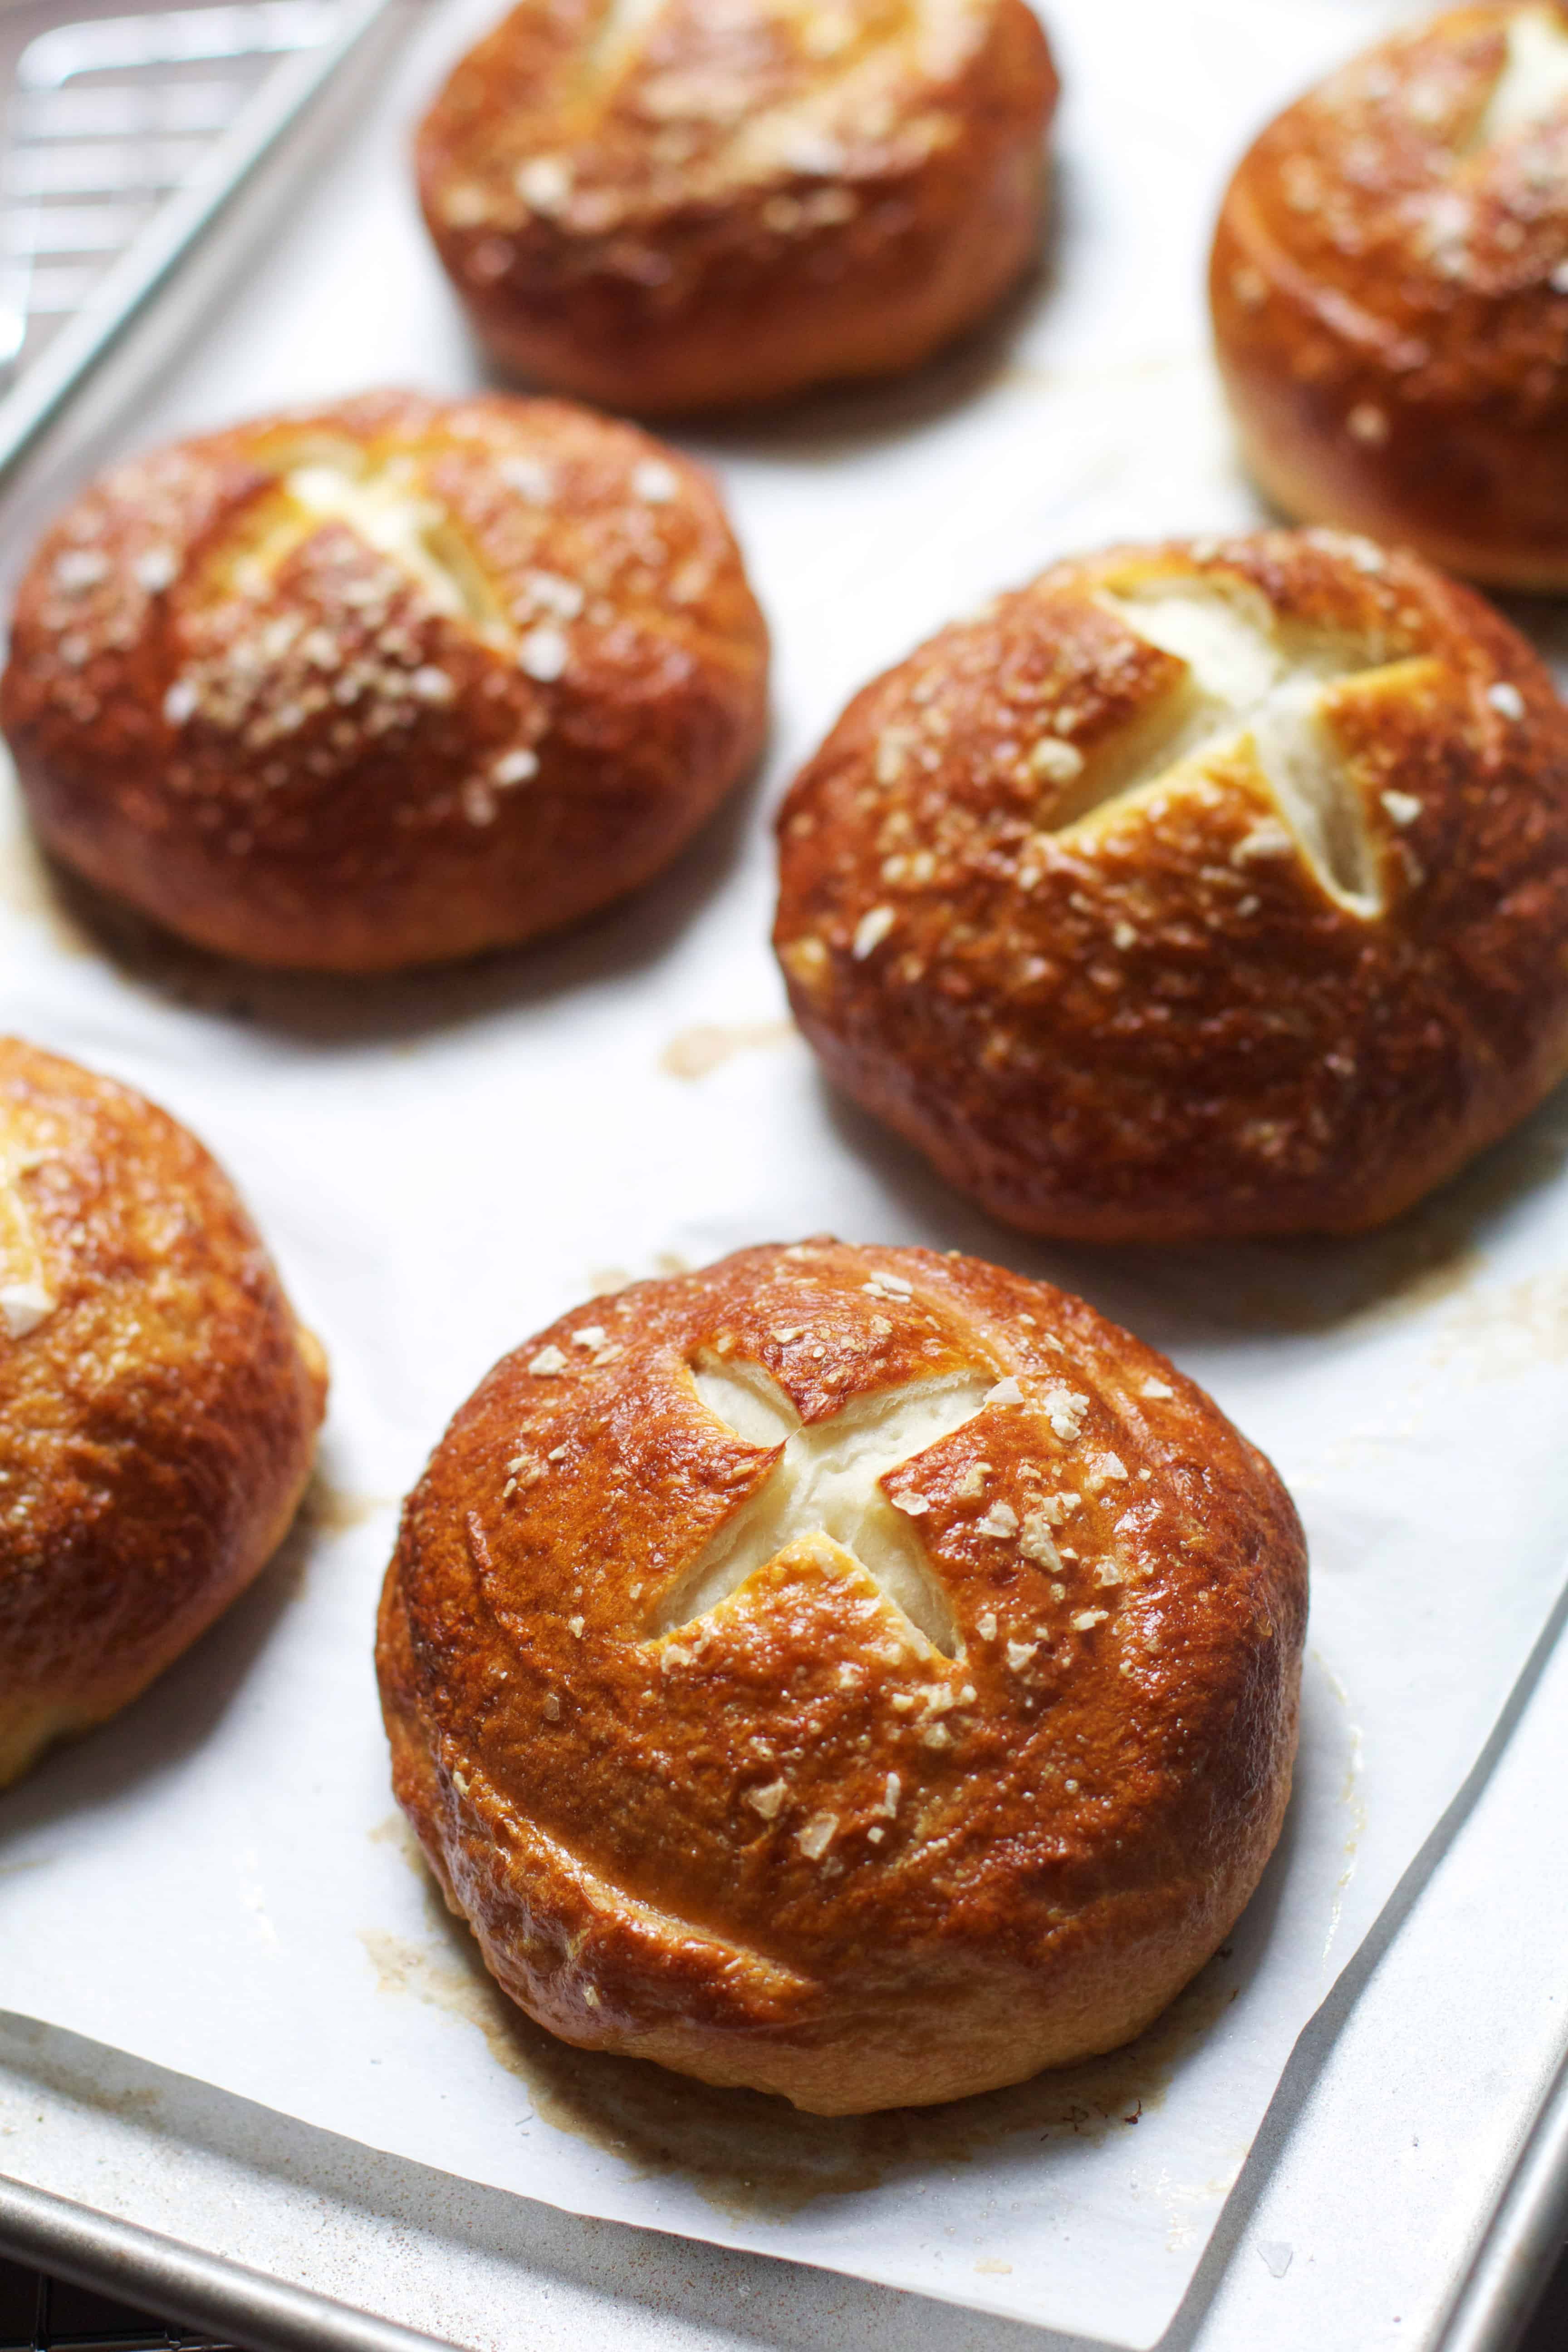
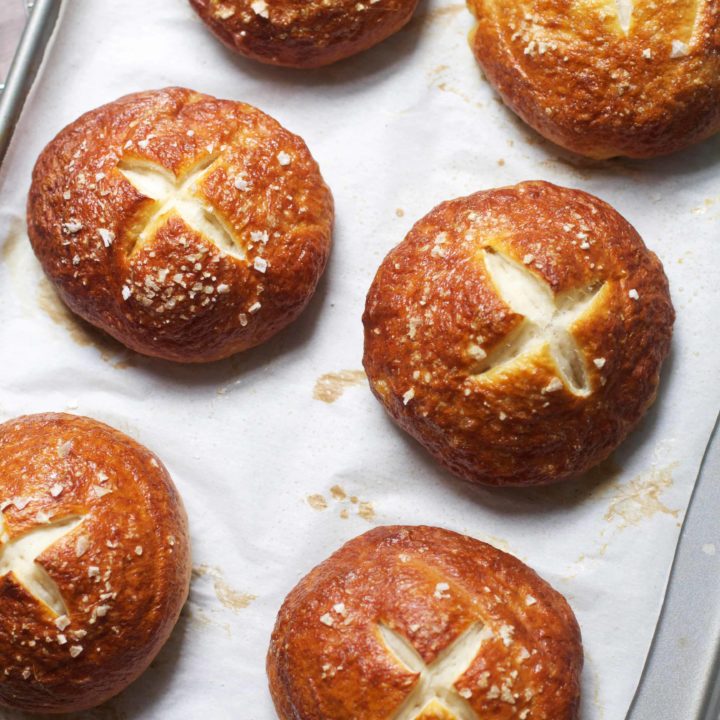
- When all the rolls are boiled, brush them with the beaten egg and sprinkle generously with coarse salt. Use a sharp knife to cut an X into the top of each one.
- Bake at 425F for 10-12 minutes or until dark golden brown. Serve warm or toasted.
Notes
Recipe adapted from: The Chow
Nutrition Information:
Yield: 6 Serving Size: 1 gramsAmount Per Serving: Unsaturated Fat: 0g
These look so dangerously good!! I’m suuuuuch a pretzel lover!
Love these buns but not that you are thinking about leaving NYC:-( Totally know what you mean about the city but I’d be super sad if you left!
please dont move wahhhhhhhhhh PLEASE….(although of course i get it!) and this recipe is being printed as we speak for our summer cookouts…cannot wait to make these for my family! i made bagels last summer and its the same idea…boiling the dough….really interesting process!!!!!
Brilliant! Cannot wait to make these!
Pretzels in bun form? Genius! They look awesome.
These look fabulous! I have something like this on my bake wishlist. I find yeast and boiling to be intimidating, but I am going to give this a whirl!
Mmm these look SO good. My mouth started watering at beer cheese.
OMG a burger + this sounds like heaven! Need to make and devour, asap.
I’m definitely going to try these. Maybe you can encourage me when you are home and we’ll do it together?
Wow what a fab idea! I love salty pretzels – a prezel roll sounds divine!
I love pretzels so much and these buns look so chewy and flavorful! Can’t wait to give them a go!
xo, Elisa
I definitely couldn’t be left alone with these. And if I had a beer cheese sauce?! Forget it! No wonder you’re dreaming about them! :)
Yayy for grilling!
I totally relate to you about NYC-I had been there for a little over 5.5 years when I moved away, my whole adult life (I was 18 when I moved there)—I love it and always will, but I know it’s sooo hard to have kids there, one of the big reasons I left (and ya know…missing family, my fiance’ hated it, etc etc :P) so I get where you’re coming from! If you ever wanna talk about it feel free to gimme an email, girl! In the meantime keep snuggling adorable lil Hugo for meeee!
I feel the same way about being an Expat in Amsterdam – so many things to love, but will it all translate when our twosome becomes three? Makes you realize why people move to the burbs :)
To have cook outs with pretzel buns, of course!
Mmm pretzel buns are my favorite addition to burgers.
I want something like this but ending up soft, not hard. Are these intended to end up with a hard surface? Can the baking time be lessened to keep them soft? Thank you!
Hello! Yes- they are intended to be soft buns!
Lovely recipe! I have just made them, but they did not rise in the oven… They stayed a little flat. Perhaps it has do with how I shaped them? After the first 35 minutes the dough had doubled in size, then when I divided into buns it collapsed a little
I’m commenting on this years later but here’s the thing:
After the first rise, you actually softly press various areas of the dough with the top of your fingers to remove the excess air before shaping into balls. At this stage, the dough will seemingly reduce in size.
Once shaped into balls, you let them rise again before boiling. This is important. But only for about 15 minutes. Don’t let it over-rise (over proof).
I wish this tutorial had pictures since I struggled with forming them into balls (openings will retain water after boiling and be soggy)
Delicious pretzel buns. These were perfect for our weekend burger cookout and everyone was impressed that I made them. New favorite bread recipe!
Oh my goodness, these are amazing! They make a regular sammy into an incredible sammy!!
I couldn’t believe how easy these were to make! They were perfection and will be making them again soon.