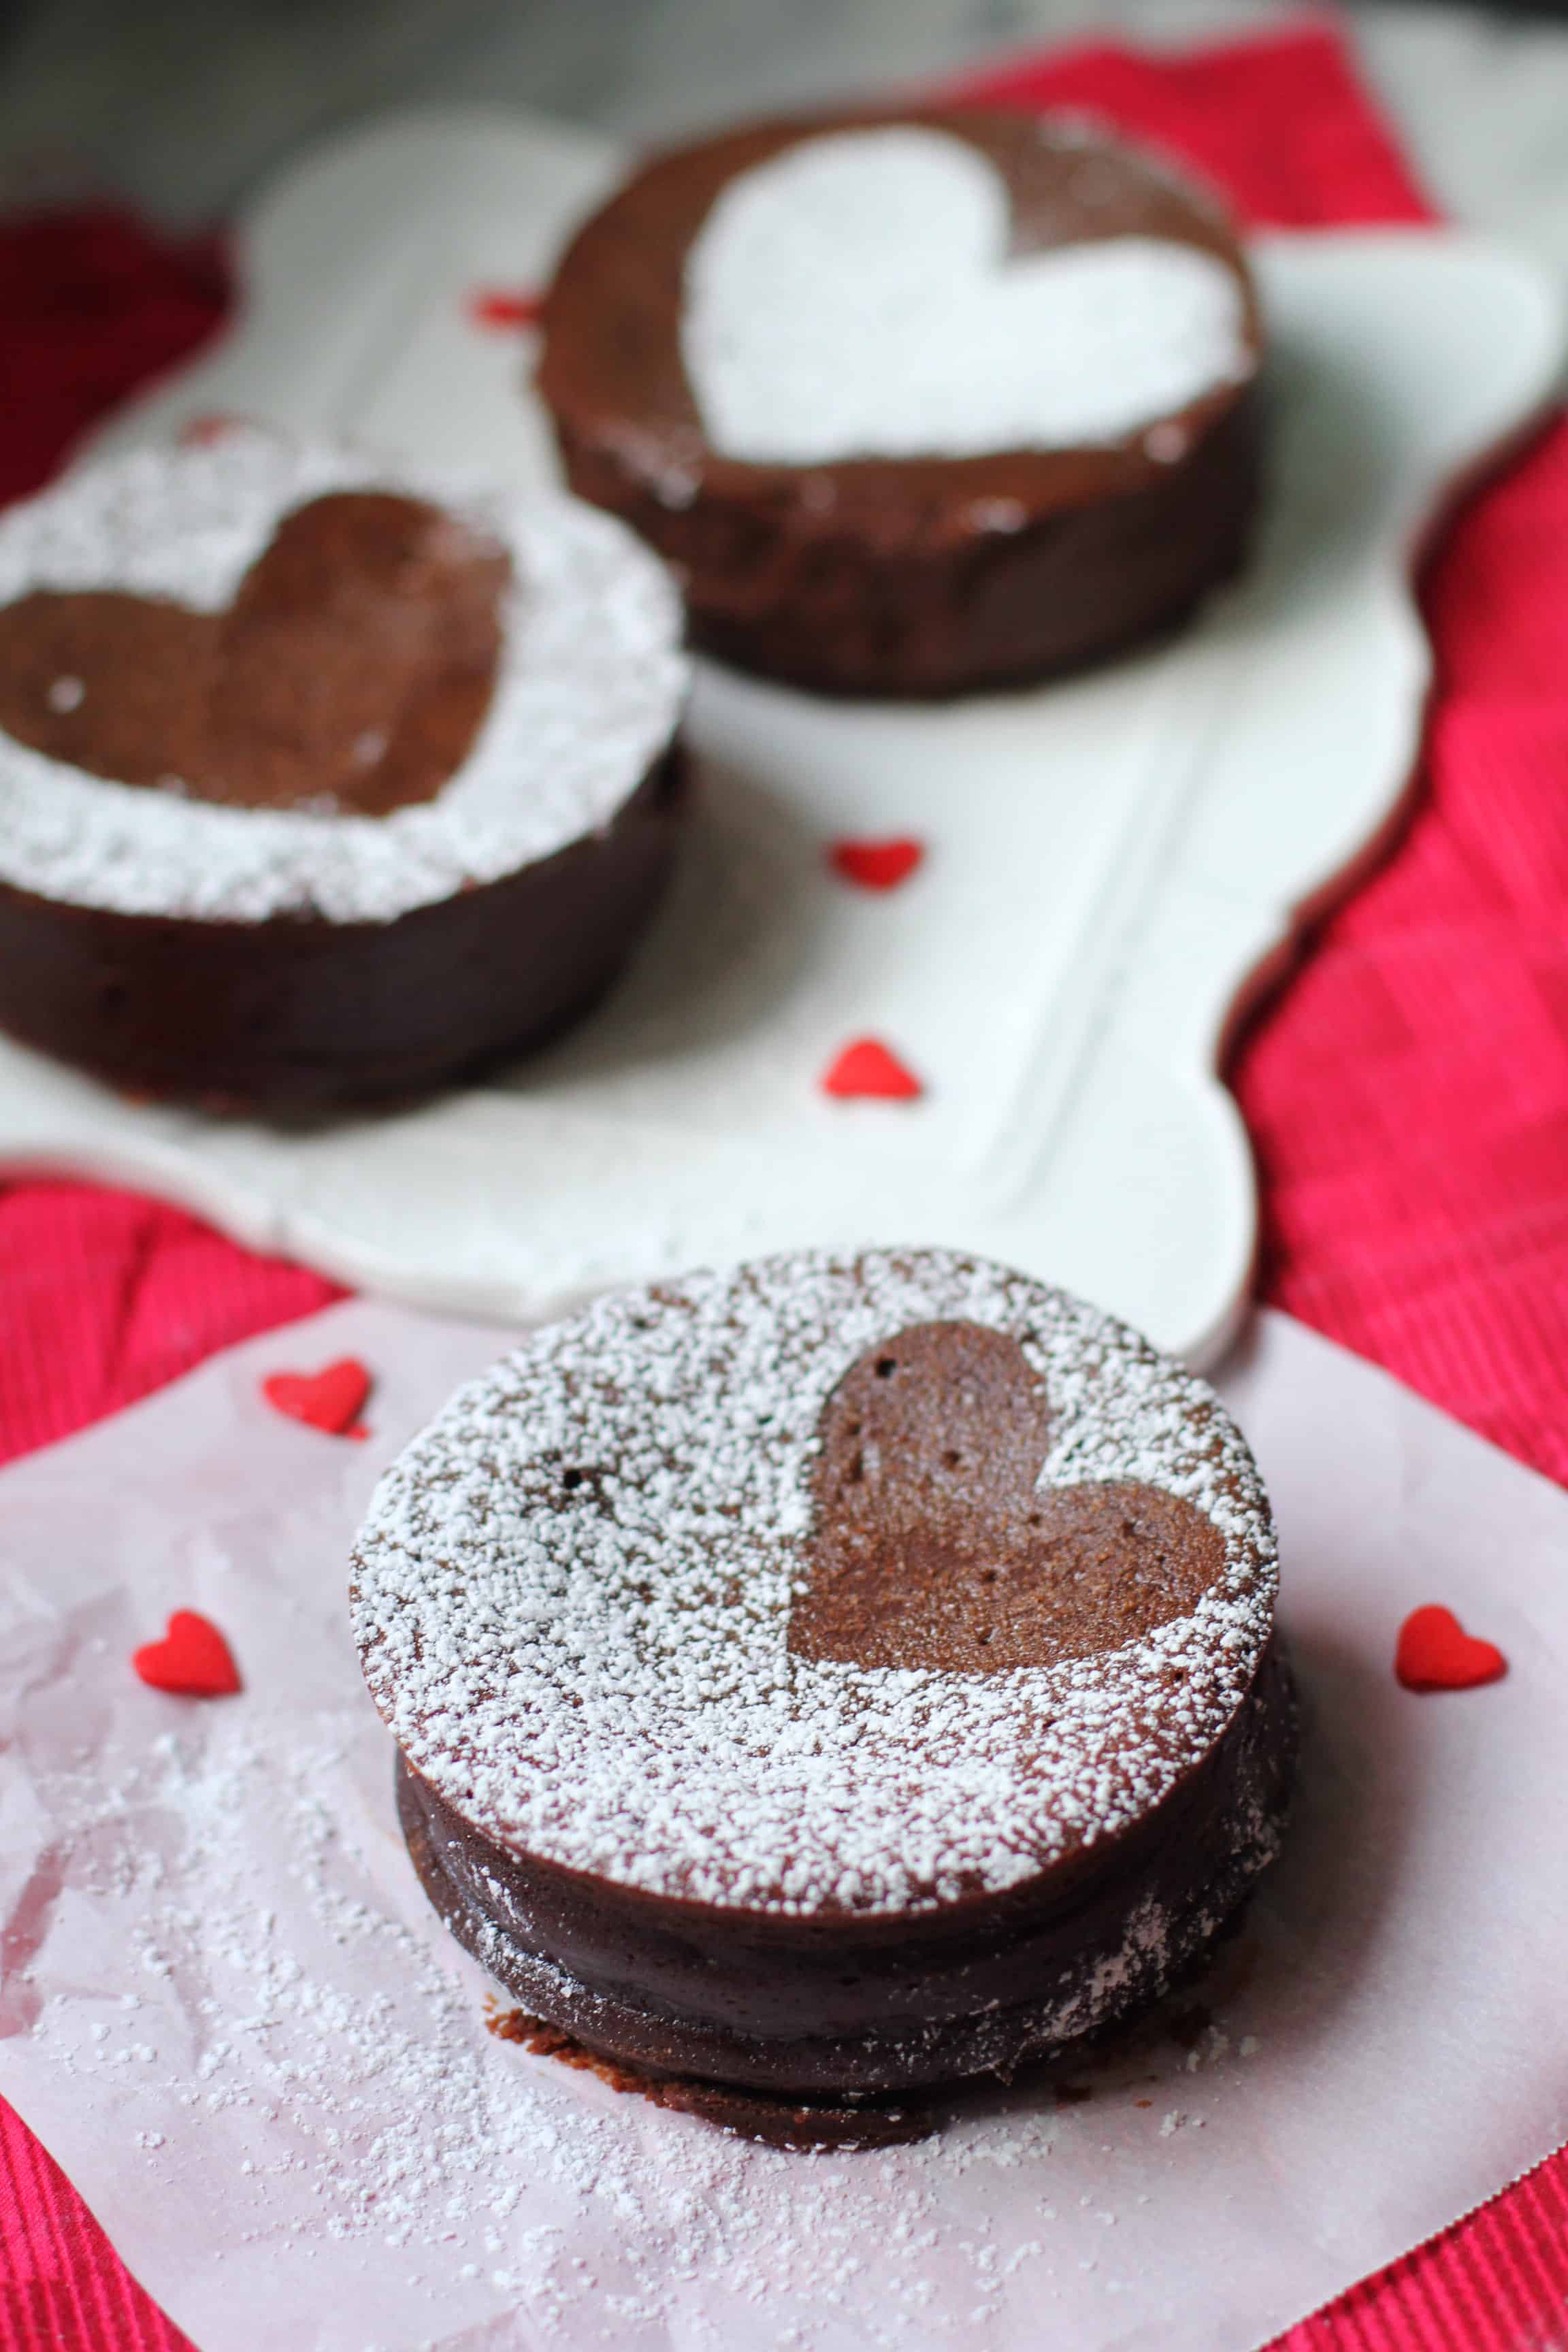
Mini Flourless Chocolate Cakes
Valentine’s Week is officially here! Chances are you fall into one of the following camps- into V-Day or not into V-Day. I’m not really into the holiday in general, but I’m extremely into chocolate and any holiday that celebrates with hearts and sugar may be my favorite. I couldn’t let a year go by without something over-the-top rich and decadent for this occasion so I hope you’re as excited as I am!

For some reason I’ve always been a bit scared of Flourless Chocolate Cake. Maybe it’s because last year I attempted making one and it stuck to the edges, collapsed in the middle and though was tasty, was a general flop. It’s one of my all-time favorite “order at a restaurant” desserts though , so I braced myself this time around, knowing I really wanted to master it, but was prepared it may take a few tries.
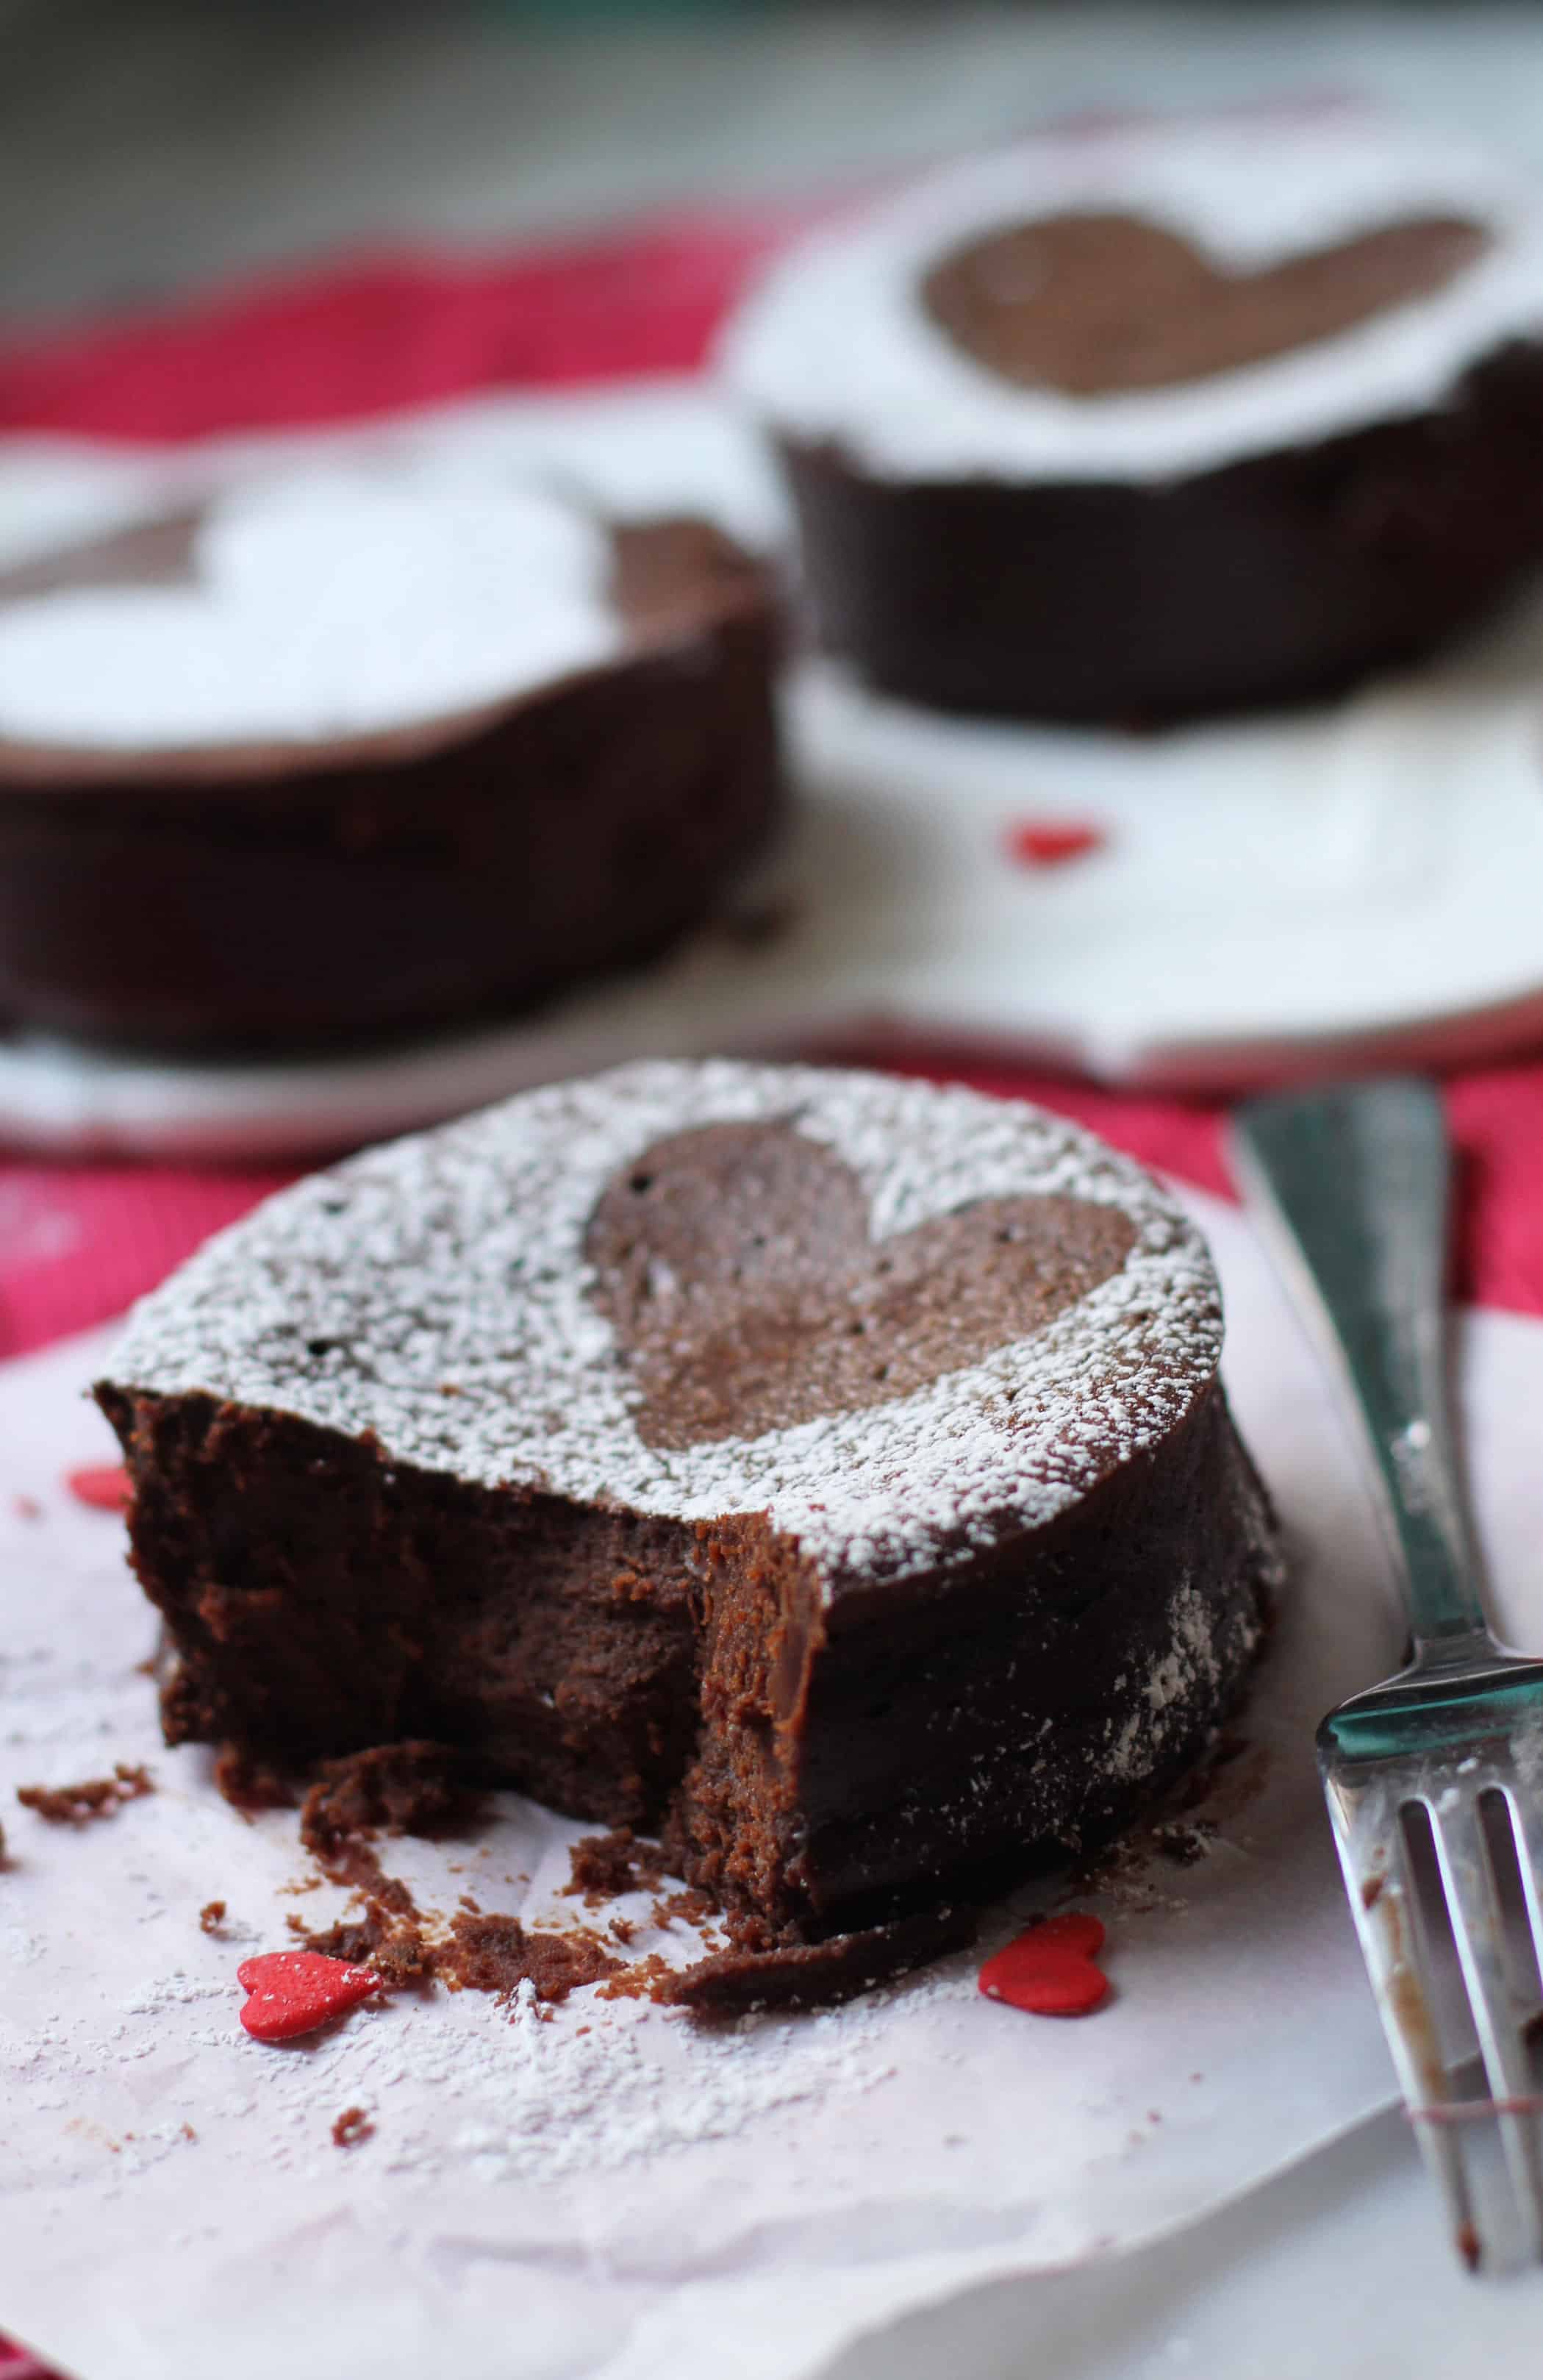
I’m happy to say that this recipe seems pretty foolproof, and it’s really and truly incredible. Because I like all things mini, I made these into smaller “cakelets,” but one normal sized 9-10 inch pan would work too. I also think a bunch of small ramekins would be awesome for serving these at a dinner party. I wanted to make enough that I could gift a few of them to family/neighbors and keep one at home for us. Being a rich cake, I thought the 3 inch size was perfect for two people. A dollop of whipped cream or ice cream and you have yourself one beautiful V-day treat!
* If you use all bittersweet chocolate- I would add an extra 1/4 cup sugar using 3/4 total. If you use all semi-sweet- I would cut it down to 1/4 cup. Any combination works, just adjust the sugar accordingly.
Also: The original recipe suggested baking the cake in a water bath. (Wrapping the pan in heavy duty foil first) I didn't do this, but added a steam pan to the oven instead. My cakes came out perfectly and crack free. I made minis though, and if you make a full sized cake the water bath may be a good idea.
Recipe adapted from: All RecipesMini Flourless Chocolate Cakes
Ingredients
Instructions
Notes
Nutrition Information:
Yield: 4
Serving Size: 1 grams
Amount Per Serving:
Unsaturated Fat: 0g
You are too cute!! These look perfect for Valentine’s Day!
Yum! What kind of pans are you using?
I used mini 3-inch springform pans. You could just use a regular sized springform too :)
We’re not really into celebrating Vday either, but we are always into chocolate. Loads.
How cuuute are these?! I need to get mini springform pans!
Please advise about cooling the cakes i the oven. I’m a bit confused about that. Wouldn’t they continue to bake even though the oven’s been turned off?
This looks so wonderfully decadent!
That allows them to cool really slowly and prevents cracking :) You stop the baking when they are still liquid in the middle so after at hour they are ready for the fridge!
Oooo those look so gloriously fudgy. I love it.
These cakes look so cute.. and so delicious!
soooo romantic! These cakes are oh so pretty and look insanely delicious and chocolatey and perrrrfect
hey there,
these cakes look divine!!! Quick question, i’m not too sure about the coffee aspect, do you have any suggestions for a replacement, or maybe just leave it out?
thanks Bianca
The recipe needs the liquid. I’ve made it with extremely weak coffee and extremely strong and my family members who don’t care for coffee actually preferred it with the stronger coffee.
If you don’t want to use the coffee (but I agree even weak coffee works and it’s not a strong flavor,) I’d sub water instead. You need the liquid!
Hi
Do you think i could make this in cupcake sizes?
I would also like to make this using regular size cupcake pans. I assume they will work, and that I can get 6 of them out of the recipe.
HI Nancy. I’ve never made them in cupcake pans so I’m not sure. I do think they wouldn’t come out of the pan as nicely as the springform, but if you try-I’d grease the pan as well as you can!
HI!
I am wondering if you could use mini cheesecake cupcake pans for this recipe?!
yes I think so! As long as you grease them well it should be fine!
So I made these. Followed exactly. But my mixture came out so fluffy and like a mousse. It was amazing. But wondering what I may have done wrong and what I can do to correct it?
Has anyone tried this with stoneware mini ramekins?
How soon can these be made before serving ? Should they be refrigerated?
If making same day they don’t need to be refrigerated, if making 1-2 days in advance- yes I would!