How long to let brownies cool before frosting
If you’re a brownie enthusiast, you understand the anticipation of waiting for that perfect moment to frost your batch of deliciousness. Achieving the ideal texture, flavor, and appearance involves a delicate dance of cooling methods and timing. Let’s explore the best practices to ensure your brownies are nothing short of perfection.
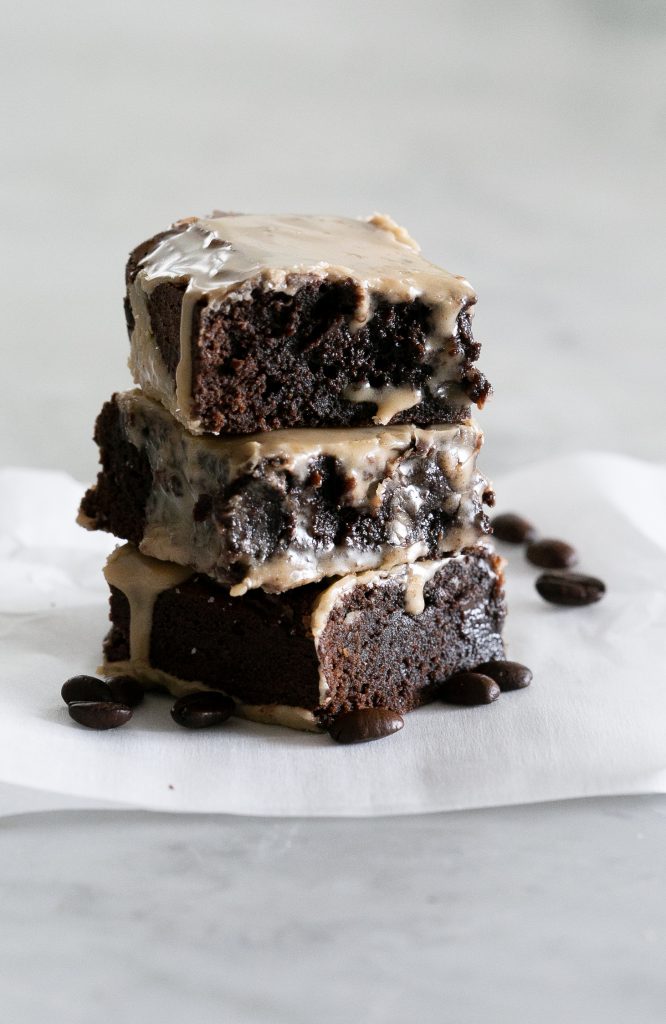
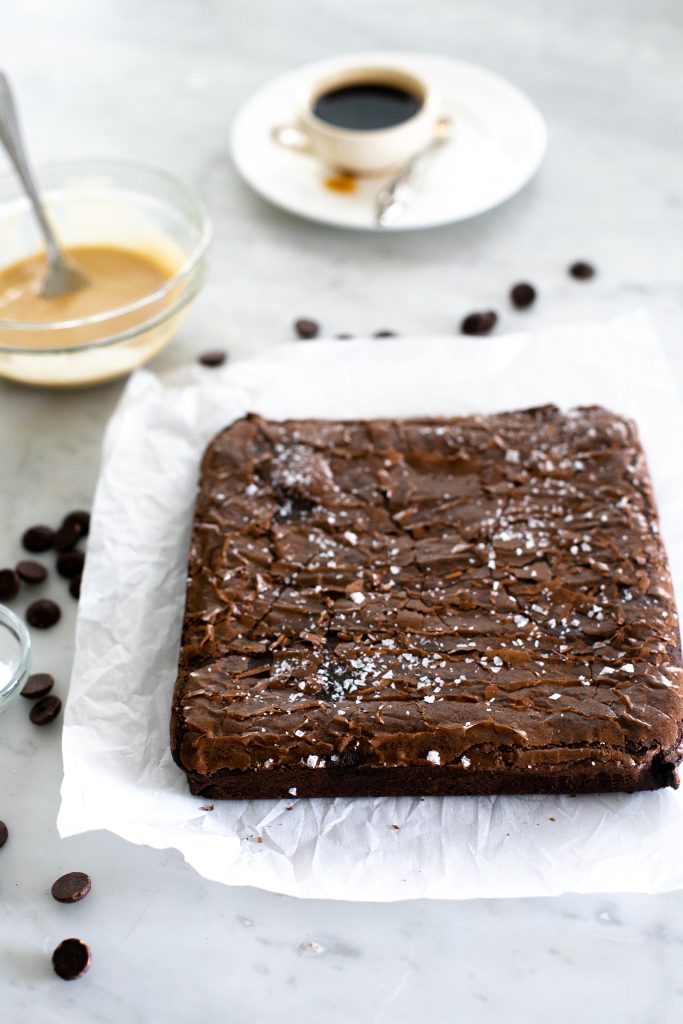
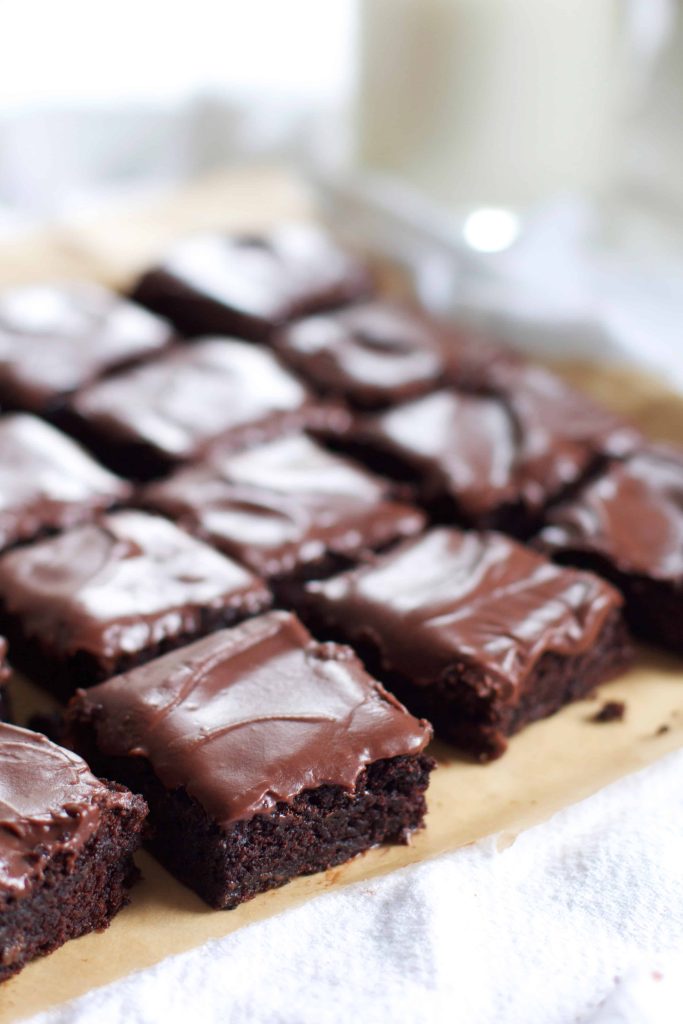
Start with a freshly baked batch of fudgy brownies. (I am partial to Fudgy Sea Salt Brownies, Espresso Brownies or these Fudgy Zucchini Brownies!) After they are baked to perfection, (a toothpick inserted with a few moist crumbs,) follow the instructions below.
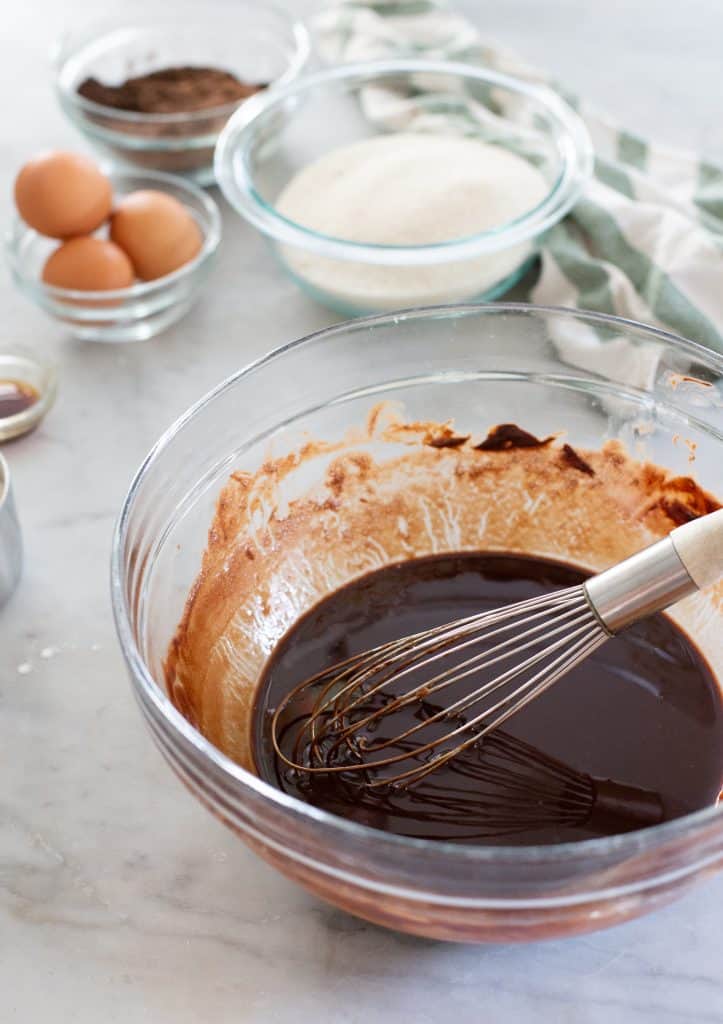
While all brownie recipes are different, these are some ingredients you’ll likely need and want to gather for a classic brownie batter:
- Chocolate Chips or melted chocolate
- Brown Sugar
- Dutch Process Cocoa Powder
- Espresso Powder (it really enhances chocolate flavor.)
- White Sugar
- Flour
- Butter
Supplies needed to bake a homemade batch of warm brownies:
- Baking Pan (I like a square pan for clean cuts)
- Cooling rack
- Cutting board
Frosting ideas for a classic chewy brownies:
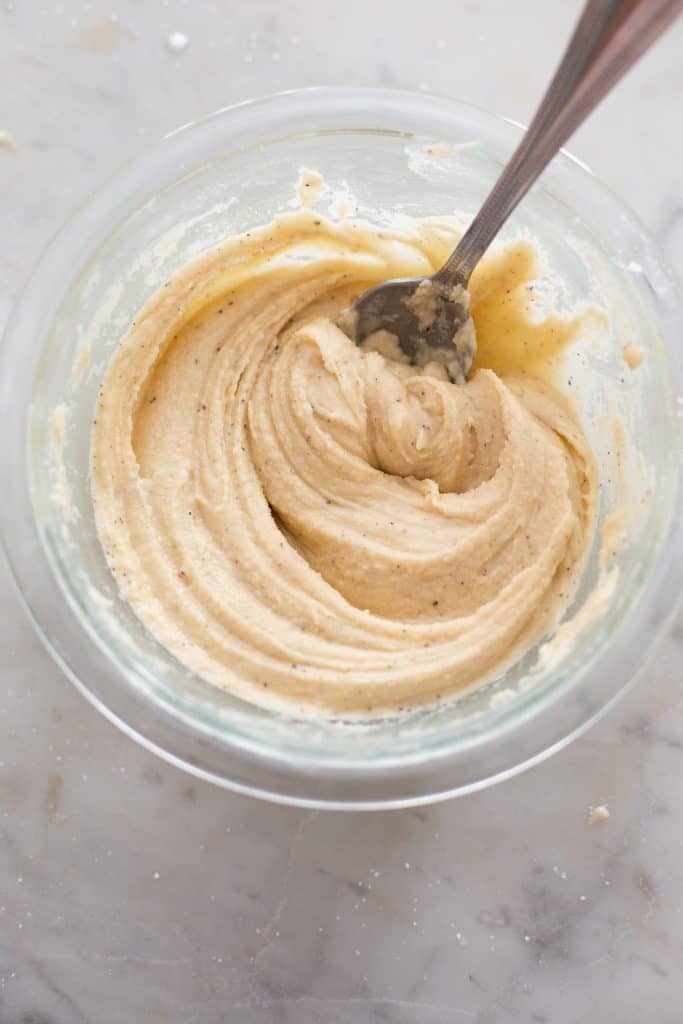
- Espresso Icing
- Chocolate buttercream
- Raspberry buttercream
- Brown butter frosting
- Cream cheese frosting
1. Initial Cooling Period: After pulling your brownie pan from the oven, exercise a little patience. Cool brownies in the pan for about 10-15 minutes. This initial cooling period allows the residual heat to continue cooking the brownies slightly and sets the stage for a smoother cutting process later on.
2. Transfer to a Wire Rack: Gently transfer your brownies to a wire rack. Or if you made a “sling” using parchment paper, lift them out after a few minutes of cooling. This helps to expedite the cooling process by allowing air to circulate around the entire pan, preventing the bottom from becoming too moist.
3. Room Temperature Cooling: Allow your brownies to cool at room temperature on the wire rack for at least an additional 30-60 minutes. This gradual cooling process helps to achieve that coveted fudgy texture without becoming a gooey mess.
4. Recommended Cooling Time:For the best results, follow the recommended cooling time mentioned in your brownie recipe. The amount of time varies, but it typically ranges from 1 to 2 hours.
5. Quick Cooling Methods:If you’re pressed for time, consider placing your brownies in the refrigerator for about 30 minutes or in the freezer for 15 minutes. Ensure they are adequately covered to avoid absorbing any smells/flavors from your fridge!
7. Overnight Cooling: For an even chewier texture and enhanced chocolate flavor, let your brownies cool overnight. This allows the flavors to meld and the texture to settle, resulting in a delightful treat the next day.
8. Frosting Considerations: Only frost your brownies once they have completely cooled. This ensures that the frosting doesn’t melt into a sticky mess and allows for a clean and beautiful presentation. Most frostings include butter which will melt when spread onto hot brownies. Spread or drizzle icing all over cool brownies and then cut into perfect squares.
9. Storing Your Brownies:To maintain freshness and prevent them from drying out, store your cooled brownies in an airtight container or a freezer-safe bag. Layer parchment paper between the brownie squares to keep them from sticking together.
By following these steps and exercising a little patience, you’ll master the art of cooling and cutting, delivering the perfect brownie every time. Whether you’re a fan of fudgy, chewy, or cakey brownies, these techniques will elevate your go-to recipe to new heights. Happy baking!