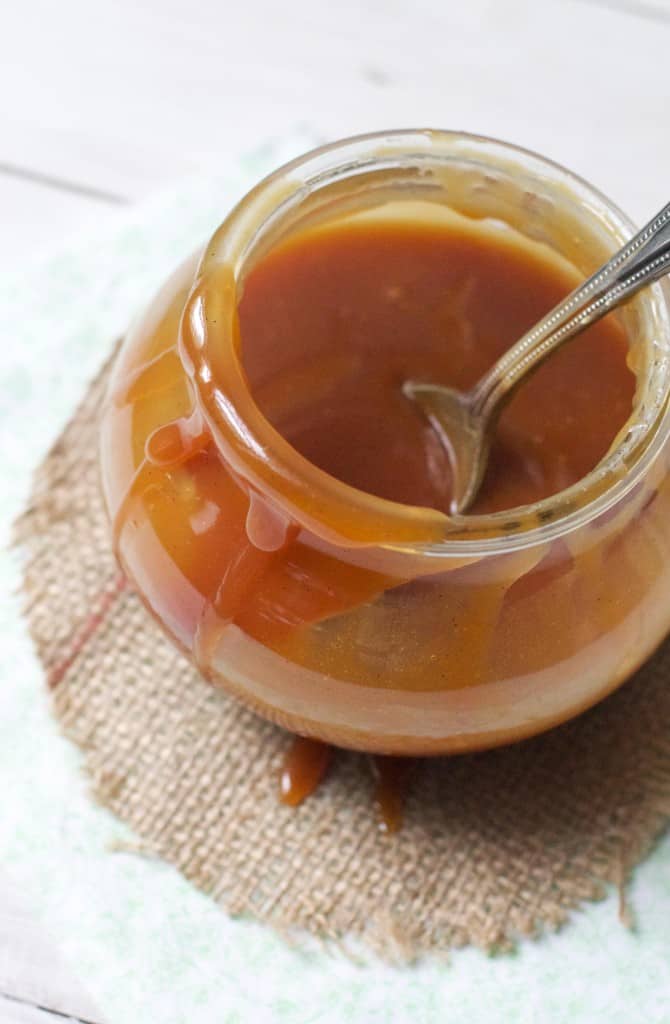
Salted Caramel Sauce How-To
Given my obvious obsession for all things Salted Caramel, it’s inevitably time for me to have an entire post dedicated to my favorite recipe. I make this stuff all the time. It’s really so easy, so delicious and so good to have on hand for a plethora of recipes.

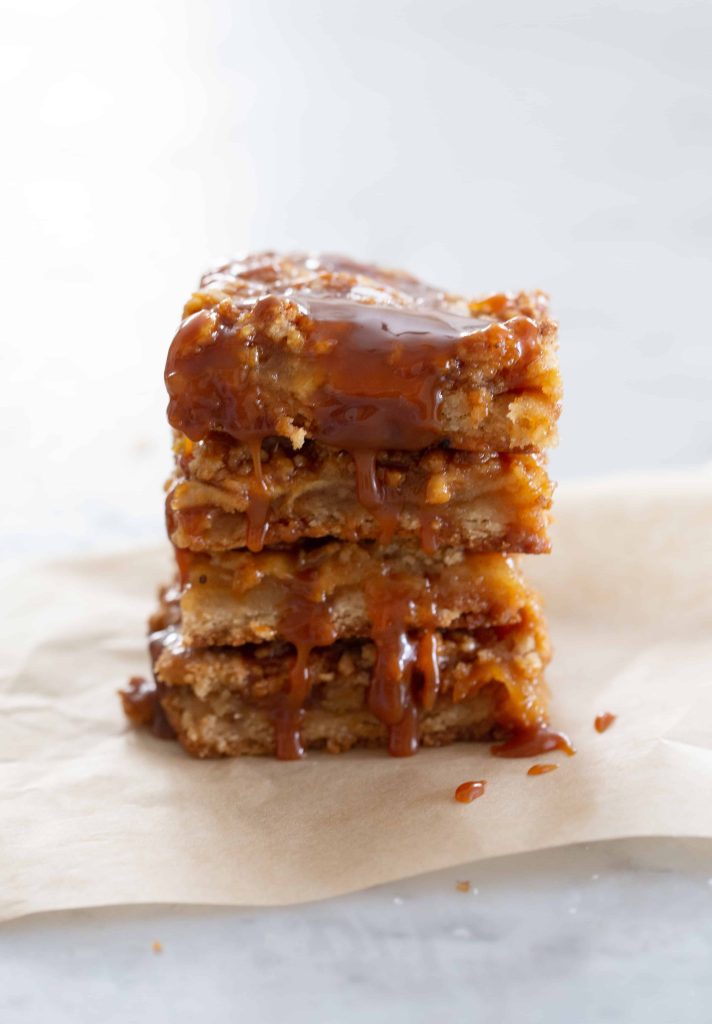
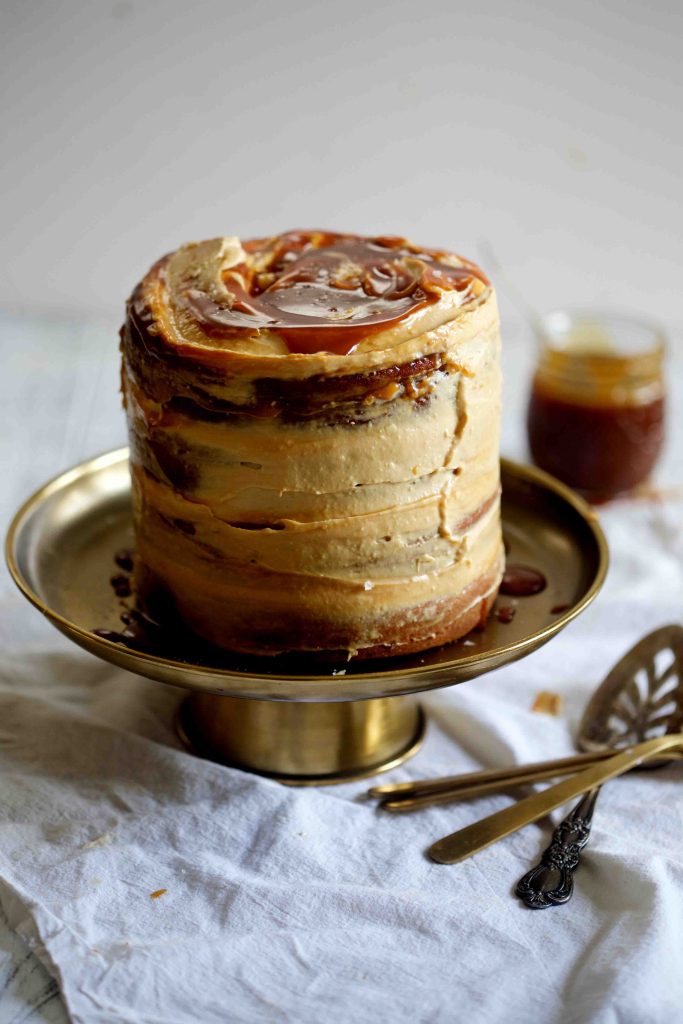
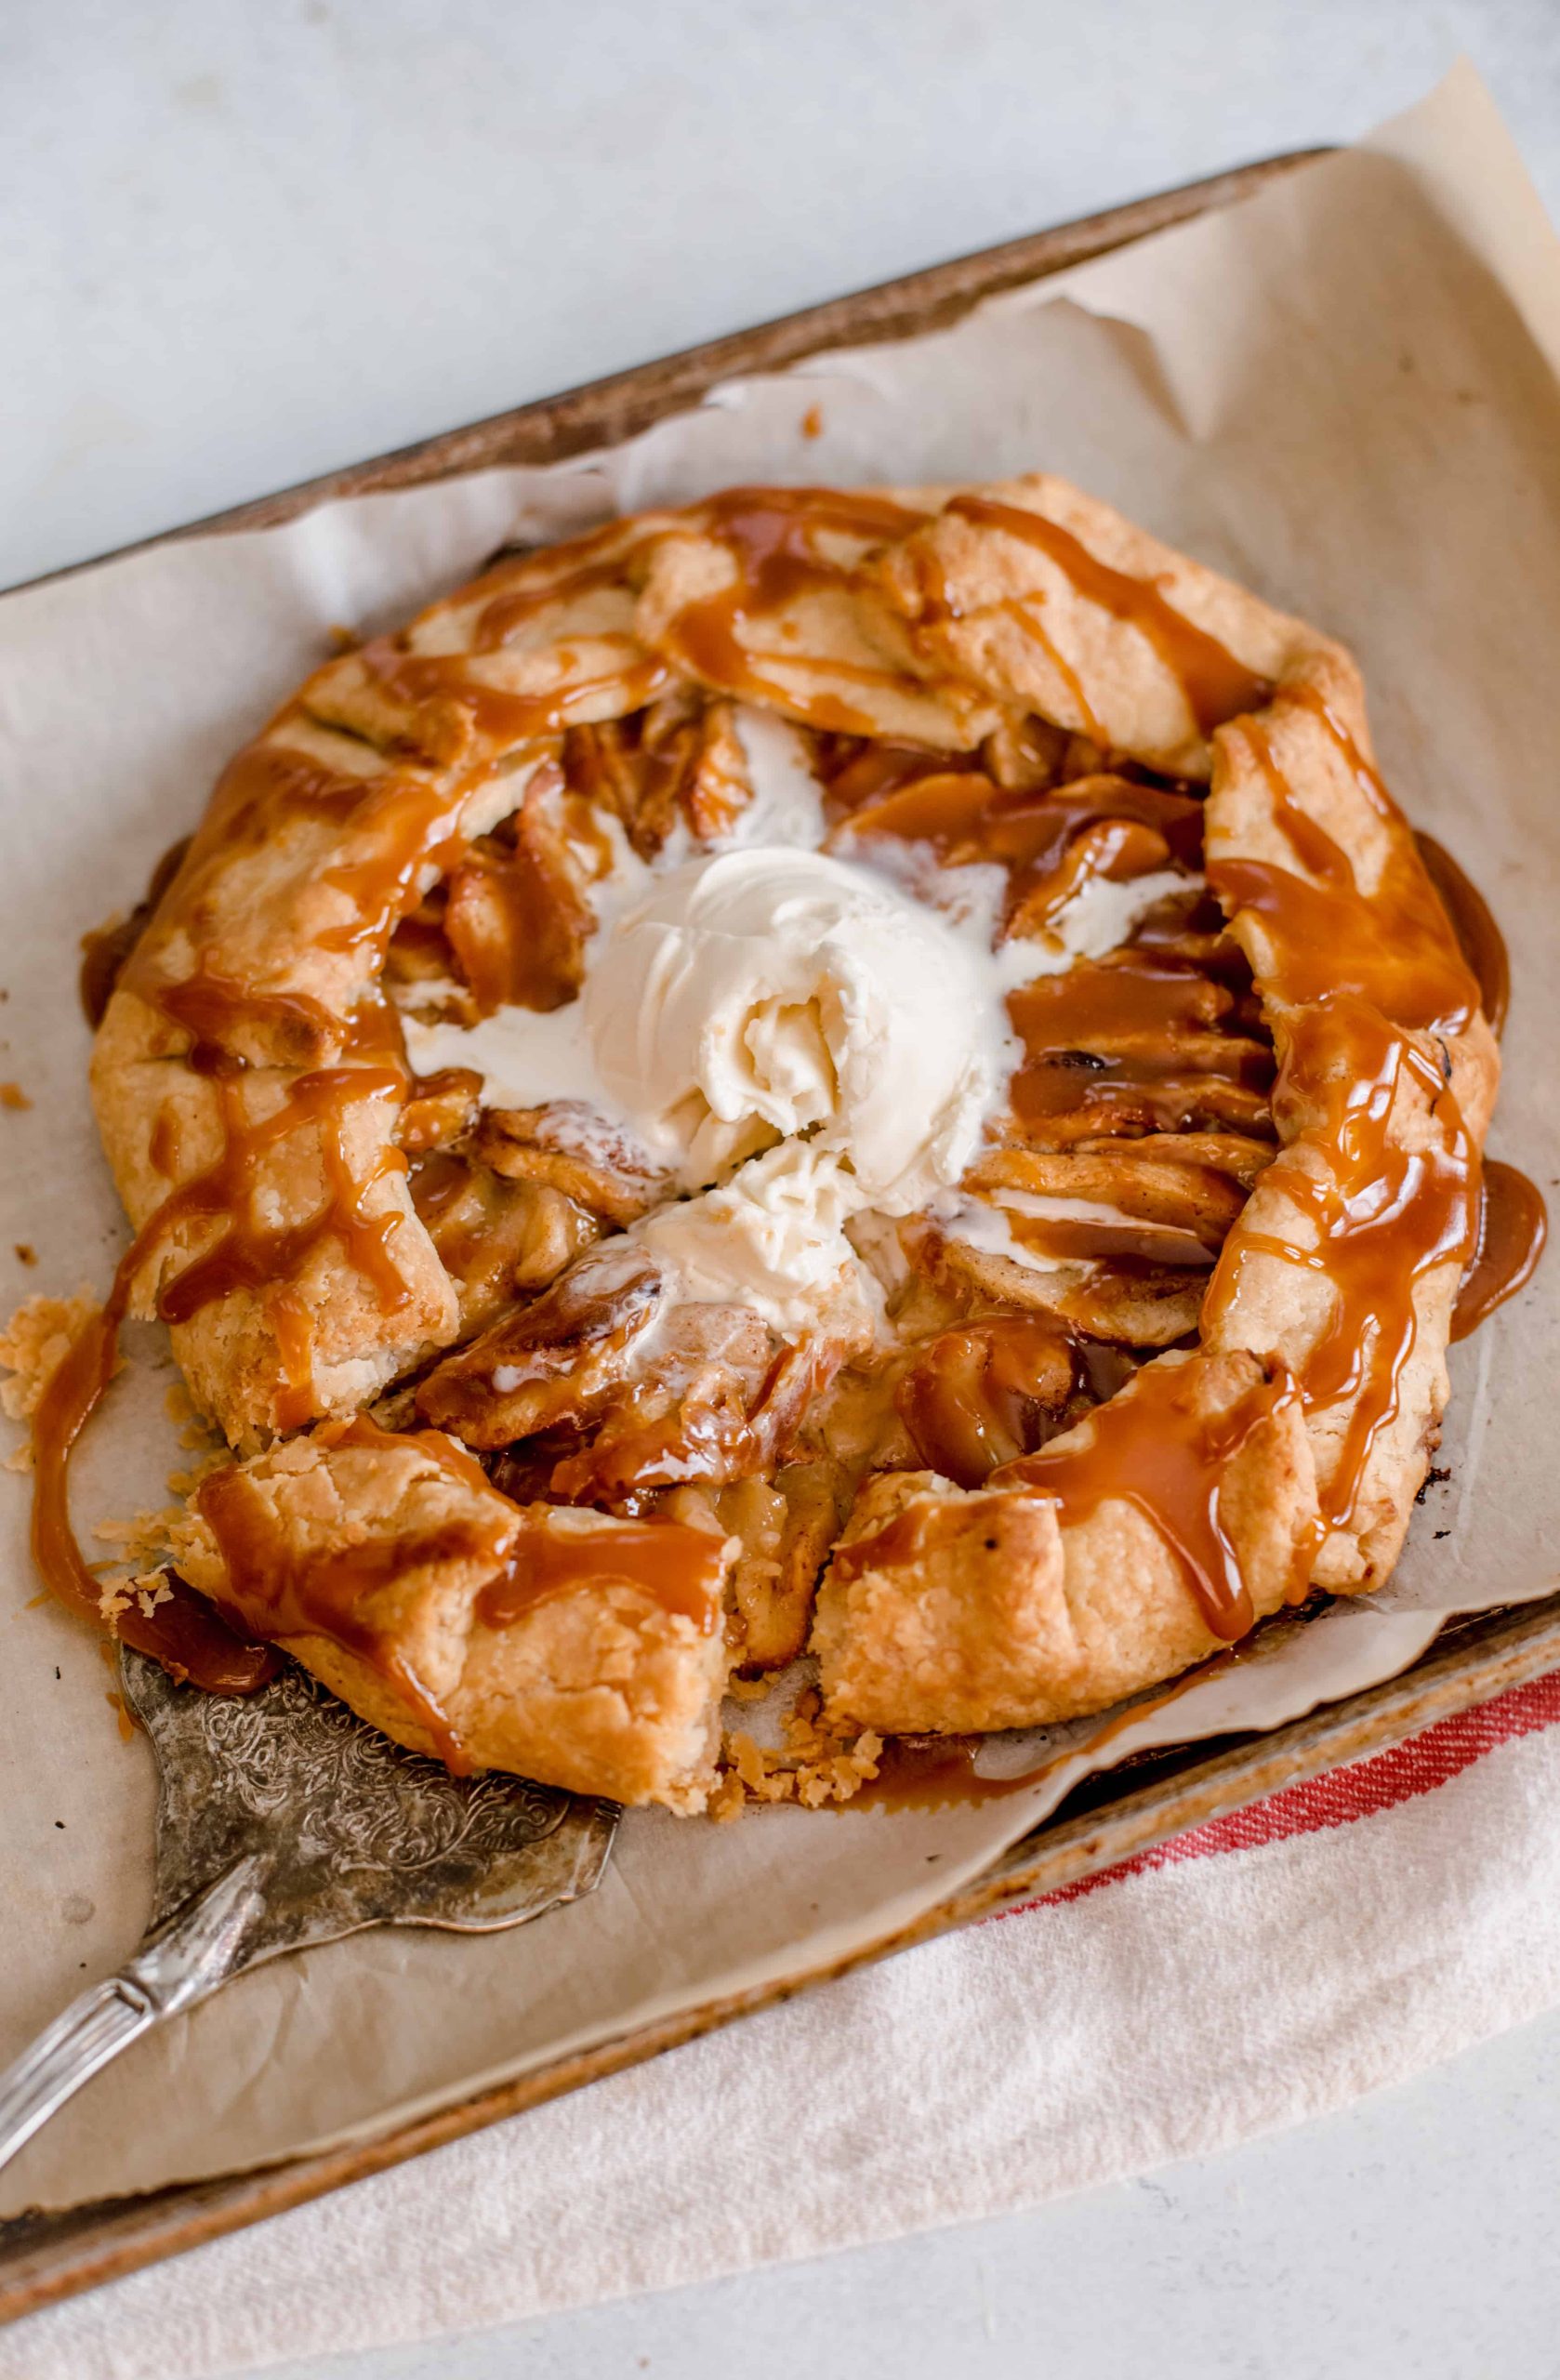
This is the stuff I’ve used in some of my favorite recipes including- Salted Caramel Sticky Buns, Vanilla Bean Salted Caramel Layer Cake, and Salted Caramel Cookie Dough Truffles. It’s amazing on pretty much anything though- Ice Cream, Cake, or just eaten out of the jar with a spoon!
Ingredients needed for Salted Caramel Sauce:
- Sugar
- Butter
- Heavy Cream
- Vanilla Extract
- Flakey Salt
Supplies needed for Salted Caramel Sauce:
- Medium-large heavy duty saucepan
- Whisk
Below I’m including a photo tutorial for how to make the caramel. I hope that they help outline the process and how do-able it really is!
Sprinkle the sugar onto the bottom of the pan and swirl/tilt it over the flame until it is all melted.
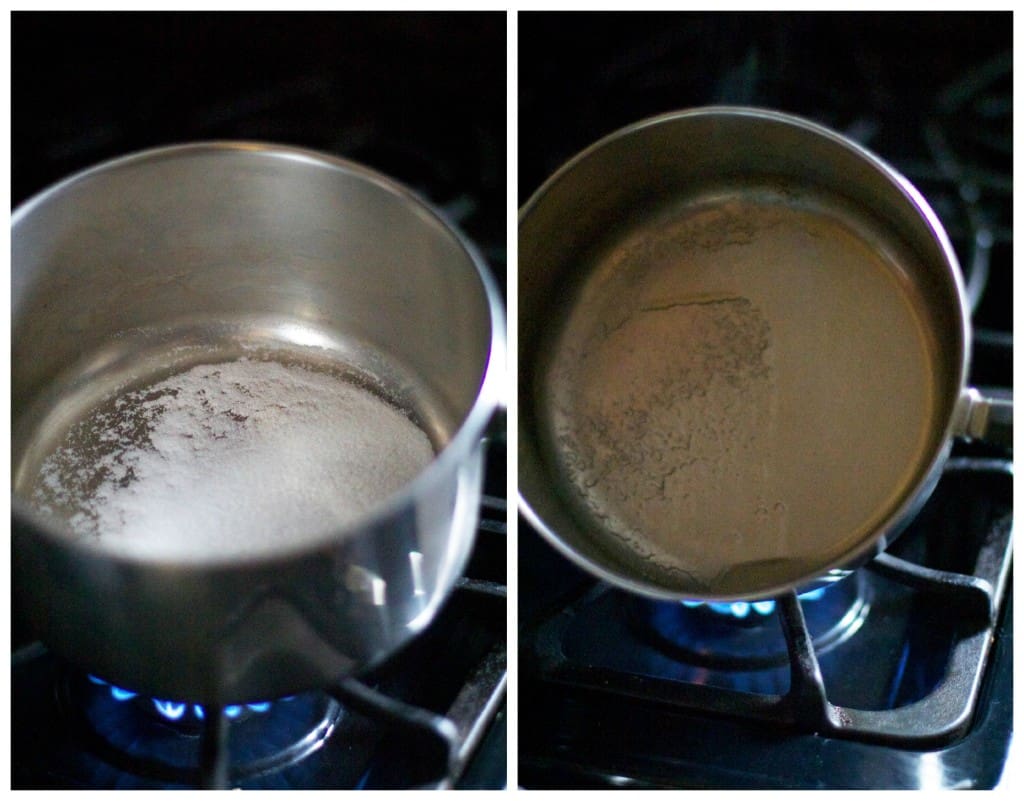
Continue to sprinkle additional sugar over what is melted and lift the pot off the heat so it doesn’t burn. Swirl and tilt until each sugar addition is completely melted.
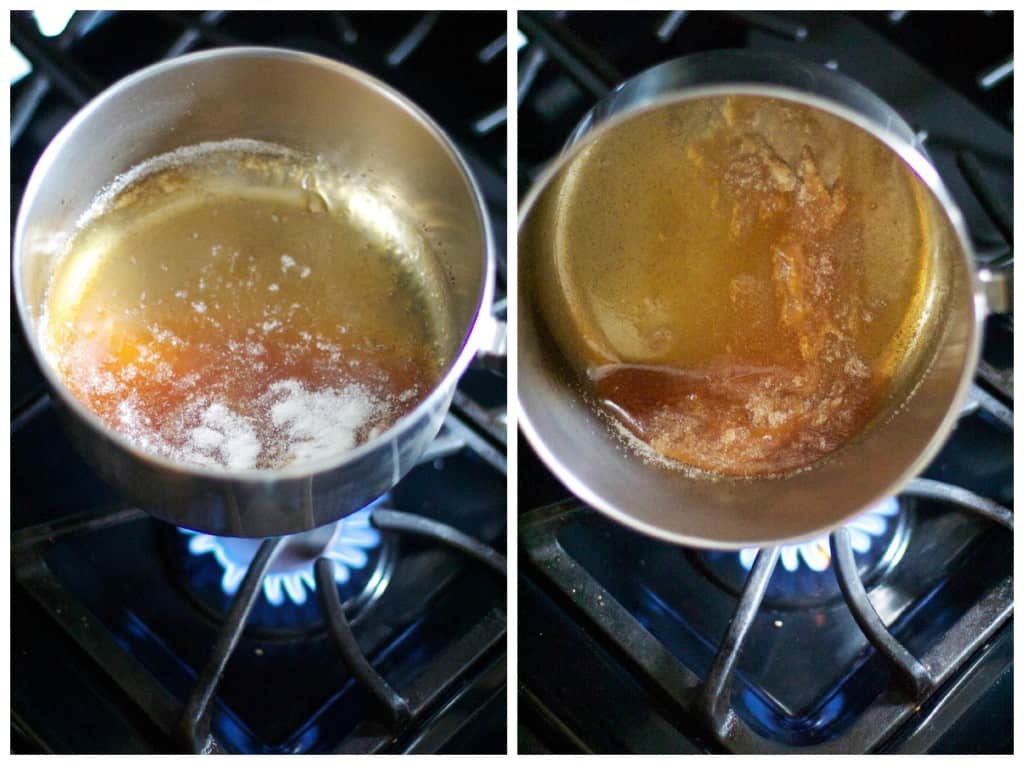
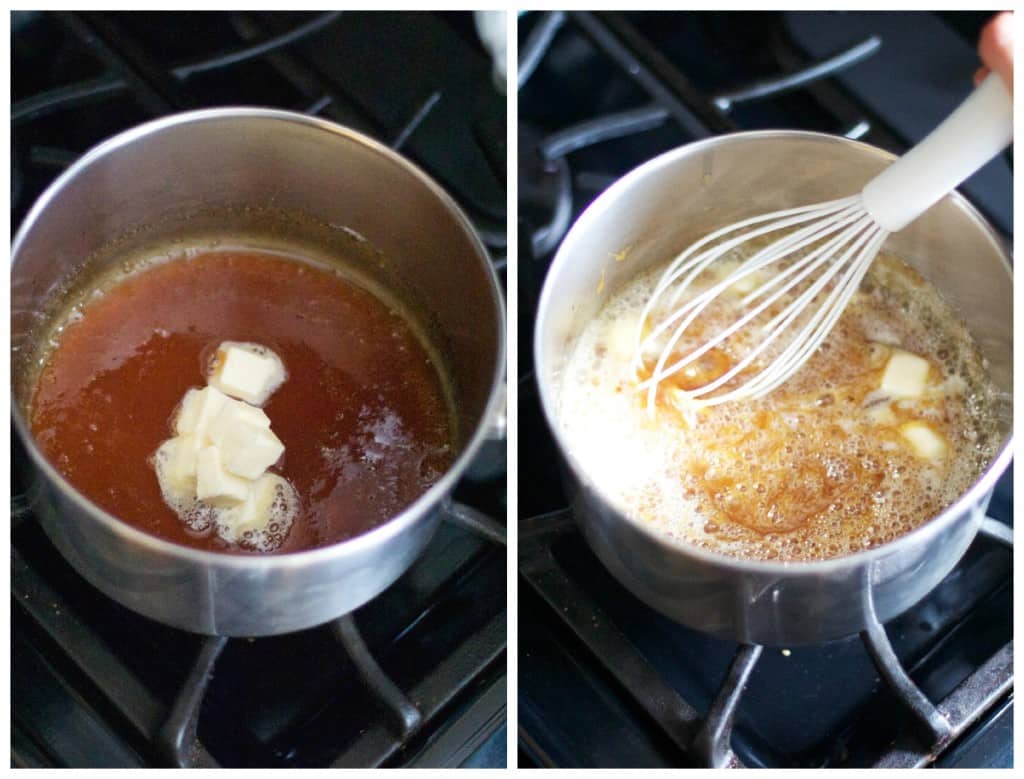
Add the butter and whisk rapidly until it is completely melted.
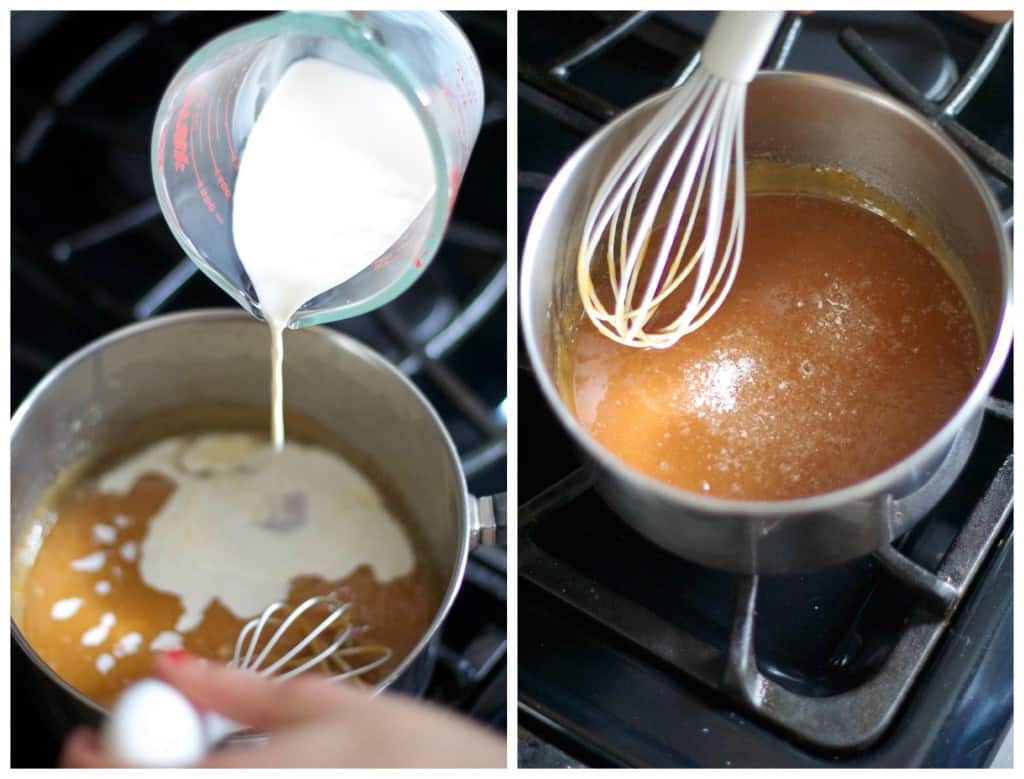
Remove pan from heat and slowly pour the cream in while continuing to whisk. Stir in the sea salt and vanilla.
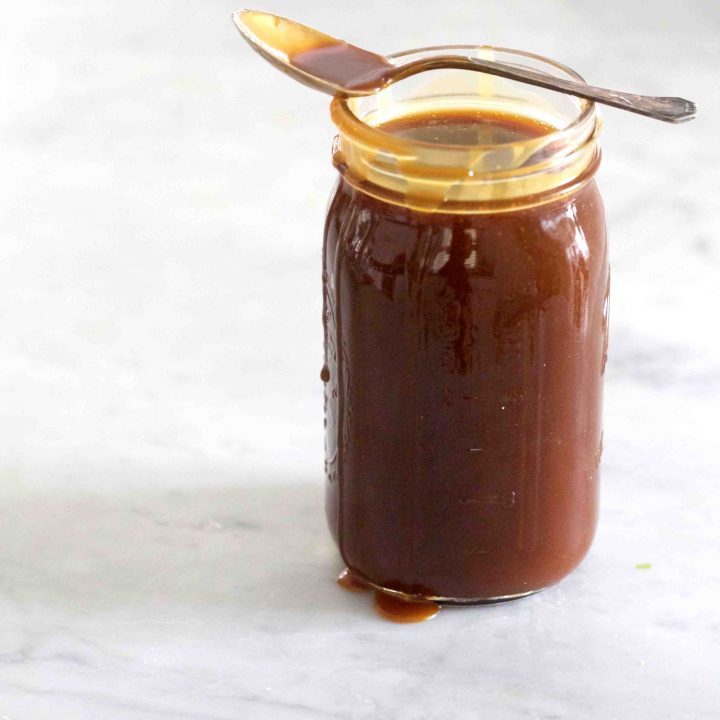
Salted Caramel Sauce
Ingredients
- 1 cup white sugar
- 6 tablespoons butter, cut into cubes
- ½ cup heavy cream
- 1 teaspoon vanilla extract (or vanilla bean paste if you have it.)
- 1 teaspoon sea salt (I like using the flaky kind)
Instructions
- Before you begin, get all your ingredients ready and have them waiting near your stove-top.
- Place a heavy-bottomed 2 or 3 qt. saucepan over medium-high heat and sprinkle about a tablespoon of the sugar into the bottom.
- Lift the pan over the heat and shake/swirl the sugar until it starts to melt. Continue swirling the pan around until the sugar is all clump-free and melted.
- Sprinkle some more sugar on top and repeat the "swirl and shake" over the heat until the new sugar is incorporated and melted into the first batch. (The sugar will start to caramelize at this point which is why you want to lift if off the heat, preventing it from burning.)
- Repeat the previous step with the remaining sugar, sprinkling a little at a time until it is all melted and a dark amber color.
- Add the butter and whisk until totally melted and combined.
Remove from heat and slowly stream the cream into the caramel. (It may seize up and foam a bit!) Whisk it rapidly until smooth. Stir in the vanilla and sea salt. - Add the butter and whisk until totally melted and combined.
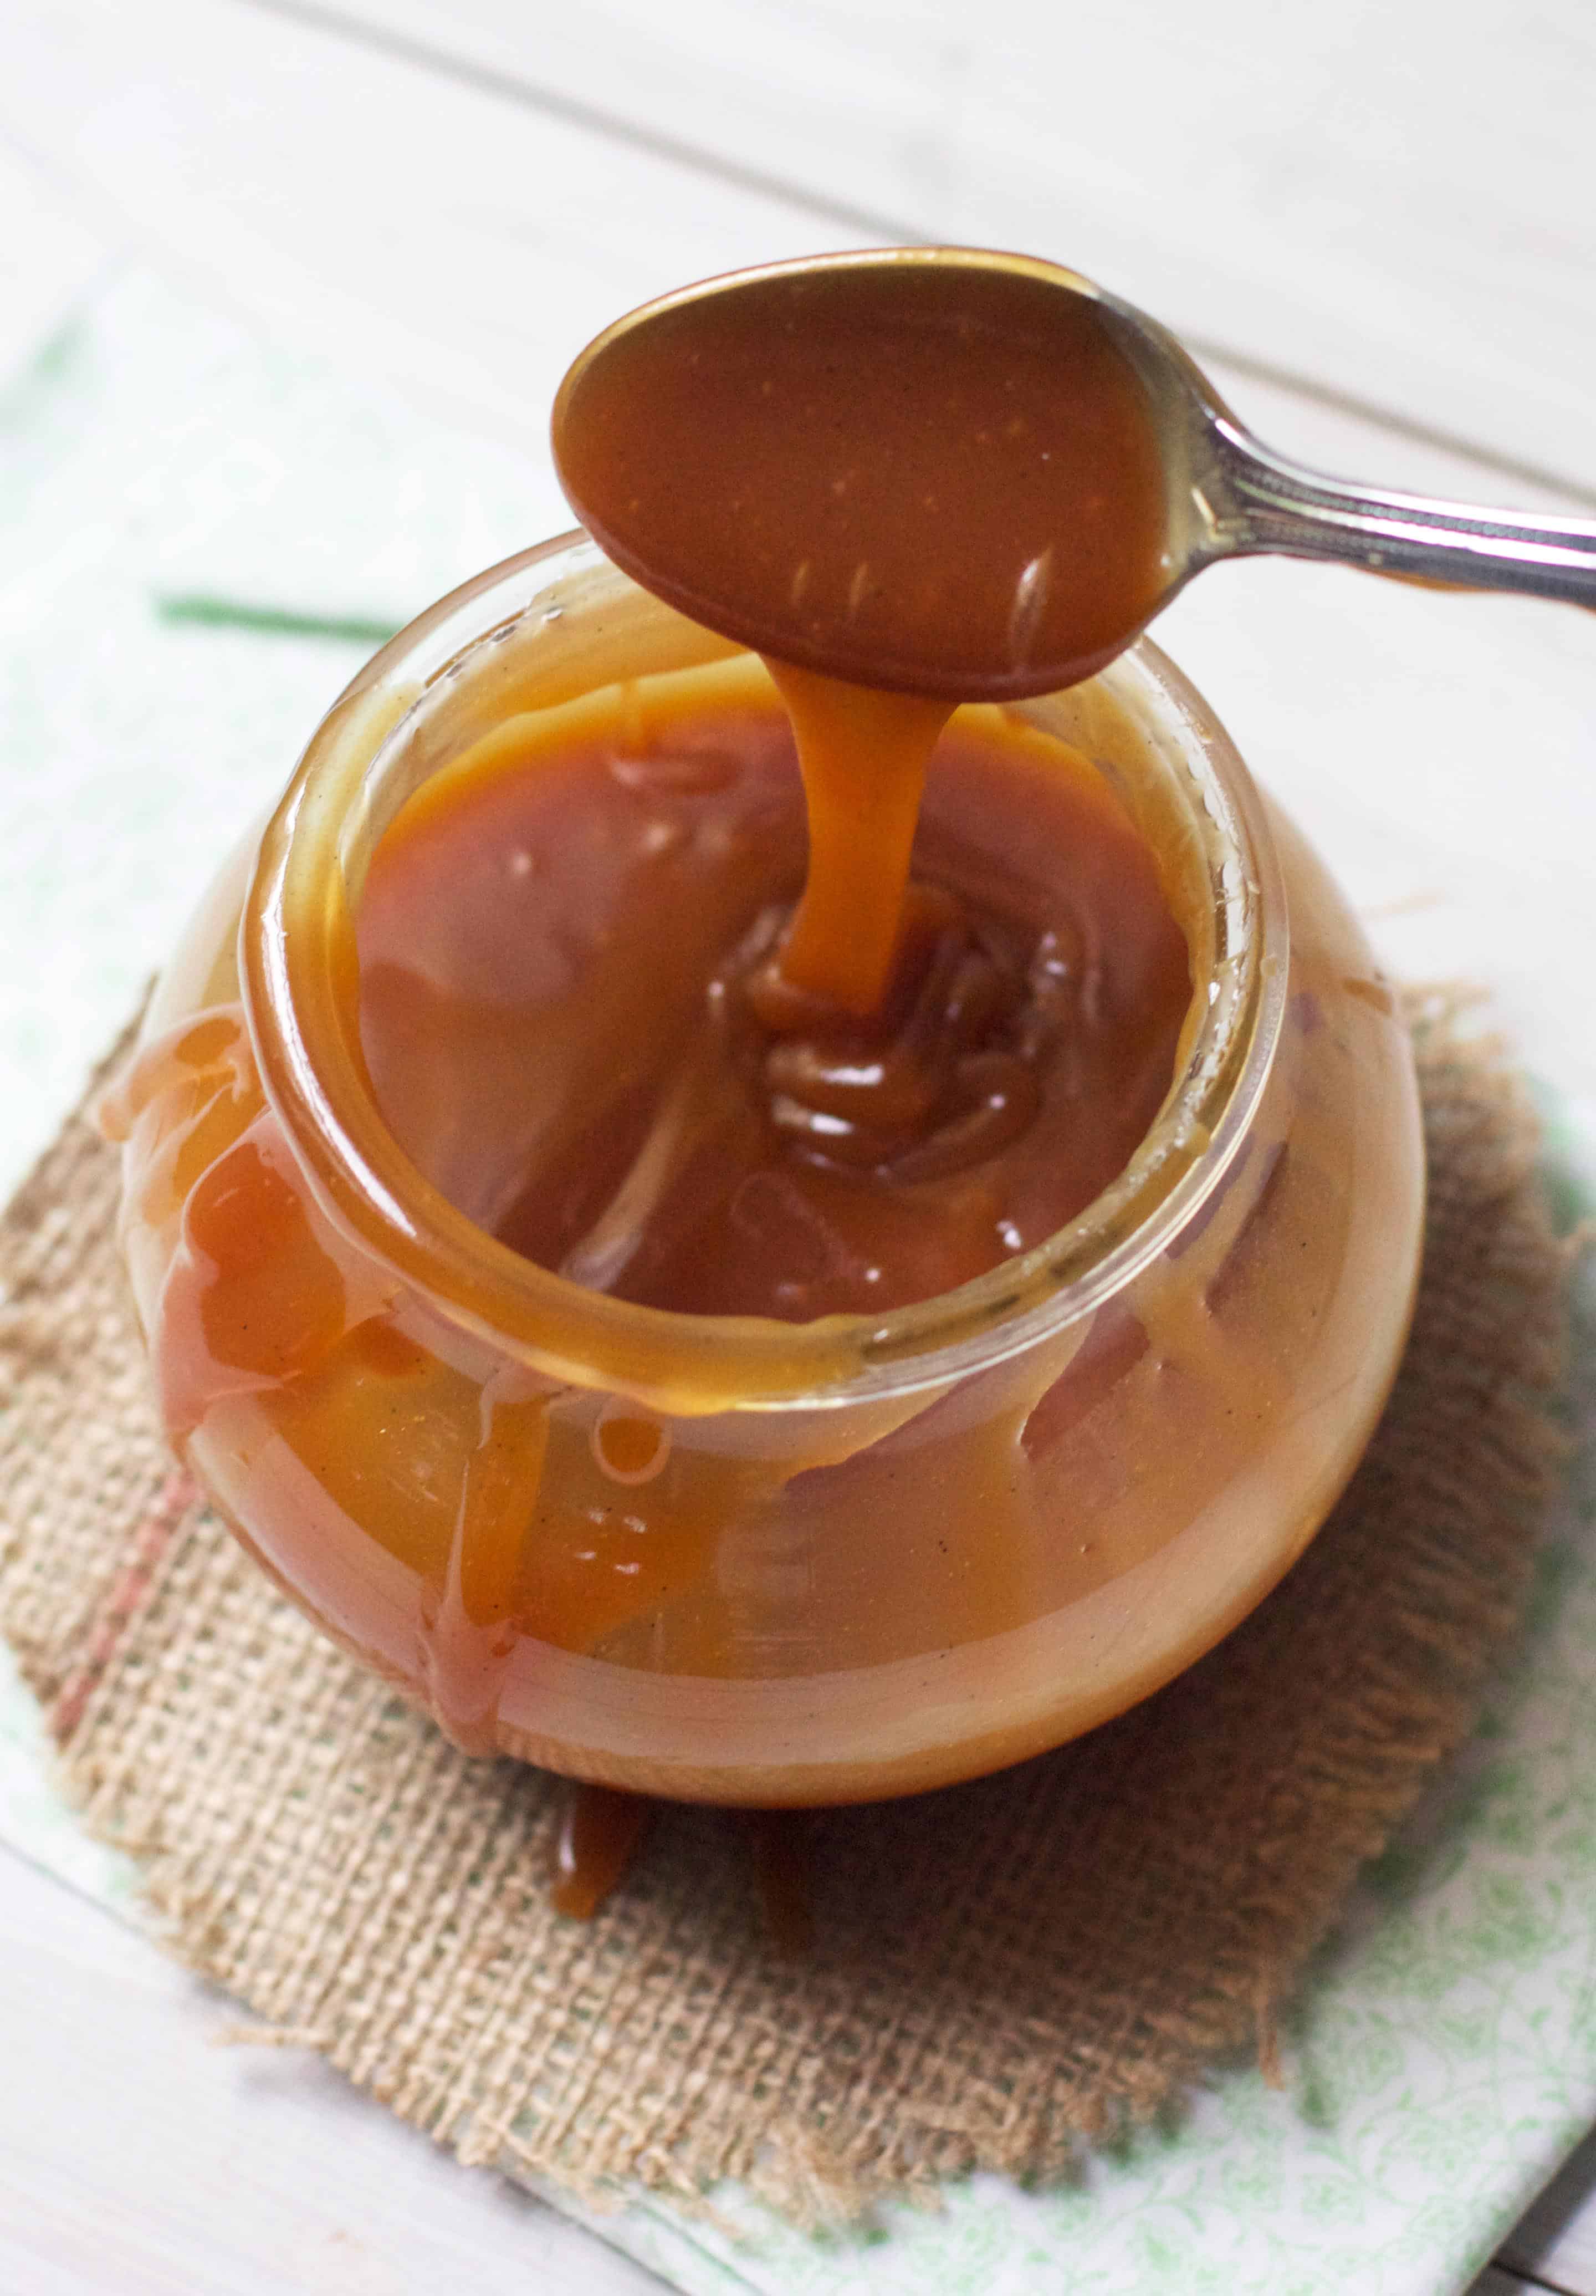
Remove from heat and slowly stream the cream into the caramel. (It may seize up and foam a bit!) Whisk it rapidly until smooth. Stir in the vanilla and sea salt. - Pour caramel in a glass jar or measuring cup and allow to cool. It will last in the fridge for up to a month in an air-tight container.
notes - If adding the cream causes the mixture to seize up and separate- don't despair! Just stir the whole mixture over low heat until the clumps of caramelized sugar melt completely.
Notes
If adding the cream causes the mixture to seize up and separate- don't despair! Just stir the whole mixture over low heat until the clumps of caramelized sugar melt completely.
Pumpkin Salted Caramel Layer Cake
This is amazing – thank you! I am a HUGE sweet and salty fan but how had many a mishaps making caramel sauce, namely burning it or it being too runny. Excited to try your version and love the step by step photos.
I’ve always wanted to make my own!! This looks so yummy!!
Nice picture instructions
I came across these recipes last summer and made these and they really are fabulous. The truffles were a huge hit on a dessert buffet I did for a sweet 16. The sauce is so good, my mom asked for a jar for Christmas. Super yummy and thanks for sharing these great recipes.
I’m new to your blog. The few posts I’ve read were interesting, but I wasn’t really excited. Until I saw this. BTW your pix are really good. I’m a retired pastry guy who’s hanging out in Quito, playing with recipes and sharing the results with friends – and an occasional restaurant. Now I’m looking forward to your posts
gah.. now i know.. and now im gonna make it at home by the spoonful
Yum! This makes me want to make your salted caramel brownie pies again.
Hey Audra, I am a huge fan if your blog and have tried and loved several of your recipes. I am curious do you think this sauce would work as a filling between cake layers? I made these for my older daughter’s bday and now my younger daughter wants the same thing but in cake form for her birthday.
Jill
Looks delicious! How long does it keep?
In the fridge for a few weeks:)
I noticed your caramel was smooth and creamy mine came out kind of separated and soupy. I noticed your last comment was to reheat it on the stove. Should I put mine in back on the heat for a longer period of time?
Thank you the flavor still came out yummy! I just want the smooth texture.
Mandi
If there was any separation, I would put it back on low heat and stir until smooth:)
My daughter made this and it turned out great! I need to watch my fats, so can I make this with canned, fat-free, evap milk?
Would love to try this recipe but the “recipe part” is gone? How can I get to it?
So sorry- should be fixed now!!
I made it tonight on my electric glass top! Was afraid it was gunna be too soupy but it does seem to be setting up as it cools. Is it supposed to be a pretty soft set up, so that it’s nice and pourable? Good flavor! Excited to find this recipe. Will wear a protective sock on my stirring forearm next time! Lol that butter spatter is Hot!! But hey, no pain no game I guess. ;)
This sounds great. I would like to make this cheesecake but would it be OK to,double the filling as I want a “high” cheesecake. Mmmmmm
Does it matter what type of butter is used?
I usually use unsalted- but if you used salted maybe just taste before adding flakey sea salt!
Can you please answer some questions about it? If i don’t want it to be salted, just sweet caramel, do i just remove the salt from the recipe? Also, if i want to use it to make a sweet salty layer cake(https://www.thebakerchick.com/sweet-salty-layer-cake/), how many minutes(or hours) should it go on the freezer to make it ready to use on the cake? Do i have to make it a day before the cake?
I would simply eliminate the salt from the caramel sauce
This is my go-to caramel sauce recipe. It’s delicious. Thank you so much! I do have a question though, every time I make it (and other salted caramel recipes) the salt clumps and sinks in little chunks. What did I do wrong that it doesn’t dissolve — adding too soon maybe? I have tried with Maldon sea salt flakes and normal table salt. Any ideas? Thanks again!
Can this be a filling for a cupcake???
Absolutely!
It looks like the link to your salted caramel sauce is missing. I’m hoping to make this cake for my daughter’s birthday. It looks so good!
Thanks for letting me know! Not sure where it went for a minute there but it’s fixed! I hope your daughter enjoys the cake!
Thank you for getting your caramel sauce recipe back ! It looks delicious. My daughter’s birthday celebration is October 10. I will be making the pumpkin salted caramel cake for he on that day. I’m really looking forward to a big bite!